What is OwnCloud?
ownCloud is an open source, self-hosted file sync and share app platform similar to Dropbox and Box. It allows Access & syncing files, contacts, calendars & bookmarks across devices, the awesome part is, OwnCloud is free!
Requirements
For this installation i have deployed a CentOS 7 64 Bit server with the following spec.
- 1 x CPU Core
- 2 GB RAM
- 20 GB Disk space
Memory requirements for running an ownCloud are really low end, depending on how big your total number of concurrent users, for example ownCloud officially requires a minimum of 128MB RAM. But, they recommend a minimum of 512MB. (Should be okay for about 10 concurrent users).
We will update CentOS to the latest version to get started. We assume you have root access on this server
yum update
Now, we will start installing OwnCloud ☁️
Step 1
Run the following command to import and trust OwnCloud repo
sudo rpm --import http://download.owncloud.org/download/repositories/9.1/CentOS_7/repodata/repomd.xml.key
Step 2
Install OwnCloud repository by running the following commands
wget http://download.owncloud.org/download/repositories/9.1/CentOS_7/ce:9.1.repo
Next we move the downloaded repo to CentOS repo list with the following command
mv ce:9.1.repo /etc/yum.repos.d/
Step 3
After that, we can go ahead and install OwnCloud using yum, here is the command
yum install owncloud
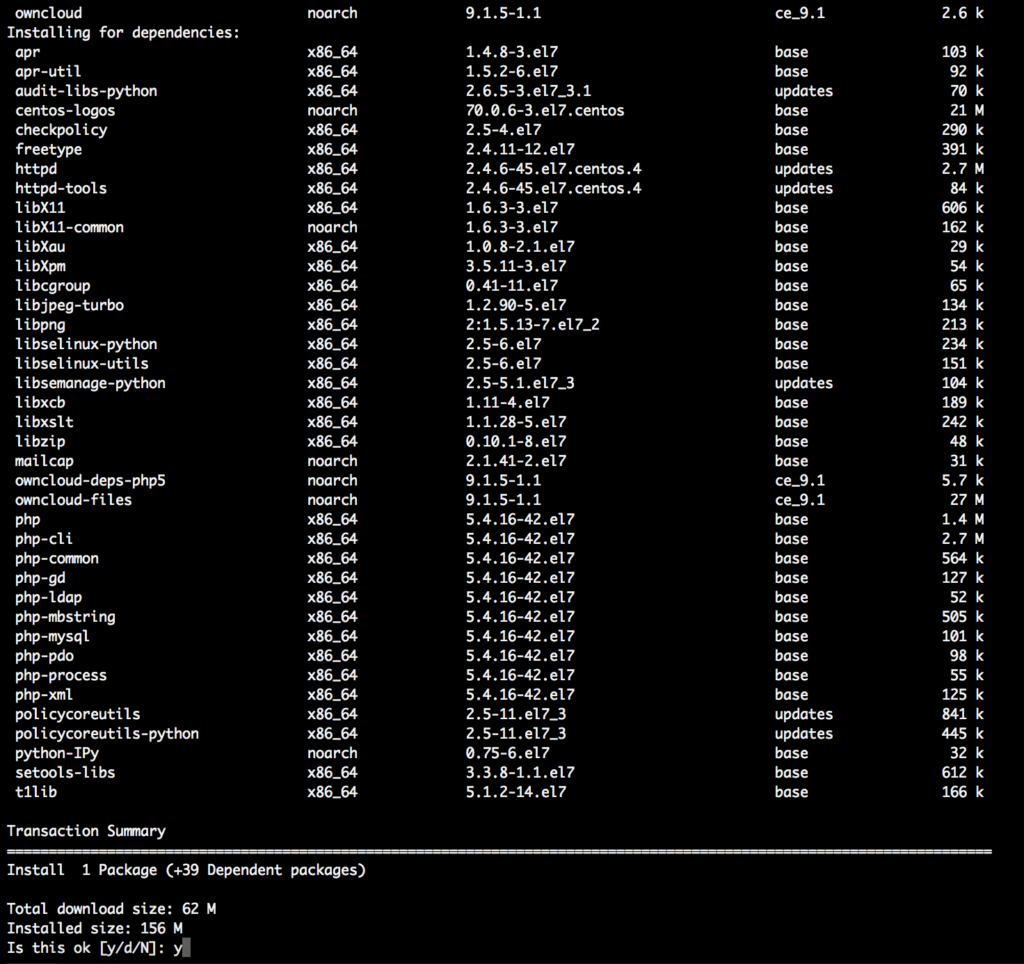
It will install the dependencies to run OwnCloud like PHP and MySQL, here’s how it will look

When promoted, type y and hit enter to proceed, this will install OwnCloud files and folders in your server.
Step 4
OwnCloud requires MySQL database to function with better perfomance, following steps will create a MySQL database for use with OwnCloud, If you don’t have mysql installed, follow this article to install MySQL.
mysql -u root -p
Type your MySQL root password when prompted, after that create our database with the following commands
CREATE DATABASE owncloud;
Next, we will create a database user for our database with the same name owncloud
GRANT ALL ON owncloud.* to 'owncloud'@'localhost' IDENTIFIED BY 'your_prefered_password';
Make sure you change your_prefered_password above to a strong password of your choice, this will be your OwnCloud’s database password.
Run this command to reload privileges
FLUSH PRIVILEGES;
Finally, configure OwnCloud
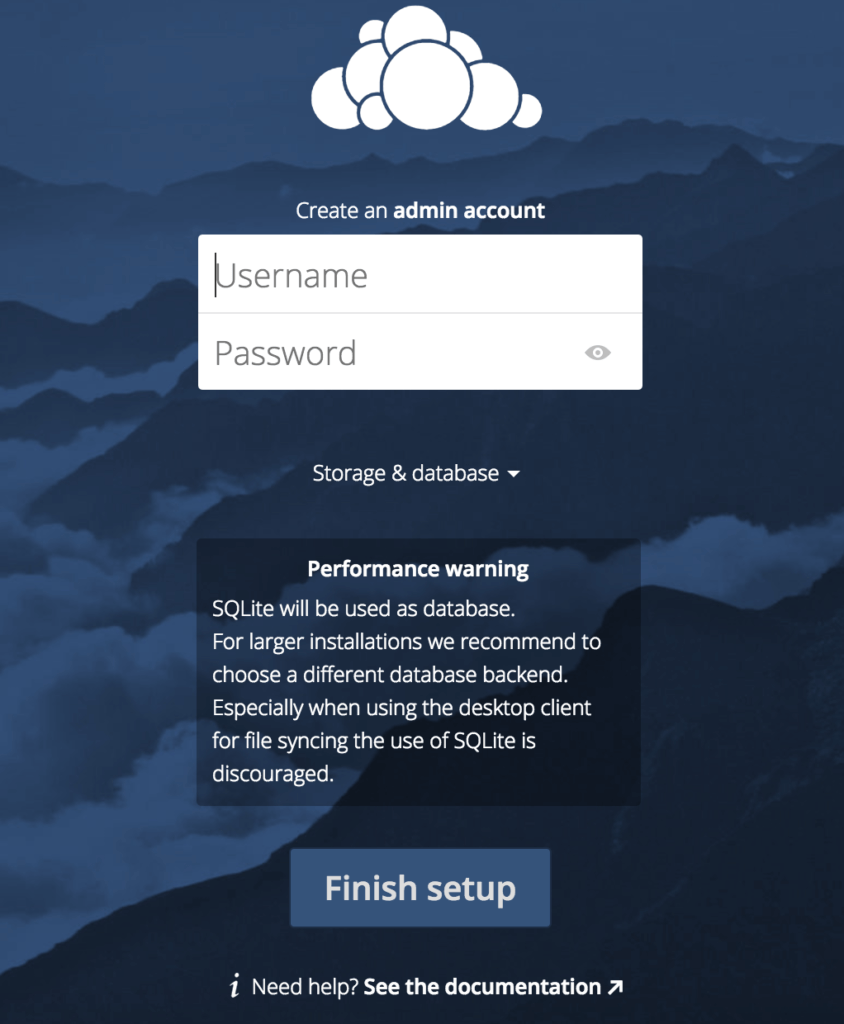
Load up your favorite browser and point to http://your_server_ip/owncloud you will see something like

On that screen you will first enter your OwnCloud login details to create an admin account
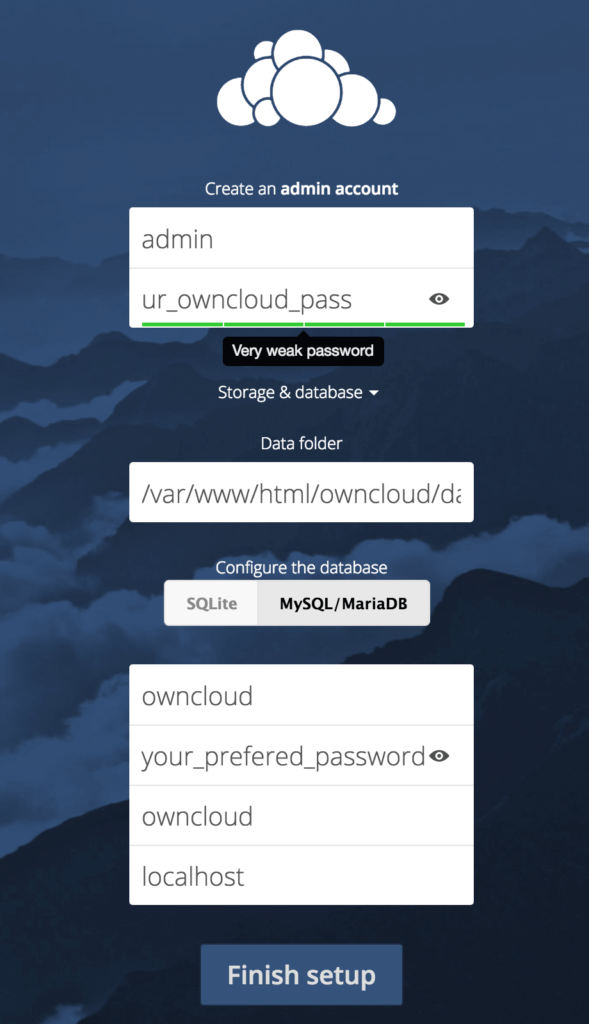
After that, you will click on Storage and database to configure the database that we just created, here is an example of what the setting up will look like, i have used the database credentials that we created on this tutorial.

Finally, click Finish Setup
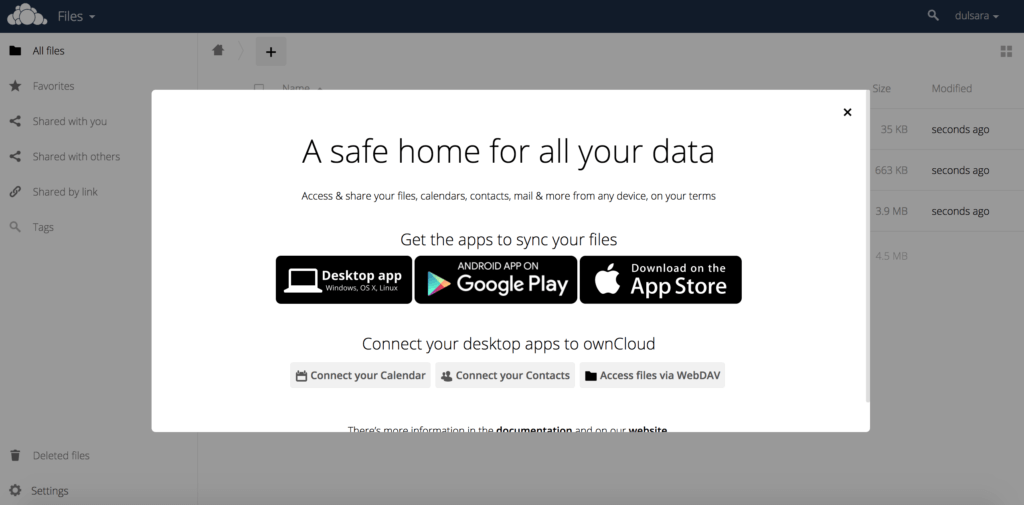
You will see your OwnCloud dashboard once everything is done, which will look like this

Conclusion
OwnCloud is a famous free platform with desktop apps and mobile clients to access your private cloud files. The main advantage is you can secure and be confident of the files you save on your private space managed by OwnCloud unlike public storage providers.
Good kudos to OwnCloud, let us know in the comments if you face any trouble in between.

