
In our previous article, we looked at how you can install packages in Arch Linux using ‘AUR helpers’ like Yaourt and Packer. Today, We’ll delve into installing packages from source in Arch Linux.
Why should you install packages from source?
Installing from source is quite tedious and takes up a lot of time. This is why most people prefer installing packages using pre-built packages to compiling from source. So begs the question, why should one still insist on compiling software from code?
Installing a software from source basically implies installing a software without the use of a package manager like APT for Debian or Yum for RedHat distributions. It involves compiling software from source code and saving binary packages to your system. Usually, users download programs’ source code from version control / hosting services like GitHub.
Binary packages come already built from source by the developer with features & parameters already pre-defined and provided so that users can install them.
Benefits of installing packages from source in Arch Linux
To install a software from source, you need to first build the source code manually, by yourself. This implies that you need to handle the dependencies manually and be aware of all the features of the package so that you can be in a position to build it accordingly.
Below are some of the advantages of installing software from source
- Installing from source allows you to install the latest versions of packages which can always be kept updated, be it a security patch or a new feature.
- It grants you the ability to choose the features you require during installation to suit your needs.
- In addition, you can add some features which may not be provided in the binary packages.
- You can install packages in any preferred location
Installing Packages from source in ArchLinux
To install a third-party software package in Arch Linux access the AUR package repository page and search for the package you need to install. In our case, We are going to install Google Chrome in our Arch Linux system.
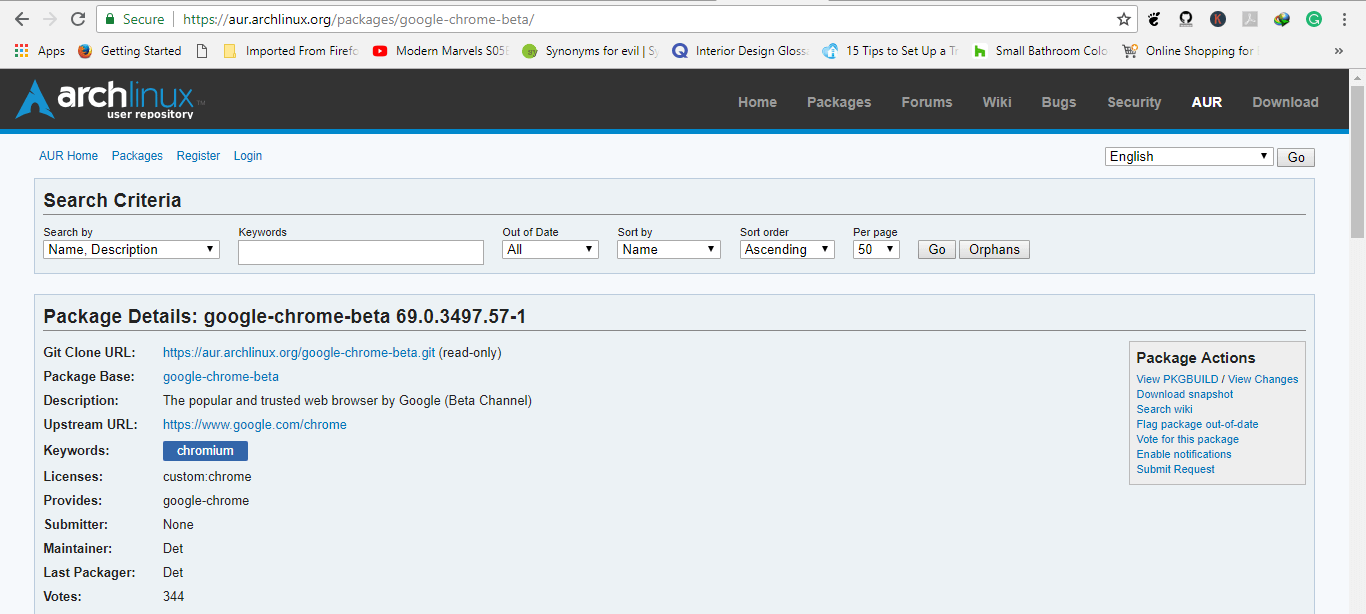
Click on “Download Snapshot” in the right pane under “Package Actions“. This will download the tarball of Google Chrome in your local ‘Downloads’ folder.
Navigate to the ‘Downloads’ folder and extract the tarball
tar -xvf google-chrome.tar.gz
Output
google-chrome/
google-chrome/.SRCINFO
google-chrome/PKGBUILD
google-chrome/eula_text.html
google-chrome/google-chrome-stable.sh
google-chrome/google-chrome.install
Navigate the newly created google-chrome folder with the cd command
cd google-chrome
To view the directory’s contents, use the ls command. Be sure to catch a glance of several files
ls
Next, run the makepkg command
makepkg
Sample output
==> Making package: google-chrome 68.0.3440.106-1 (Sun Aug 26 20:28:49 2018)
==> Checking runtime dependencies...
==> Checking buildtime dependencies...
==> Retrieving sources...
  -> Downloading google-chrome-stable_68.0.3440.106_amd64.deb...
  % Total    % Received % Xferd  Average Speed   Time    Time     Time  Current
                                 Dload  Upload   Total   Spent    Left  Speed
100 51.5M  100 51.5M    0     0   286k      0  0:03:04  0:03:04 --:--:--  146k
  -> Found eula_text.html
  -> Found google-chrome-stable.sh
==> Validating source files with md5sums...
    google-chrome-stable_68.0.3440.106_amd64.deb ... Passed
    eula_text.html ... Passed
    google-chrome-stable.sh ... Passed
==> Extracting sources...
  -> Extracting google-chrome-stable_68.0.3440.106_amd64.deb with bsdtar
==> Entering fakeroot environment...
==> Starting package()...
  -> Extracting the data.tar.xz...
  -> Moving stuff in place...
  -> Fixing Chrome icon resolution...
  -> Removing Debian Cron job and duplicate product logos...
==> Tidying install...
  -> Removing empty directories...
  -> Removing libtool files...
  -> Purging unwanted files...
  -> Removing static library files...
  -> Compressing man and info pages...
==> Checking for packaging issues...
==> Creating package "google-chrome"...
The makepkg tool automates the process of converting the source code into binaries by acting as a compiler. In this case, the makepkg command instructs the System to generate a native Arch Linux package for Google Chrome.
Inside the snapshot folder, you’ll discover a newly generated native arch package for Google Chrome.
google-chrome-68.0.3440.106-1-x86_64.pkg.tar.xz
Switch to root user and run the command below to install Google Chrome
pacman -U google-chrome*.tar.gz
Sample Output
loading packages...
resolving dependencies...
looking for conflicting packages...

Packages (1) google-chrome-68.0.3440.106-1

Total Installed Size:  185.48 MiB

:: Proceed with installation? [Y/n] Y
(1/1) checking keys in keyring                     [######################] 100%
(1/1) checking package integrity                   [######################] 100%
(1/1) loading package files                        [######################] 100%
(1/1) checking for file conflicts                  [######################] 100%
(1/1) checking available disk space                [######################] 100%
:: Processing package changes...
(1/1) installing google-chrome                     [######################] 100%
Final thoughts
Installing software from source is usually avoided by most users because of its long and tedious process, but once you get the hang of it, you’ll reap immensely from getting the latest software packages and to choosing what you want during the installation process. In this article, we have taken you through how you can manually install software packages from source in ArchLinux.Thank you for your time and feel free to try out the commands.