Jenkins is a free and open source automation server that comes in handy when the need for automating repetitive tasks comes up. Jenkins is Java-based and can be installed from Ubuntu repositories or equally downloaded and it’s web application executed. In this guide, you will learn how to install Jenkins on Ubuntu 18.04 LTS.
Prerequisites
Before you continue, perform a flight check and ensure you have the following
- An instance of Ubuntu 18.04 server configured with a non-root user with sudo privileges. If you don’t have a physical server ready, you can deploy a high performance and fully managed cloud server for only $ 3.71
- Java 8 Installed.
- SSH access to the server to the cloud server.
That said a, let’s jump right in
Step 1: Installing Jenkins
To leverage the latest features and bug fixes, we are going to install Jenkins from the project maintained packages.
First, start by adding the repository key to the system
# wget -q -O - https://pkg.jenkins.io/debian/jenkins.io.key | sudo apt-key add -
Output

Next, add the Debian package repository address to the server’s sources.list:
# sudo sh -c 'echo deb http://pkg.jenkins.io/debian-stable binary/ > /etc/apt/sources.list.d/jenkins.list'
With both of this in place, proceed and update the system repositories
sudo apt update
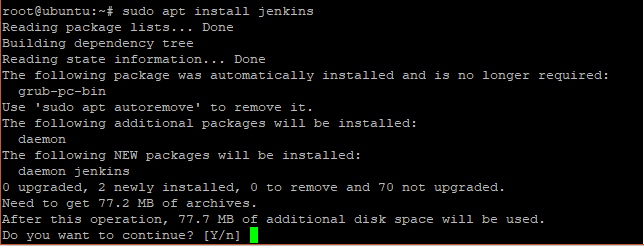
Finally, install Jenkins alongside all of its dependencies
# sudo apt install Jenkins
Output
Step 2: Starting Jenkins
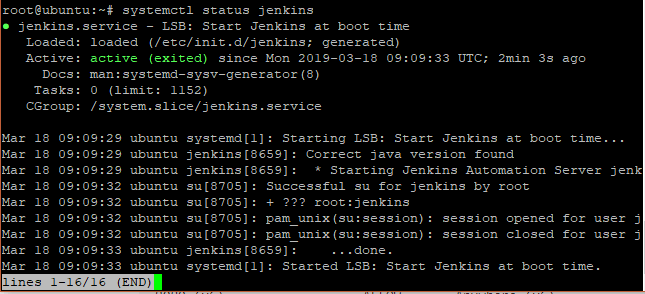
After successful installation of Jenkins, the service will be started automatically. To check the status of Jenkins run the command below
# systemctl start jenkins
If all went, you should get the output as seen below
Output
Step 3. Opening the Firewall
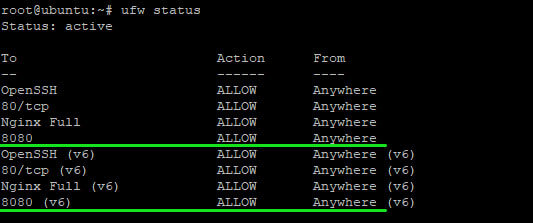
Jenkins runs on port 8080 by default. Let’s go ahead and open that port on the UFW firewall
# sudo ufw allow 8080
To verify that the port has been opened, execute the command below
# sudo ufw status
Step 4. Setting up Jenkins
With jenkins up and running, the last phase is setting up your installation on a web browser. we are going to set up the installation on it’s default port , 8080 using the server’s IP address as shown.
http://your_server_ip_or_domain:8080
Be sure to see the ‘Unlock Jenkins’ screen as shown below prompting for an administrator’s initial password.
You should see the Unlock Jenkins screen, which displays the location of the initial password:
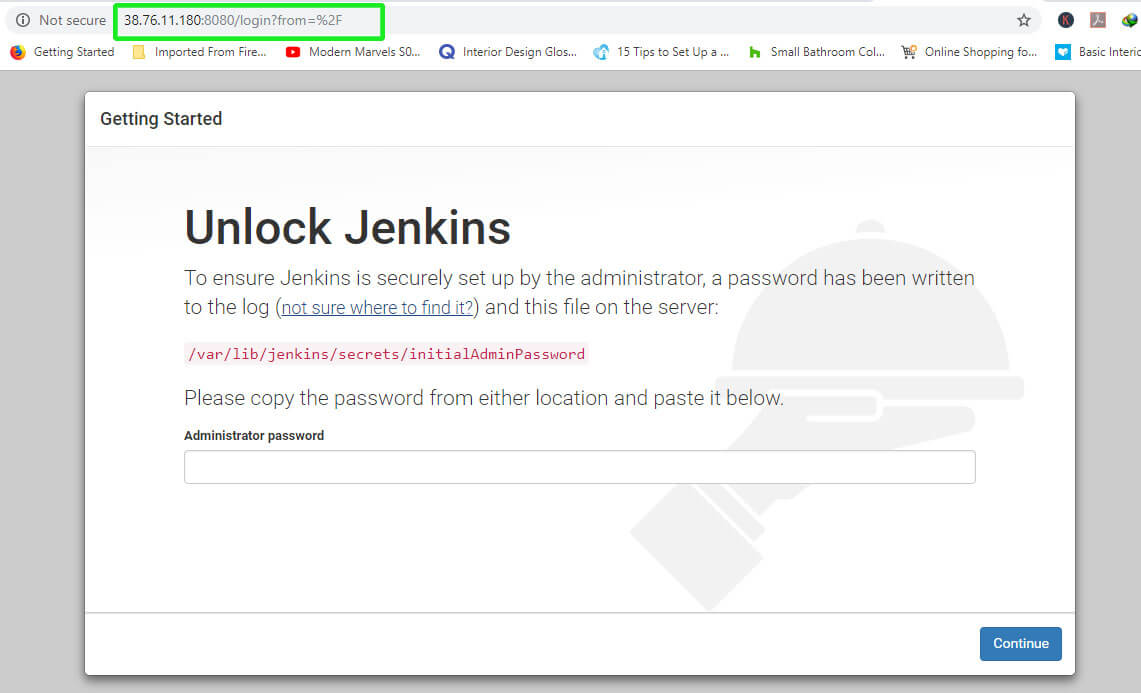
The administrators password is contained in the path indicated
/var/lib/jenkins/secrets/initialAdminPassword
Use the cat command to reveal it.

Copy the alphanumeric password from the terminal and paste it to the ‘Administrator Password’ text field and hit ‘Continue’.
The next screen provides you and option to Install Suggested Plugins or Select plugin to install.
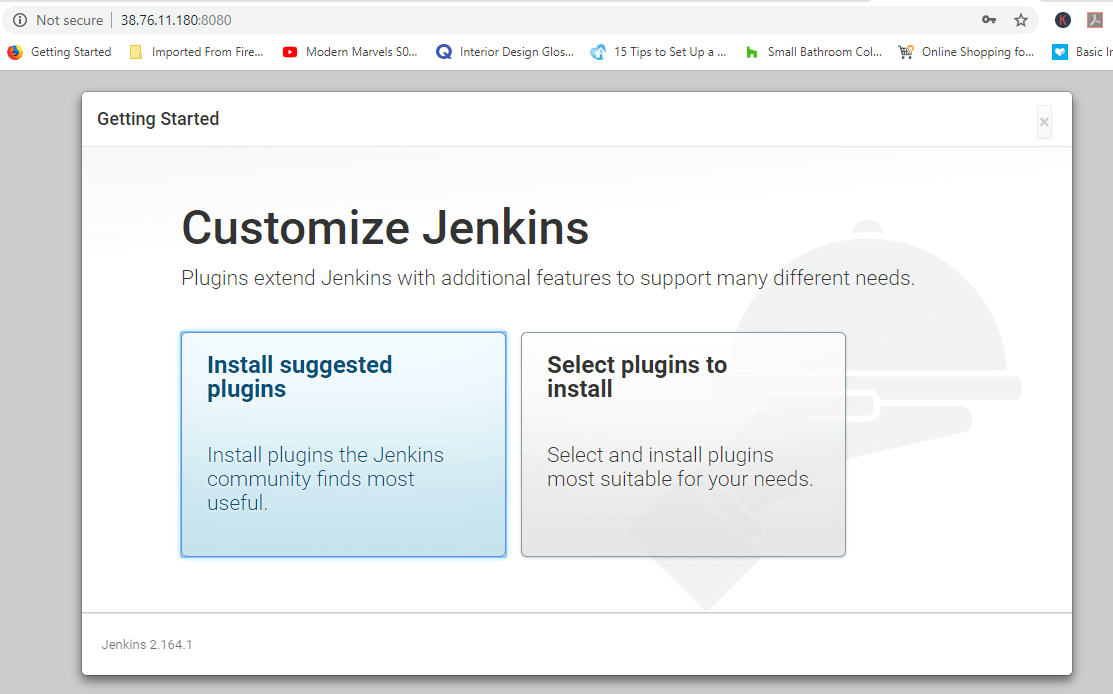
Click on the ‘Install suggested plugins’ option. This will activate the installation process.

Upon completion of the installation process, you will be prompted to create the First Admin user. You can opt to ignore and continue as Admin or create a new Admin user. For now, We are going to create the user.
Fill in all the required details and hit ‘Save and Continue’
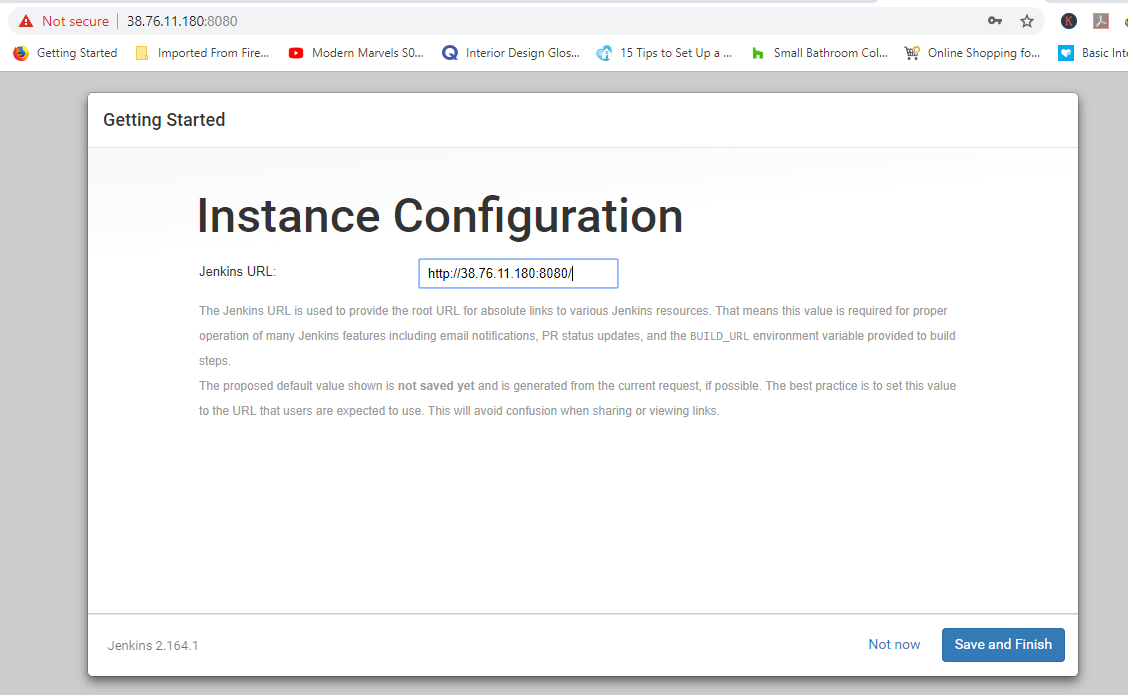
The next page is the ‘Instance and configuration’ . Confirm your server’s URL or domain name and hit ‘Save and Finish’
You will finally see a confirmation Page confirming that Jenkins is now ready !
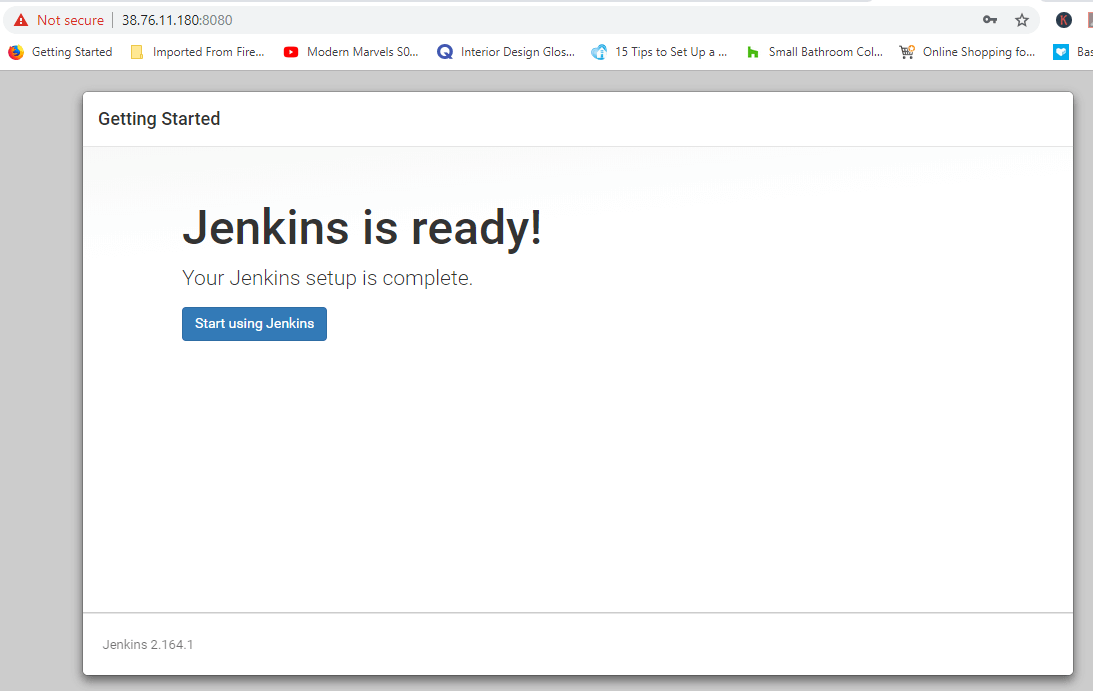
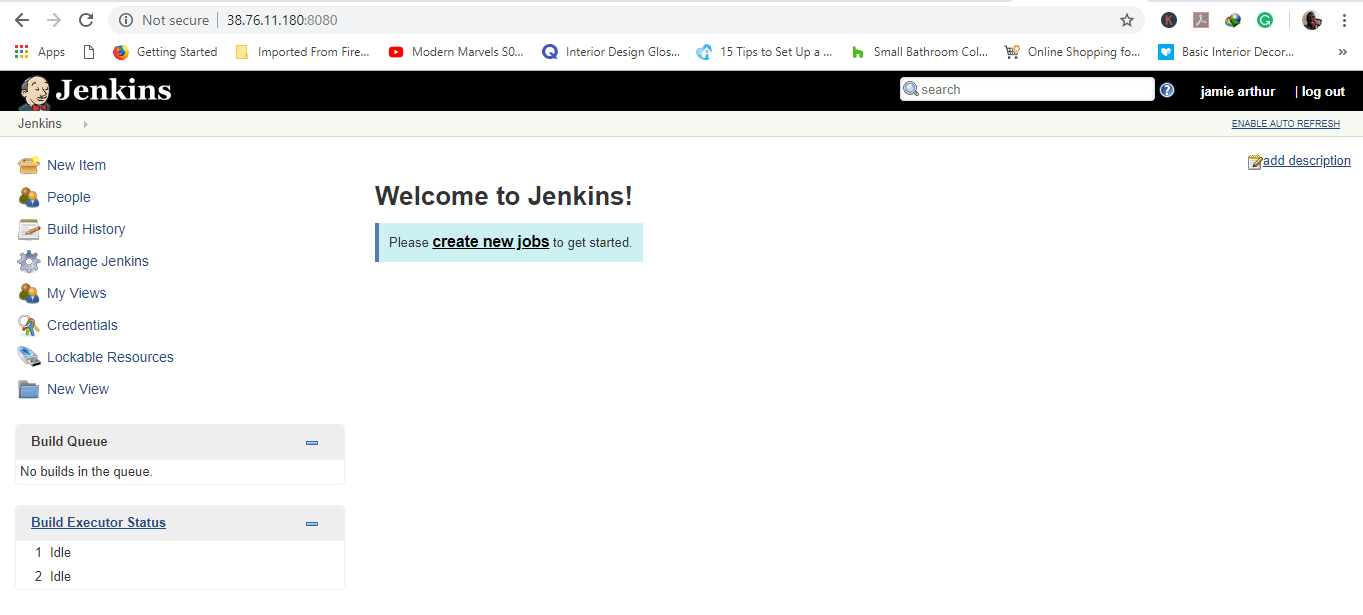
Click on ‘Start Using Jenkins’ to visit Jenkins dashboard.
That’s it guys for today. Thank you for your time and feel free to try out the commands in this guide to set up your own Jenkins server.

