PHP 8.1 was released on November 25, 2021, and is a minor release of the PHP 8 series. It comes with its own unique set of features and deprecations. Check out some of the new features provided by the latest version. In this guide, we will demonstrate how to install PHP 8.1 on Ubuntu 20.04 / 22.04.
Step 1: Update Ubuntu 20.04 / Ubuntu 22.04
Right off the bat, log in to your instance of Ubuntu and update the package index as follows:
$ sudo apt update
Once the package lists have been updated, you can verify if you have any version of PHP installed. To do so, run the command:
$ php -v
If PHP is not installed, you should get a warning that ‘php’ not found. You will then get a suggestion of how you can install PHP. Here, the terminal output points out how we can install PHP 7.4

Our mission, however, is to install PHP 8.1, and therefore we will ignore this suggestion.
Step 2: Install prerequisites
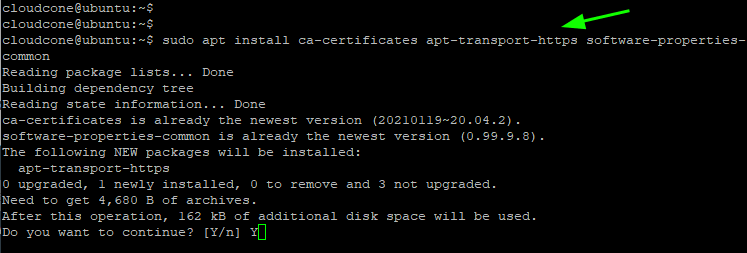
Before we proceed with the installation of PHP 8.1, we need to install a few prerequisites. Install the following requirements for the installation to proceed smoothly.
$ sudo apt install ca-certificates apt-transport-https software-properties-common
Press ‘Y’ when prompted to continue with the installation.
Step 3: Install Ondrej PHP repository on Ubuntu 20.04
PHP 8.1 is not available on the official Ubuntu repositories. In order to install it, we need to add the Ondrej PHP repository which provides the latest versions of PHP. To achieve this, we will run the command:
$ sudo add-apt-repository ppa:ondrej/php
You should see the following output:
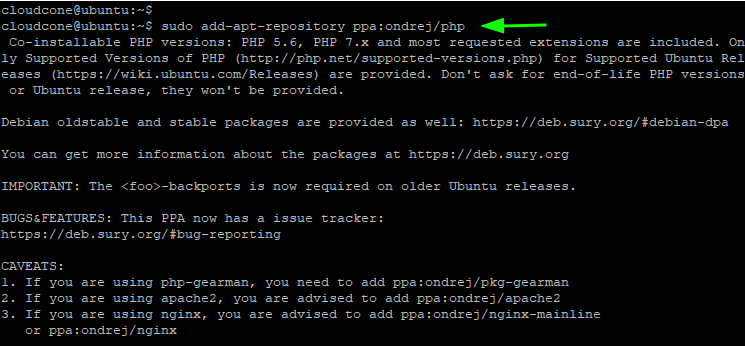
When you get to this section, simply press ENTER to proceed with the installation.

To verify that the repository was added, run the command:
$ sudo grep -rhE ^deb /etc/apt/sources.list* | grep -i ondrej

Next, update your package lists for the system to sync with the newly added repository.
$ sudo apt update
Step 4: Install PHP 8.1 on Ubuntu 20.04 / 22.04
At this point, the only thing left to do is to install PHP 8.1. To do so, use the APT package manager as shown.
$ sudo apt install php8.1 -y
This installed PHP 8.1, Apache webserver alongside other additional packages and dependencies.
Once the installation is complete, run the command:
$ php -v

The output above confirms that PHP 8.1 has successfully been installed.
The other approach is to create a PHP file in the webroot directory which will provide detailed information about the PHP version installed. To do this, create a sample info.php file.
$ sudo nano /var/www/html/info.php
Then add the following lines of PHP.
<?php

phpinfo();

?>
Save and exit the configuration file. Next, restart Apache for the changes to come into effect.
$ sudo systemctl restart apache2
Then verify the status of Apache.
$ sudo systemctl status apache2
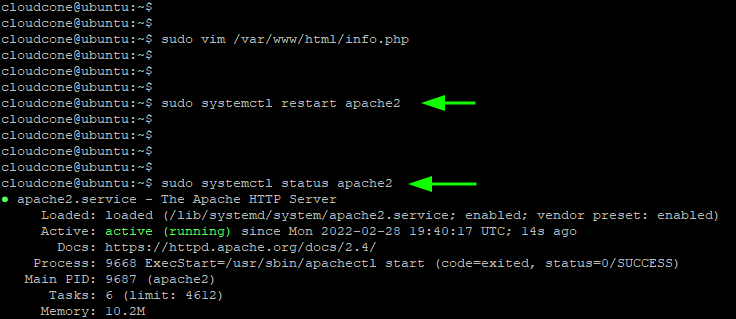
Now browse the following URL
http://server-ip/info.php
If all went well, you should get the following output on your web browser indicating the version of PHP installed alongside other detailed information.
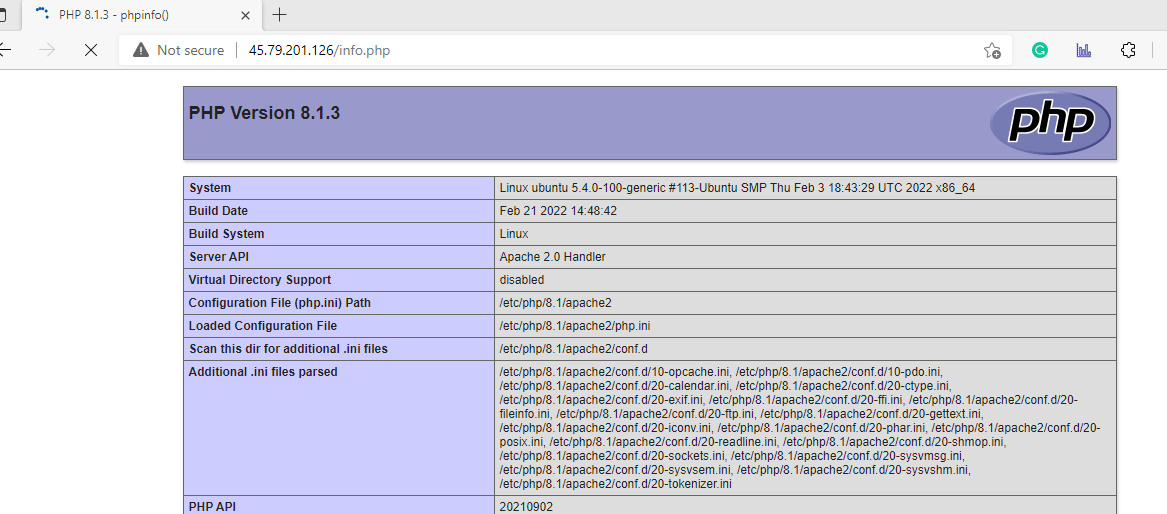
This is sure confirmation that PHP 8.1 is installed.
Step 5: Install PHP extensions ( Optional )
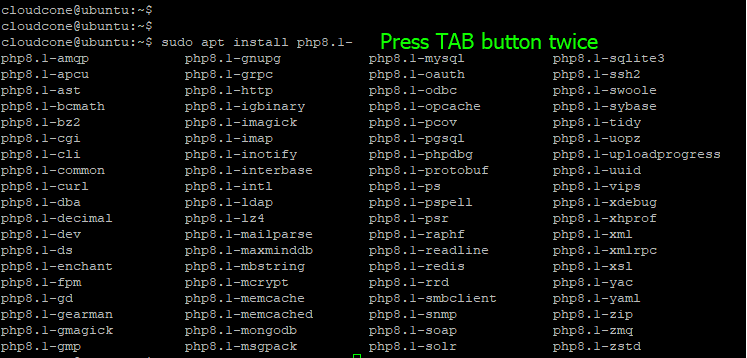
This is a step for those who wish to proceed and install PHP extensions. To check the available PHP extensions, run the following command:
$ sudo apt install php8.1-[ Hit TAB button twice]
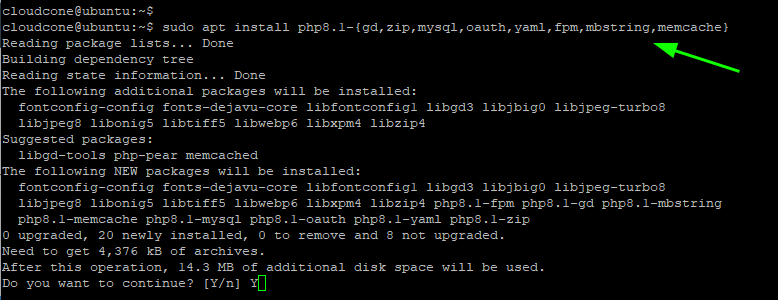
We will install a few PHP extensions for demonstration purposes.
$ sudo apt install php8.1-{gd,zip,mysql,oauth,yaml,fpm,mbstring,memcache}
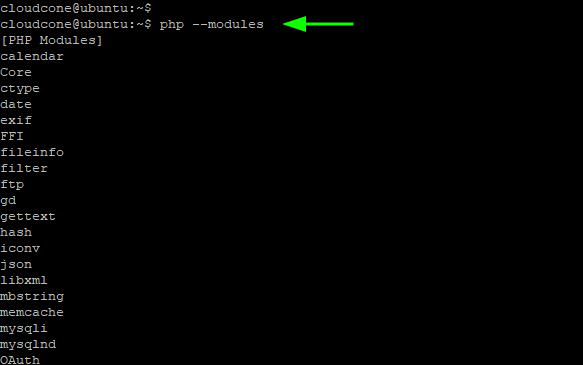
To check all the loaded PHP modules, run:
$ php --modules
Conclusion
This wraps up the guide today. This is a walkthrough of how you can install PHP 8.1 on Ubuntu 20.04 / 22.04.

