Netdata is a distributed, scalable, real-time performance and health monitoring solution for Linux, FreeBSD, and macOS. It is a free and Open Source tool that is helpful for troubleshooting real-time issues. It monitors processes such as memory, CPU utilization, disk input/output, network bandwidth, system applications, MySQL database among other system real-time metrics. The metrics are visualized on stunning interactive dashboards in form of graphical charts. In this tutorial, you will learn how to install Netdata on Ubuntu 20.04.
There are two methods that you can employ.
1) Installation using an automated script.
2) Manual installation by cloning Netdata from the Github repository.
We will take a look at each of these installation methods in turn.
1) Install Netdata on Ubuntu 20.04 using an automated shell script
The easiest way to install Netdata on your system is using an automated installation script shown. On the command line, execute the command below.
$ bash <(curl -Ss https://my-netdata.io/kickstart.sh)
The script will begin by first identifying the operating system and print out eh details as indicated in the image below.
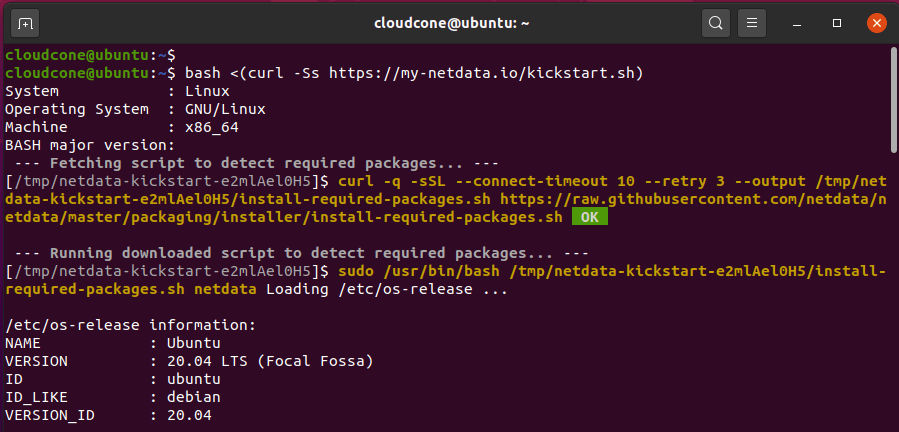
The script will prompt you to update the system and install the prerequisite packages. Press the ENTER key to continue.

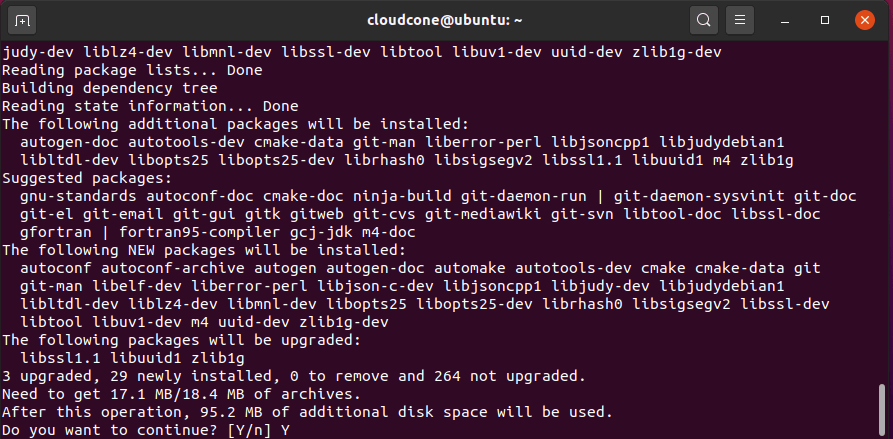
Additional packages will also be installed. When prompted, press ‘Y’ for yes and press ENTER.
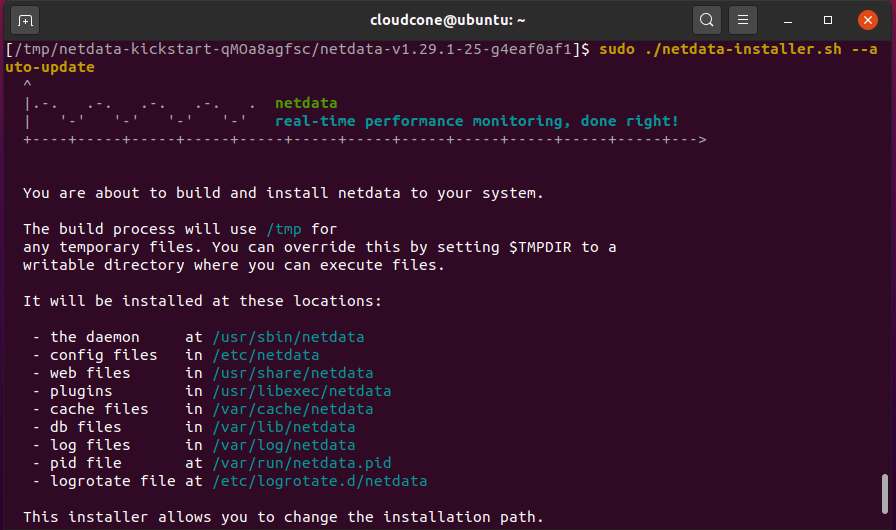
Thereafter, some information about the location of crucial Netdata files will be displayed as follows.
Finally, some basic instructions on how to access the Netdata dashboard will be displayed alongside how start and stop Netdata.
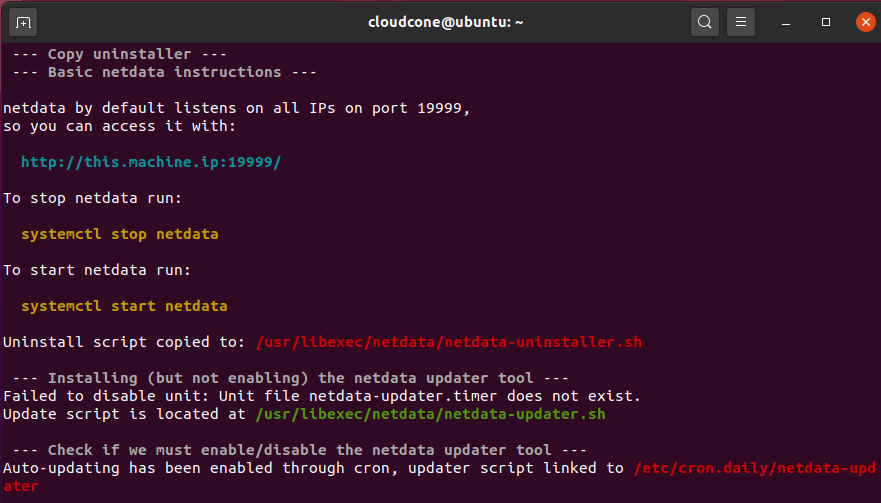
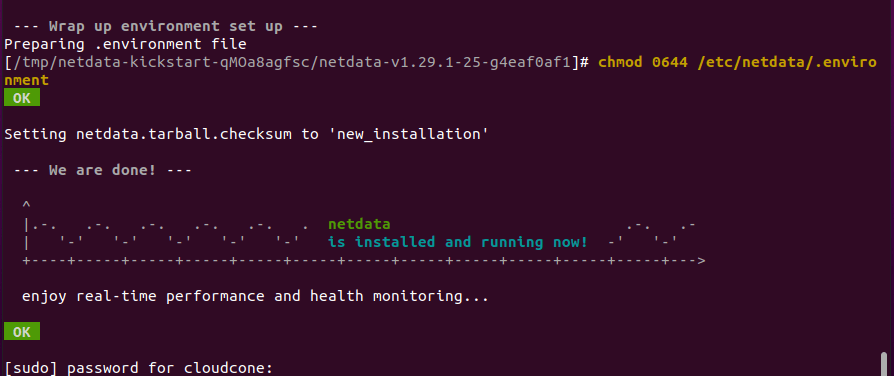
The installation will eventually wrap up as evidenced by the output below.
Start and enable Netdata as shown:
$ sudo systemctl start netdata

$ sudo systemctl enable netdata
You can confirm the status of Netdata as shown
$ sudo systemctl status netdata
2) Install Netdata from Ubuntu repository
Alternatively, you can use the APT package manager as shown.
$ sudo apt update

$ sudo apt install netdata
Once Netdata is installed, edit the Netdata default configuration file. The default “bind socket to IP” parameter is set to 127.0.0.1. This is okay for accessing netdata on your local system. Update it with your system’s IP address to enable access from a remote system.
$ sudo vim /etc/netdata/netdata.conf
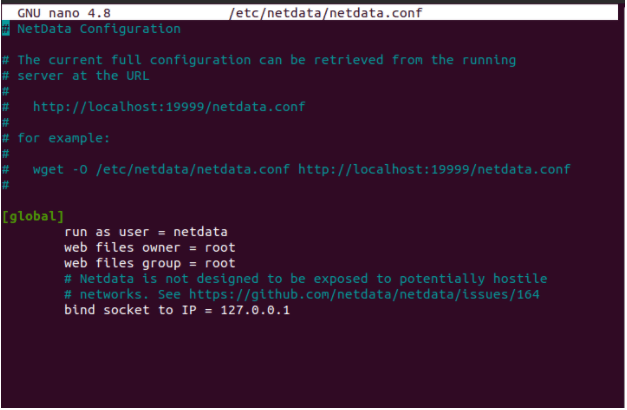
Save and close the file when you are done. Then, restart Netdata for the changes to take effect
$ systemctl restart netdata
To verify the status of Netdata run:
$ systemctl status netdata
3) Access Netdata
By default, Netdata listens to port 19999. We are going to access Netdata from a web browser. Therefore, open a web browser and browse the URL shown.
http://server-ip:19999
This displays a dashboard displaying an overview of various system metrics such as CPU and Memory utilization.
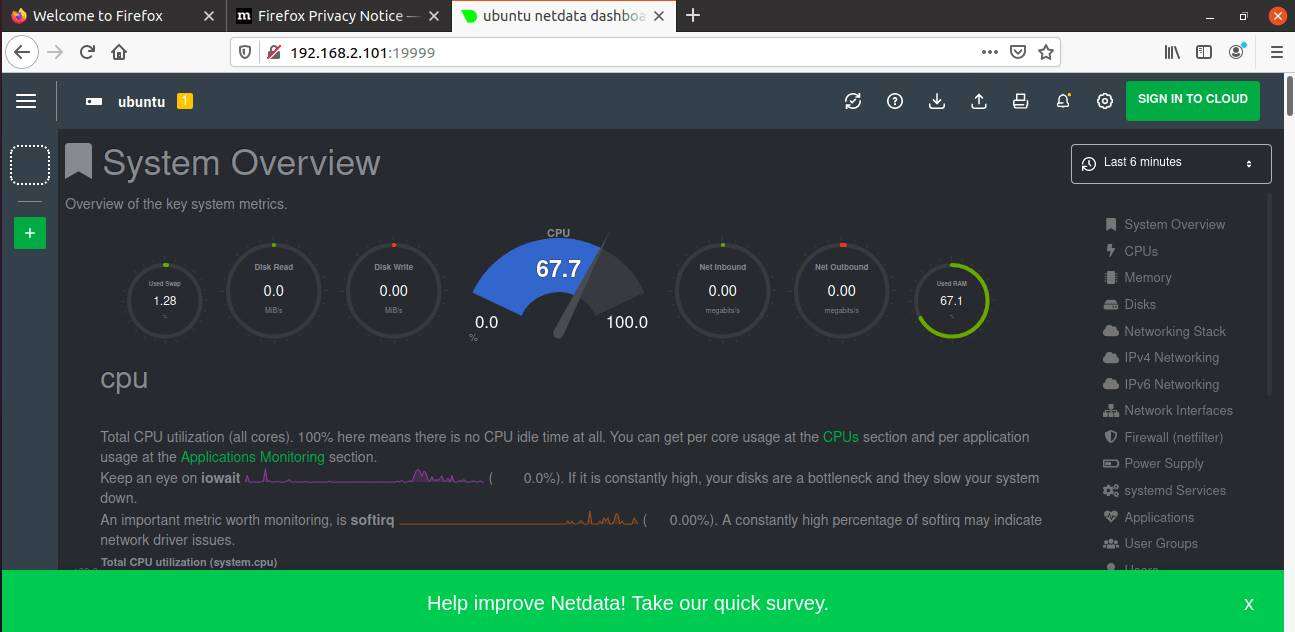
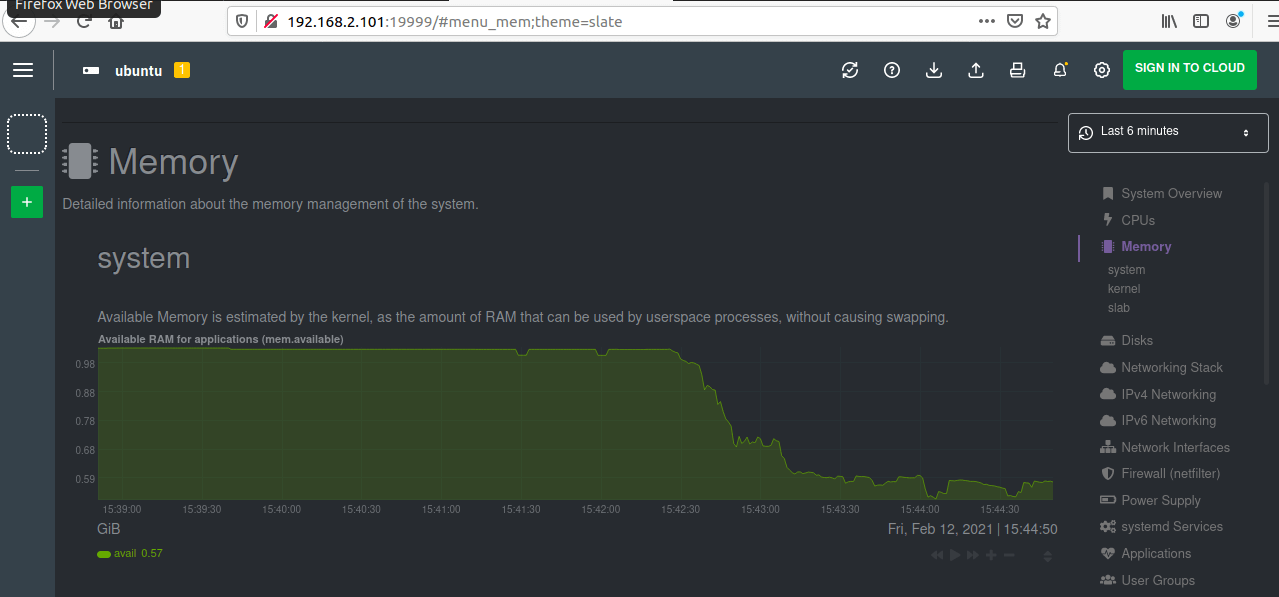
You can view the rest of the metrics by click the options located on the right pane. For example, to view memory utilization, click on the ‘Memory‘ tab.
Hopefully, you can now install Netdata on your system. Thanks for taking your time. Your feedback is most welcome.

