What is LAMP stack?
A LAMP stack is a collection of open source software (Linux, Apache, MySQL, PHP), also known as a Web Stack, installed on a server to enable it to host dynamic websites.
This guide will show you how to get a LAMP stack installed on an Ubuntu 16.04 server.
Before You Begin
Update your system by running the following command:
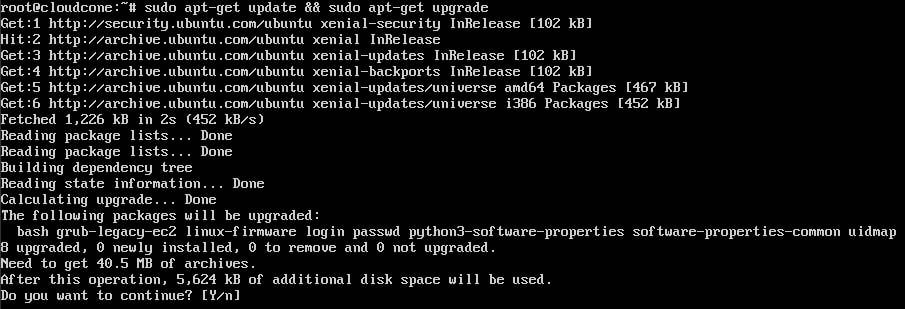
sudo apt-get update && sudo apt-get upgrade
The first command will update the package list from the repositories and the second command will install the newest versions of all packages currently installed on the system. These two commands are combined with ‘&&’.

You will be shown a list of packages that will be upgraded. Type y and press enter to continue.
Step 1: Install Apache
Apache is an open source multi-platform web server. It’s well documented, and has been the most popular web server on the Internet since 1996.
Run the following command on your terminal to install Apache:
sudo apt-get install apache2

You will be shown a list of packages that will be installed along with the space needed for them. Type y and press enter to continue.
Now open up your web browser and navigate to the server’s public IP address.
http://server_ip_adress
If you don’t know your IP address, run the following command:
ifconfig
Tip: You can also find your server’s public IP address easily on the CloudCone control panel.
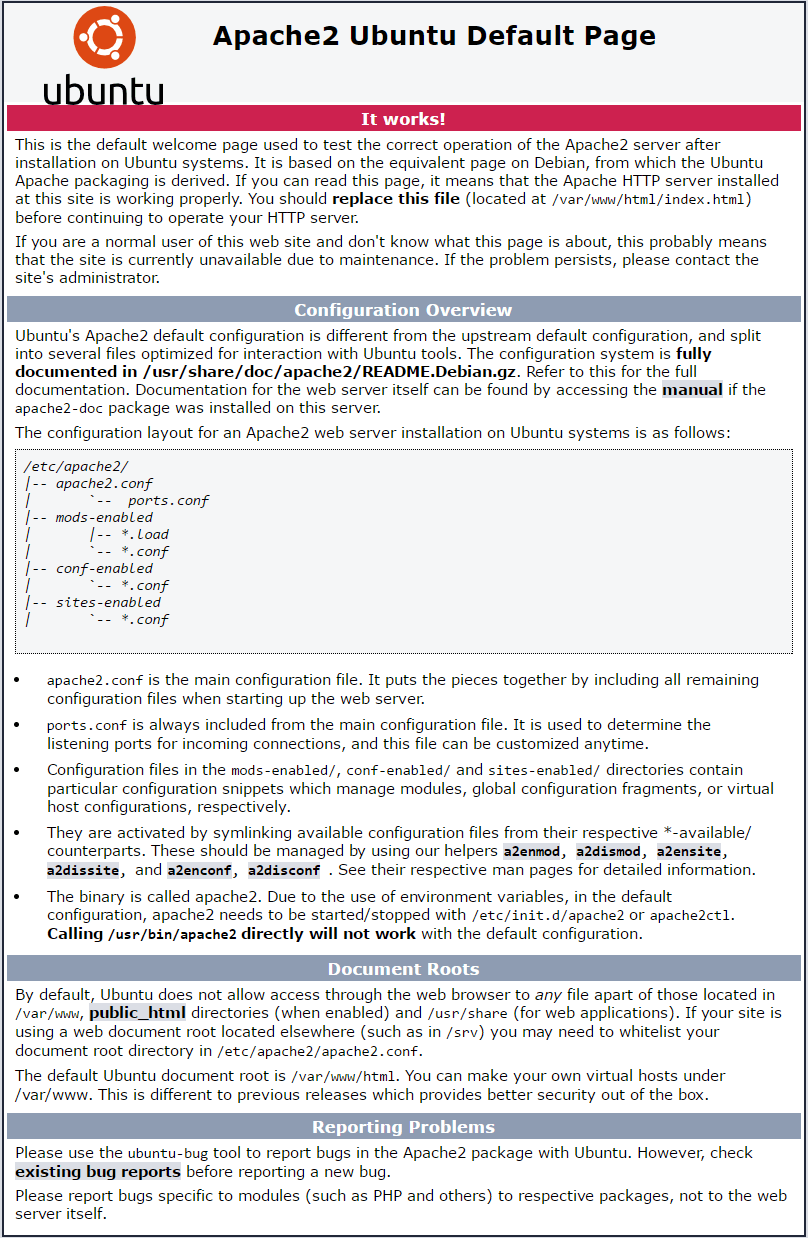
If you see the default Apache2 web page as shown below, then the web server is correctly installed and can be accessed through the internet.

Step 2: Install MySQL
MySQL is an open source relational database management system (RDBMS) based on Structured Query Language (SQL) that runs as a server providing multi-user access to databases.
Run the following command to install MySQL:
sudo apt-get install mysql-server
Again, you will be shown the list of packages that will be installed and the disk space needed. Type y and press enter to continue.
You will be asked to enter a password for the MySQL ‘root’ user. Type a secure password and then confirm it again on the next screen. It is not recommended to leave this password blank.
Once the installation is complete, run the following command to secure the MySQL installation:
mysql_secure_installation
Enter the MySQL root password which you set earlier to continue.

You will be asked whether you want to setup the VALIDATE PASSWORD plugin. While enabling this function will make your installation more secure, it can cause problems with with software which automatically configures MySQL user credentials with weak passwords, such as the Ubuntu packages for phpMyAdmin. It’s perfectly safe to not enable this feature as long as you make sure to use strong passwords for MySQL. Type y and press enter to enable it, or any other key to continue without enabling.
Next, you will be asked whether you want to change the password for ‘root’. Press y and hit enter to change it, or any other key to continue without changing if you’re happy with the current password.
For remaining questions, type y and press enter at each prompt.
Step 3: Install PHP
PHP (recursive acronym for PHP: Hypertext Preprocessor) is a widely-used open source general-purpose scripting language that is especially suited for web development and can be embedded into HTML.
Run the following command to install PHP along with some additional packages for integration with Apache and MySQL:
sudo apt-get install php libapache2-mod-php php-mcrypt php-mysql
Type y and press enter at prompt when you’re shown the list of packages that will be installed and PHP should be installed on your server without any issues.
Test PHP Processing
You can create a basic PHP file to ensure it’s installed properly on the server. Run the following command to create the file:
sudo nano /var/www/html/info.php
This will create a blank file with the name ‘info.php’ on Apache’s default web root directory.
Type the following PHP code in it:
<?php phpinfo(); ?>
Now save and close the file.
Tip: Press Ctrl + O and hit Enter to save the file, and Ctrl + X to exit the editor.
To test whether the server can correctly process the PHP file, simply visit this page on your browser by navigating to:
http://server_ip_address/info.php
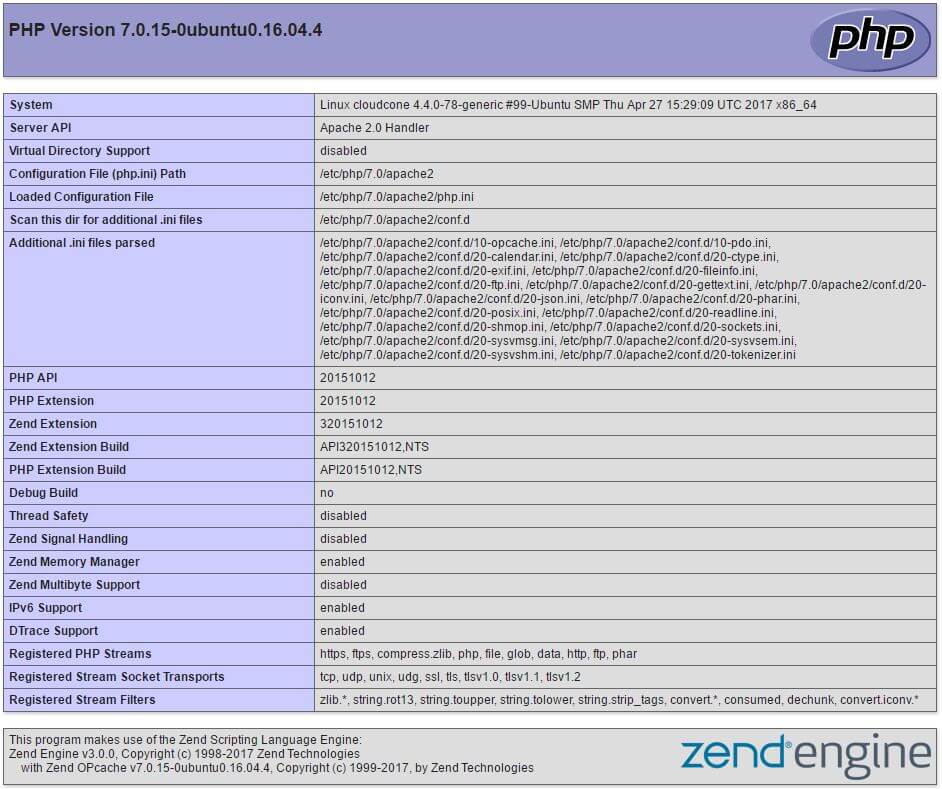
You should see a page similar to the following with some information about your server generated by PHP.

Make sure to remove the file we created by running the following command:
sudo rm /var/www/html/info.php
Conclusion
That’s it! We have successfully installed a LAMP stack on an Ubuntu server. You should be able to host and serve a dynamic website on your server through the Internet.
What’s next?
You can You can continue to install and configure more features on your server. Some popular options are:
- Create virtual hosts on Apache to host multiple websites.
- Install phpMyAdmin to manage your MySQL database from a web browser.
- Install Let’s Encrypt to secure your website with free SSL certificates.
- Install an FTP client to transfer files to and from your server.

