What is LAMP stack?
A LAMP stack is a collection of open source software (Linux, Apache, MySQL, PHP), also known as a Web Stack, installed on a server to enable it to host dynamic websites.
This guide will show you how to get a LAMP stack installed on a CentOS 7 server.
Before You Begin
Update your system by running the following command:
sudo yum update
Step 1: Install Apache
Apache is an open source multi-platform web server. It’s well documented, and has been the most popular web server on the Internet since 1996.
Run the following command on your terminal to install Apache:
sudo yum install httpd

You will be shown a list of packages that will be installed along with the space needed for them. Type y and press enter to continue.
Now let’s start Apache and also enable it to start at boot using the following commands:
sudo systemctl start httpd.service
sudo systemctl enable httpd.service
CentOS 7 by comes with firewalld, a complete firewall solution installed by default. So we’ll need to open port 80 on it to accept incoming connections to Apache. The easiest way to do this is by adding the http/https service rules to firewalld using the following commands.
sudo firewall-cmd --permanent --zone=public --add-service=http
sudo firewall-cmd --permanent --zone=public --add-service=https
sudo firewall-cmd --reload
We should now be able to access the web server without any issues. So open up your web browser and navigate to the server’s public IP address.
http://server_ip_adress
If you don’t know your IP address, run the following command:
ip addr
Tip: You can also find your server’s public IP address easily on the CloudCone control panel.
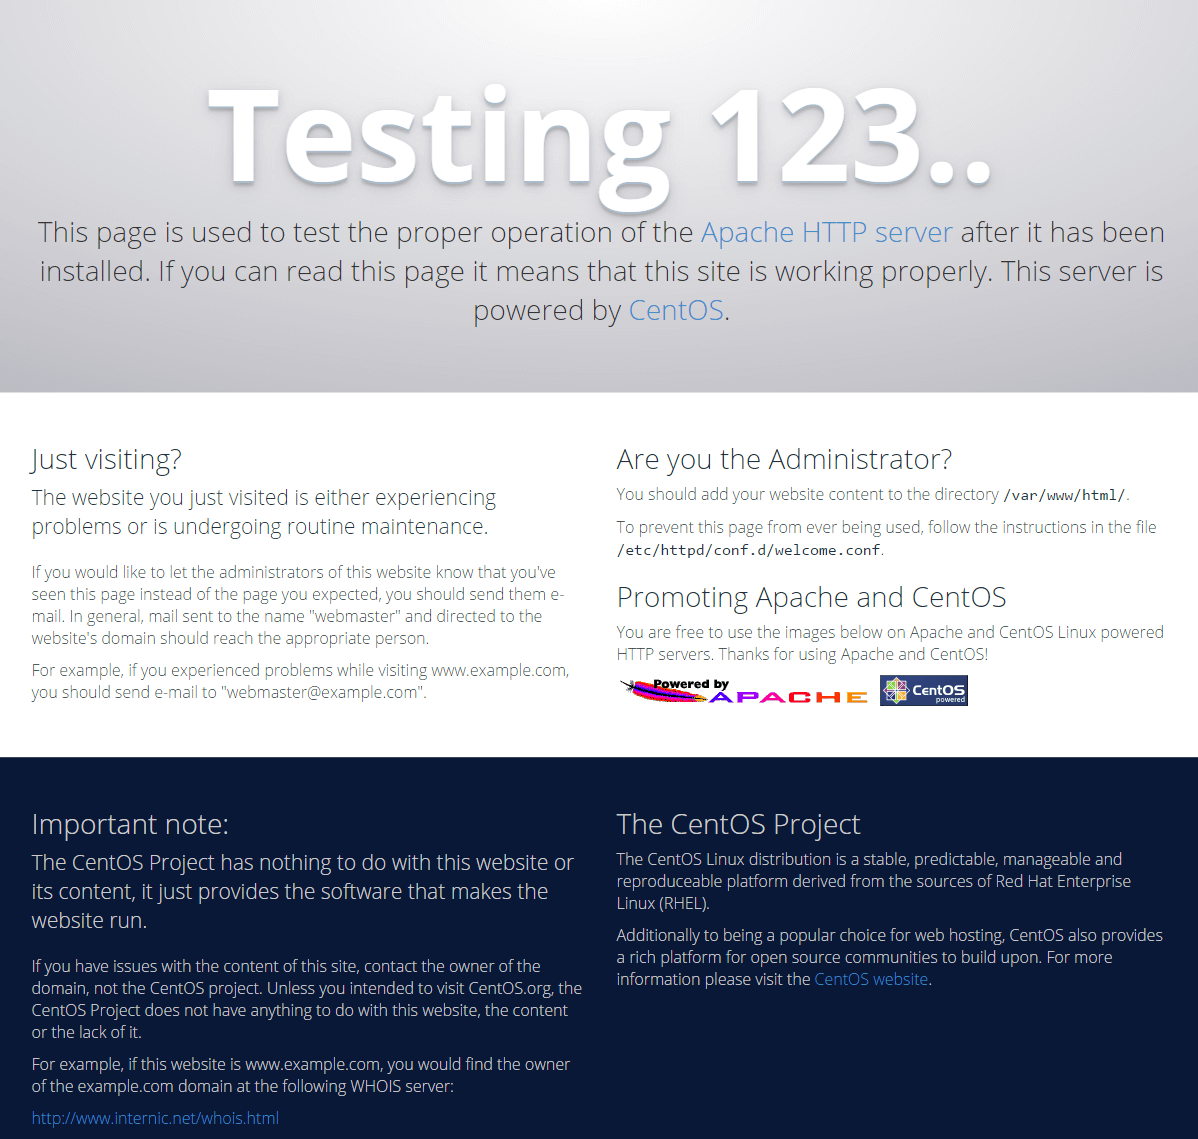
If you see the default CentOS Apache web page as shown below, then the web server is correctly installed and can be accessed through the internet.

Step 2: Install MySQL (MariaDB)
MariaDB is a drop-in replacement for MySQL. It is a community-developed fork of the MySQL which is an open source relational database management system (RDBMS) based on Structured Query Language (SQL) that runs as a server providing multi-user access to databases.
Run the following command to install MySQL:
sudo yum install mariadb-server mariadb
Again, you will be shown the list of packages that will be installed and the disk space needed. Type y and press enter to continue.
Start MariaDB and also enable it to start at boot using the following commands:
sudo systemctl start mariadb.service
sudo systemctl enable mariadb.service
Once the installation is complete, run the following command to secure the MariaDB installation:
mysql_secure_installation
It’ll ask for the current ‘root’ password. As we haven’t set a root password yet, just press Enter without pressing any key to continue.
Next it’ll ask you to set a root password. It’s recommended that you type y and press Enter and set a strong password here. But if you want to you can type n and press Enter to continue without setting one.
For remaining questions, press Enter at each prompt to continue with the default actions.
Step 3: Install PHP
PHP (recursive acronym for PHP: Hypertext Preprocessor) is a widely-used open source general-purpose scripting language that is especially suited for web development and can be embedded into HTML.
Run the following command to install PHP along with the php-mysql package:
sudo yum install php php-mysql
Type y and press enter at prompt when you’re shown the list of packages that will be installed and PHP should be installed on your server without any issues. But we need to restart Apache for it to start working with PHP. You can do this by typing the following command:
sudo systemctl restart httpd.service
Test PHP Processing
You can create a basic PHP file to ensure it’s installed properly on the server. Run the following command to create the file:
sudo vi /var/www/html/info.php
This will create a blank file with the name ‘info.php’ on Apache’s default web root directory.
Type the following PHP code in it:
<?php phpinfo(); ?>
Now save and close the file.
Tip: Once you open the blank file, press i to enter into insert mode where you can type text. After you’re done, press Esc and type :wq and press Enter to save the file and exit the editor.
To test whether the server can correctly process the PHP file, simply visit this page on your browser by navigating to:
http://server_ip_address/info.php
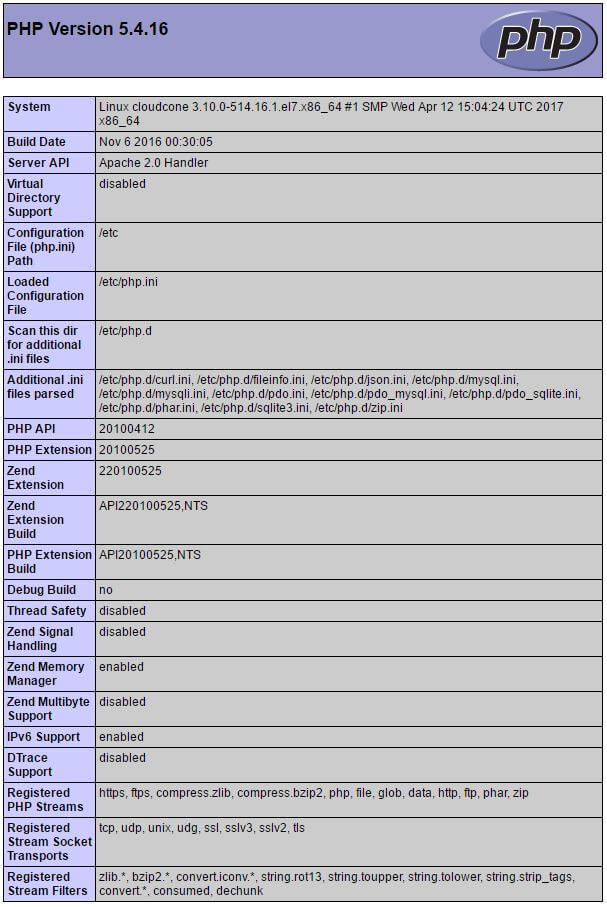
You should see a page similar to the following with some information about your server generated by PHP.

Make sure to remove the file we created by running the following command:
sudo rm /var/www/html/info.php
Conclusion
That’s it! We have successfully installed a LAMP stack on a CentOS server. You should be able to host and serve a dynamic website on your server through the Internet.

