Fail2ban is an application that is used for monitoring system log files for brute force login attempts. It’s an intrusion prevention system that detects unauthorized access attempts and prevents the breach by blacklisting the attackers’ IP address. Fail2ban works quietly in the background scanning for security breach attempts. In this guide, you will learn how to install fail2ban on CentOS 7.
Prerequisites
Before getting started, ensure that you have an instance on CentOS 7. You can get started with Cloudcone’s high-performance and managed cloud server at only $ 3.71.
Installing fail2ban
To start off, ensure that your system has epel repository (Extra Packages For Enterprise Linux) installed. IF not installed, install epel by running the command below
# yum install epel-release
Sample output

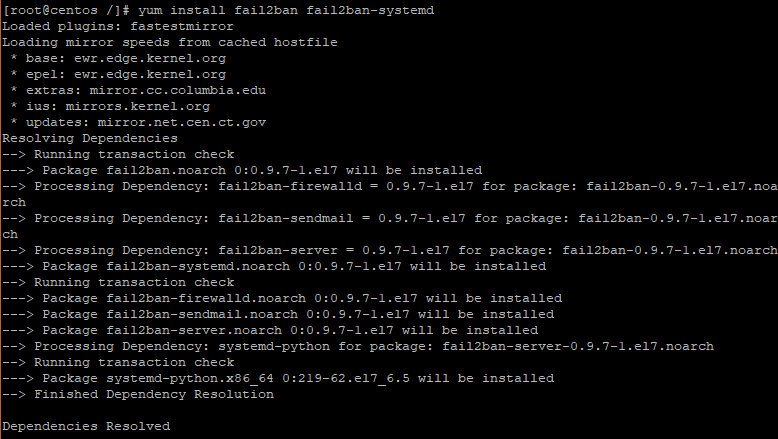
Next, install fail2ban using the command below
# yum install fail2ban fail2ban-systemd
Sample output

If SELinux is installed, update the policies using the command below
# yum update -y selinux-policy*
Configuring settings for Fail2ban
With the successful installation of fail2ban, it’s time now to make a few modifications to its configuration file. The default settings are contained in the fail2ban.conf configuration file. However, we are going to make the modifications in a separate file fail2ban.conf which will override the fail2ban.conf file. To achieve this, we are going to copy the file and rename it fail2ban.local
cp /etc/fail2ban/fail2ban.conf /etc/fail2ban/fail2ban.local
Now, using your favorite text editor, open the fail2ban.local as shown. I’m using vim editor in this example
vim /etc/fail2ban/jail.local
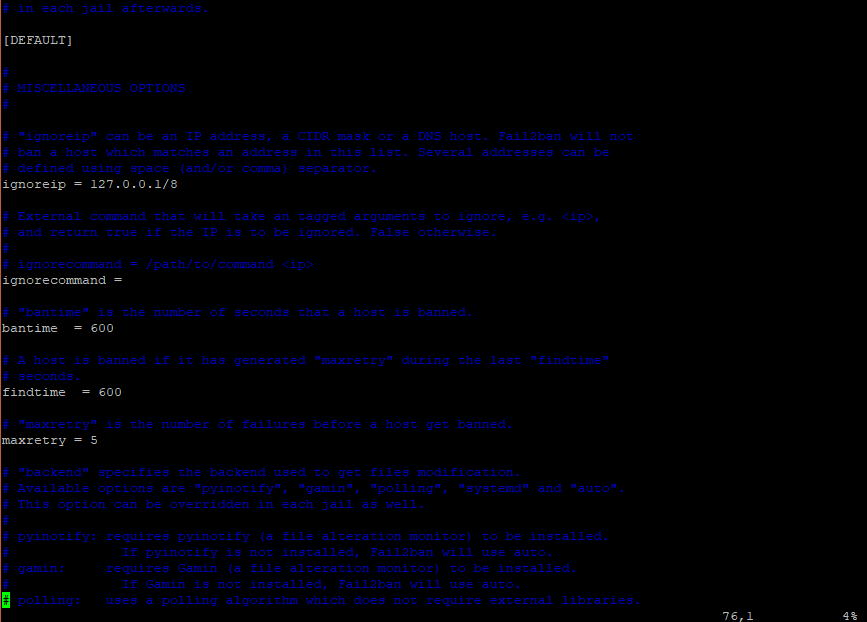
Here’s a sample section of the configuration file

Let’s take a look at a few parameters
Ignoreip: Selects the list of IP addresses that will not be banned.
Ban: Determines the duration in seconds during which a host is banned after a number of failed attempts.
Findtime: This is the parameter used for checking if a host is banned or not. When a host generates maxretry in its last findtime, it is banned.
Maxretry: This parameter sets the limit for the number of retries by a host. If the limit is exceeded, the host is banned.
Creating a Jail file to monitor SSH logins
Since attackers mostly target SSH port 22 when trying to infiltrate systems, we will add a ssh.local jail file
vim /etc/fail2ban/jail.d/sshd.local
Append the following content
[sshd]
enabled = true
port = ssh
#action = firewallcmd-ipset
logpath = %(sshd_log)s
maxretry = 5
bantime = 86400
The parameter enabled is set to true toprovide protection.
maxtry denotes the maximum number of failed attempts before the IP of the attacker is blocked
bantime is the duration in seconds during which the IP remains blocked
Running fail2ban service
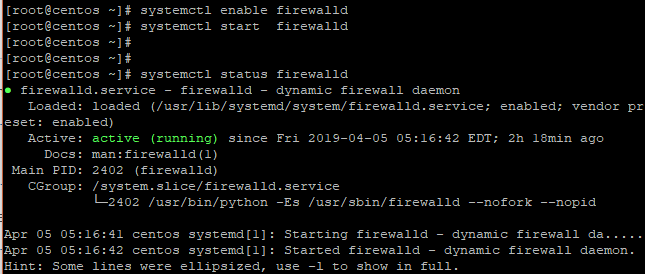
Before running the service , ensure that your furewall is up and running. You can enable and start firewalld using the command
systemctl enable firewalld
systemctl start firewalld
Sample output

Next , execute the following commands to enable and start fail2ban service
systemctl enable fail2ban
systemctl start fail2ban
Sample output

Tracking Failed login attempts
To check failed root login attempts use the command below
cat /var/log/secure | grep 'Failed password'
The output will look something as shown below
Sample output

To get the list of banned IP addresses run
iptables -L -n
To check the status of jail bans run
fail2ban-client status

And that’s how you install Fail2ban on CentOS 7. Give it a try and let us know how it went.

