Plex is a client-server media server that lets you organize and stream your music, movies, pictures on your PC. Also, once you have a Plex media server installed on your PC, you can access your media files through the internet. Plex is a cross-platform media server and can easily be installed on Windows, Linux, and macOS. In this article, you will learn how to install Plex Media Server on CentOS 8.
Prerequisites
Before you begin, ensure that you have the following in place:
- An instance of CentOS 8 server
- A stable internet connection
- A regular user with sudo privileges
Step 1: Add repository for Plex Media Server on CentOS 8
The Plex media server package is not available on the official CentOS 8 App stream repository. So we are going to create a repository on CentOS 8 first:
$ vim /etc/yum.repos.d/plex_media.repo
Add the following lines
[Plex]
name=Plex
baseurl=https://downloads.plex.tv/repo/rpm/$basearch/
enabled=1
gpgkey=https://downloads.plex.tv/plex-keys/PlexSign.key
gpgcheck=1
Save the file and exit the text editor.
Step 2: Install Plex Media Player
Once you have created the Plex media server repo, proceed and install Plex Media player as follows:
$ sudo dnf install plexmediaserver

When prompted to import the GPG key, simply press ‘y’ to accept.

Once installed, enable the plex media service on boot and start it by executing the commands:
$ sudo systemctl enable plexmediaserver

$ sudo systemctl start plexmediaserver

Step 3: Configure firewall settings
The next step is to configure firewall settings to allow external users to access the Plex media server. Run the following commands to allow the Plex service across the firewall.
$ sudo firewall-cmd --add-service=plex --zone=public --permanent
$ sudo firewall-cmd --reload

By default, Plex runs on port 32400. You can confirm if the service is listening on that port using the netstat command:
$ sudo netstat -pnltu | grep -i netstat

Step 4: Accessing Plex Media Server
To finalize setting up the Plex Media Server, open your browser and browse your server’s address as shown:
http://server-ip:32400/web
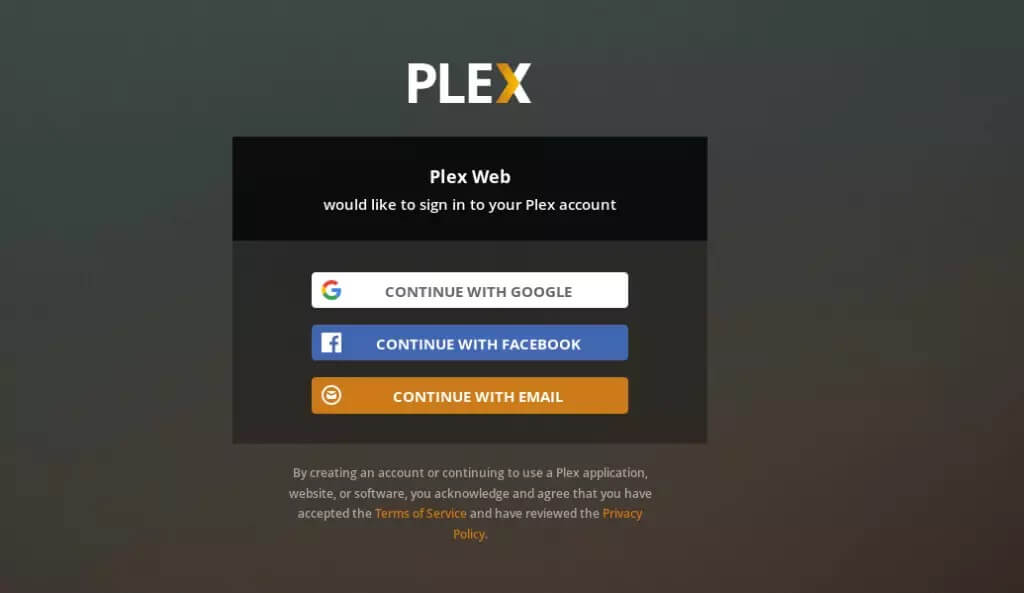
You will be presented with a couple of sing in options to your Plex account. You can sign in either using your Google Account, Facebook or Email.

The next section gives you an overview of How plex works including scanning your files and organizing them.

Next, scroll down and hit ‘GOT IT‘ to go to the next screen.

Next, select the premium plan that suits you:

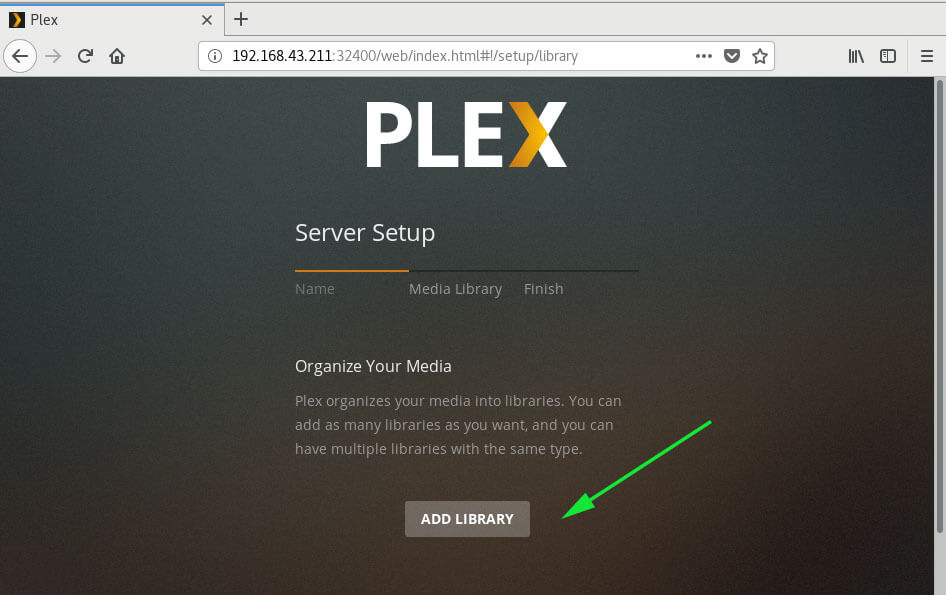
Next, click on ‘Add Library‘ to add your media files.

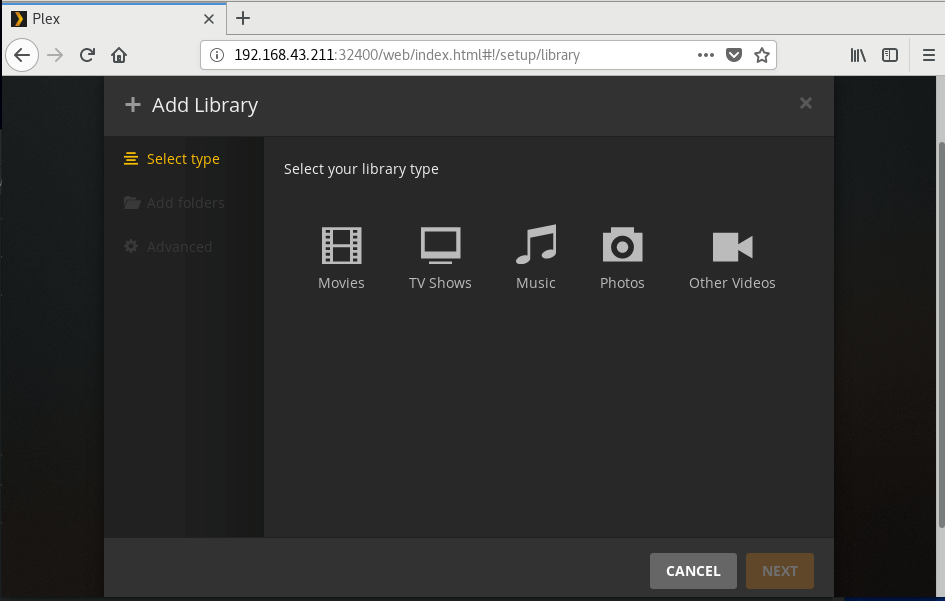
Select your media files and click Next.

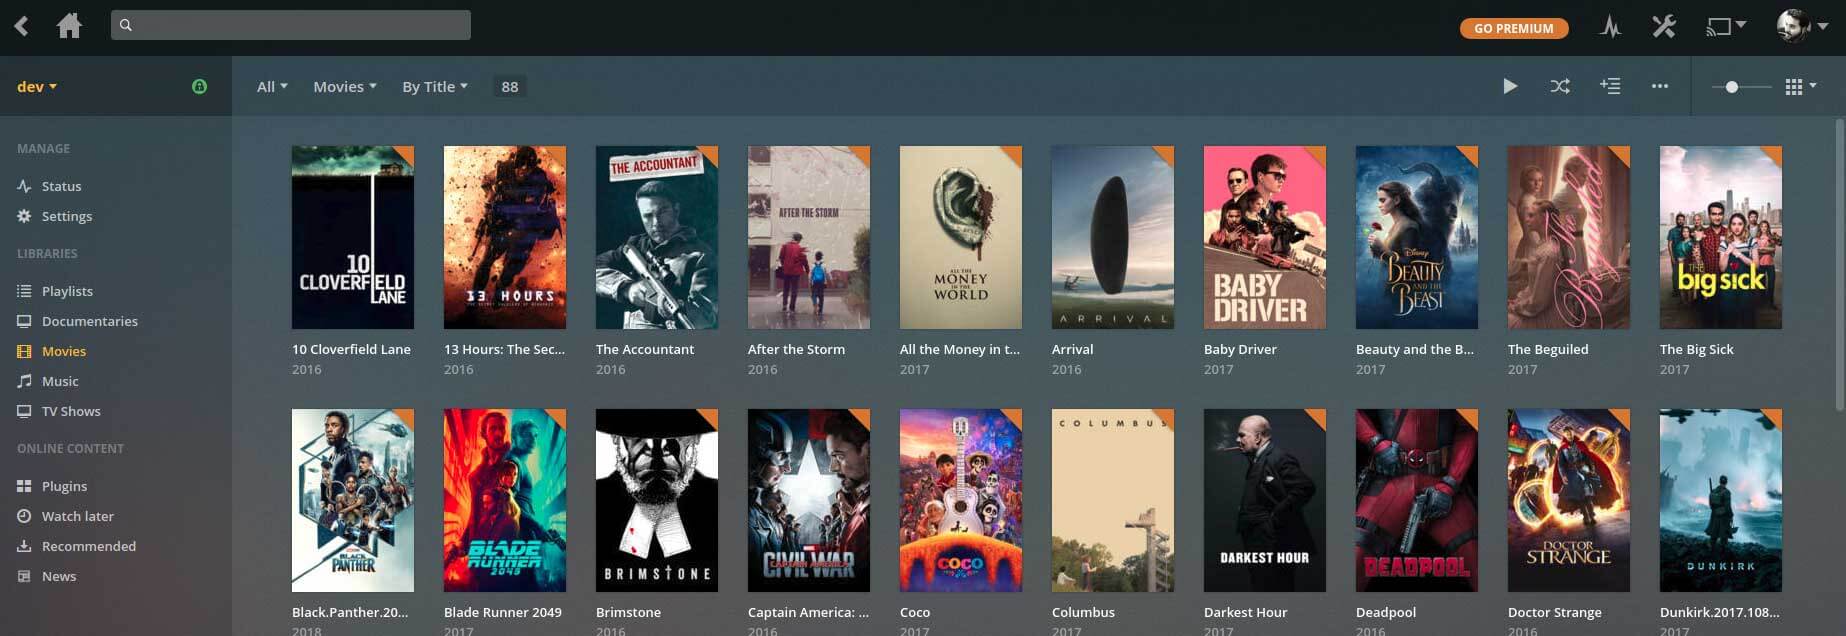
Your videos and movie files will finally be organized in a simple yet intuitive manner as shown below.

And this brings us to the end of this tutorial. You can now organize your files and access them remotely from your PC and other devices. Thanks for taking the time in this tutorial.

