Ansible is a free and open-source automation engine that removes the workload associated with repetitive tasks. It allows you to comfortably simplify your workload by automating different tasks in your IT environment. It makes use of SSH protocol to retrieve information from remote machines and manage them. In this guide, we will show you how you can install Ansible on Ubuntu 18.04 server
Let’s jump right in.
Ansible configuration setup
For purposes of demonstration, our setup will include an Ansible server which will be a Ubuntu 18.04 instance and 2 client nodes: Centos 7.5 and Debian 7. With Cloudcone, you can easily deploy stable and high-performance cloud servers at only $3.71
Ubuntu 18.04 – Ansible server
CentOS 7.5 – Client_1
Debian 7 – Client_2
You will also require SSH access to all the systems in the setup. Now let’s get started.
Step 1: Install Ansible on Ubuntu 18.04
We are first going to update and upgrade our system repositories using the commands below
$ sudo apt update -y

$ sudo apt upgrade -y

Now that our system repositories are up to date, we can proceed to install ansible. We are going to manually append the Ansible PPA to the server. To achieve this, run the following command
$ sudo apt-add-repository ppa:ansible/ansible
Sample output

Next, we are going to update the system repositories with the command
$ sudo apt-get update -y
Sample output

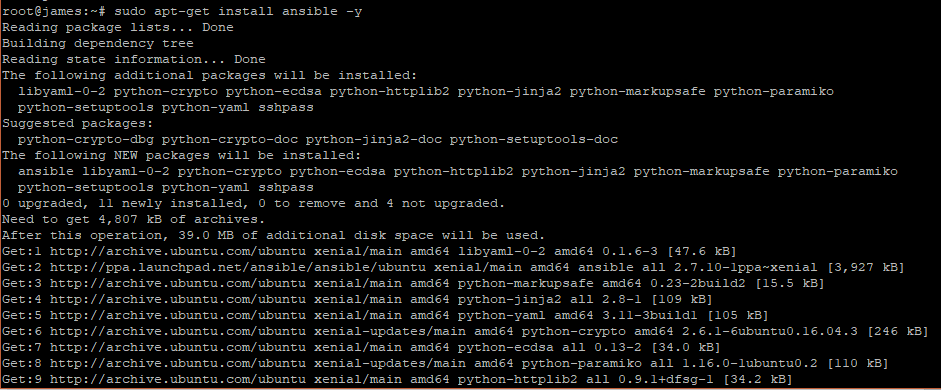
Now, we are going to install ansible using the command
$ sudo apt-get install ansible -y
Sample output

Upon successful installation of Ansible, you can verify the version of ansible installed by running
$ sudo ansible --version
Sample output

Step 2: Configuring Ansible
Next, you will need to define your client system which you want to manage in Ansible hosts file. You can do this by editing /etc/ansible/hosts file:
Next, we need to define the client systems that we want to manage in Ansible hosts file located in /etc/ansible/hosts file.
Open the /etc/ansible/hosts file
vim /etc/anisble/hosts
Add the following lines so that we can manage our 2 client systems
[Client_1]
node1 ansible_ssh_host=173.82.105.77


[Client_2]
node1 ansible_ssh_host=173.82.208.144
Step 3: Configuring SSH keys for client systems
Since Ansible uses SSH protocol to communicate with client systems, we are going to configure SSH passwordless authentication.
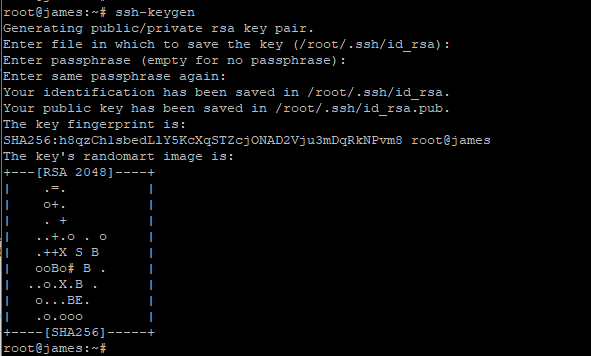
First, generate SSH keys using the command
$ ssh-keygen
When prompted, simply hit Enter
Sample Output

Next, copy the key from the server to the client systems as shown
$ ssh-copy-id -i ~/.ssh/id_rsa.pub root@host-IP
For the 2 client systems, the command will be
$ ssh-copy-id -i ~/.ssh/id_rsa.pub root@173.82.105.77
Sample Output

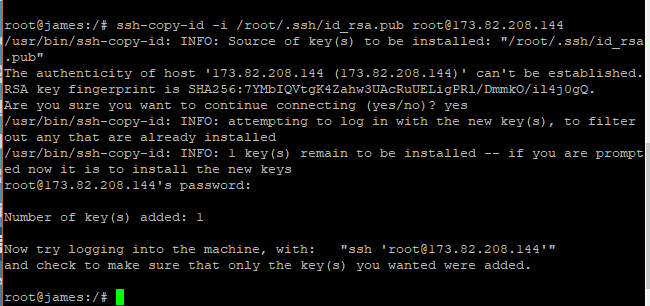
Similarly, do the same for the second client system running Debian
$ ssh-copy-id -i ~/.ssh/id_rsa.pub root@173.82.208.144
Sample Output

Step 4: Using Ansible
At this point, we have successfully installed and configured Ansible to work with our 2 clients systems
To ping our clients defined in /etc/ansible/hosts file using ansible, use the command
$ ansible -m ping Client_1
For the second client system, this will be
$ ansible -m ping Client_2
Sample Output

If you have multiple servers in your environment, you can run the command below to ensure that they are running
$ ansible -m ping all
Sample Output

To check the status of SSH in our first Client system run
$ ansible -m shell -a 'systemctl status sshd' Client_1
Sample Output

To display hidden files in the root directory on our Client 2 system, run
$ ansible -m shell -a 'ls -al /root' Client_2
Sample Output

Wonderful! This confirms that ansible is working and we are able to manage our client systems from a central point. This wraps up our tutorial. Your feedback is most welcome.

