WordPress can be installed on a VestaCP domain or a subdomain quite easily. If you want to install WordPress on a domain other than the main domain you’re using for VestaCP, you’ll need to add it to VestaCP first.
FIrst we’ll need to create a database to be used by WordPress, then upload the WordPress files onto the server and then run the installation script.
Creating a Database
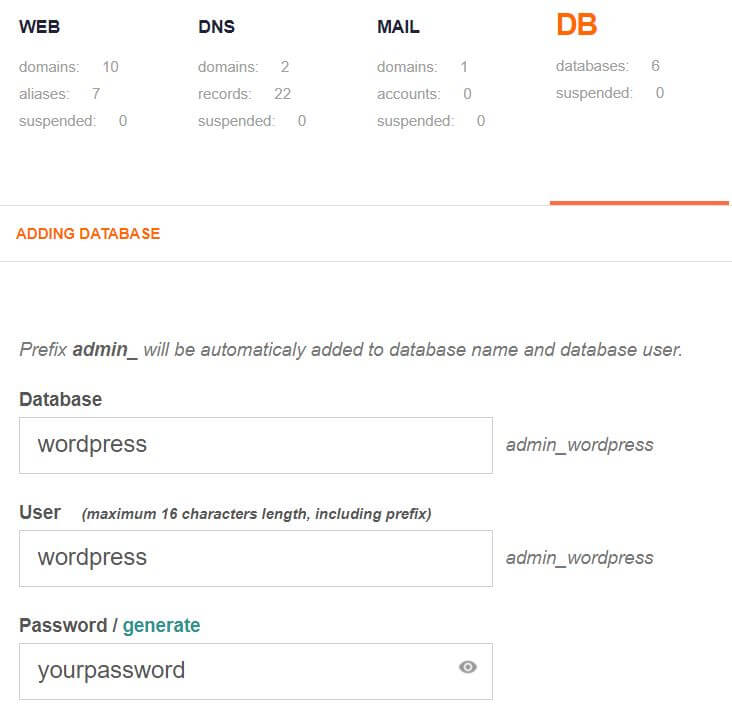
We can create a database effortlessly using VestaCP. Log in to VestaCP and go to the “DB” section. Click on the green add button to add a new database. Enter a name for the database and, a username and a password to access the database.

Make sure to note down the database name, username and the password. We’ll need this when installing WordPress later on.
Click on the Add button to create the database along with a database user.
Now we need to get the WordPress files onto the server.
Getting the WordPress Files onto Your Server
First, connect to your server via SSH. If you’re on Mac or Linux, you can simply open a terminal and type
ssh admin@your_ip_address
And then enter your admin password, which is the same password used to log in to VestaCP when prompted.
If you’re on Windows, you’ll need to download and install PuTTY to connect to your server via SSH.
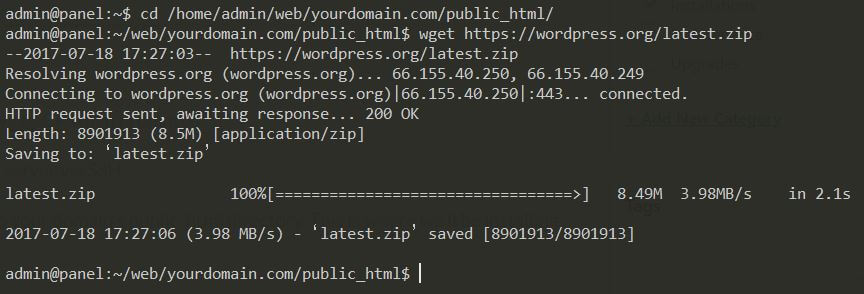
After you have connected to your server, type the following command to navigate to your domain’s public_html directory. This is where we’ll be installing WordPress.
cd /home/admin/web/yourdomain.com/public_html
Make sure to replace yourdomain.com with your actual domain to which you want to install WordPress.
Now we’ll have to download a zip file containing WordPress and extract it here. Enter the following command to download the zip file.
wget https://wordpress.org/latest.zip

Then extract the zip file.
unzip latest.zip
This will extract the archive to a directory named wordpress. So we’ll need to move the wordpress files back to the public_html directory. Type the following command to do it.
mv wordpress/* ./
Delete the zip file which we downloaded.
rm latest.zip
Running the WordPress Installation
Finally, we can continue with the WordPress installation. Visit the your domain on a web browser and you should be taken to the WordPress installation.
http://yourdomain.com
Follow the installation steps and when asked to enter database details, use the details you provided earlier when creating the database. Use localhost as the Database Host and continue on with the installation.
That’t it! You should now have a functioning WordPress website installed at your domain.

