Ansible is a free and opensource automation and content management tool that helps you to control and manage remote servers from a central server or machine. It is preferred over other automation technologies such as Puppet, Salt, and Chef since it is easy to learn, install and configure. Ansible uses SSH protocol to communicate and manage remote hosts and does not require installation and setup of agents on the remote systems, unlike other automation systems. In this guide, you will learn how to install and configure Ansible on Ubuntu 18.04
Ansible set-up Lab
To get started, we are going to install Ansible on a Control Node which will be our Ubuntu 18.04 system and manage another remote node. So in a nutshell, this is how our setup will look like:
-
- Ansible control node (Ubuntu 18.04)
- Managed Host (CentOS 7)
Let’s start by installing Ansible on Ubuntu 18.04
Step 1: Update the system
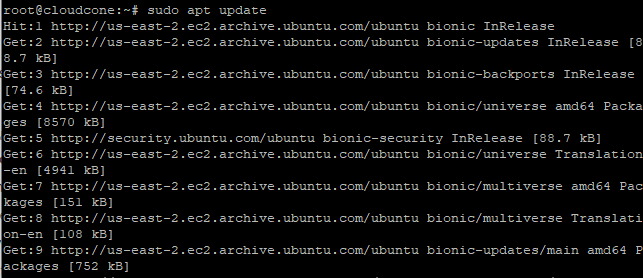
To start off, we need to update the system package list. to do so run:
$ sudo apt update
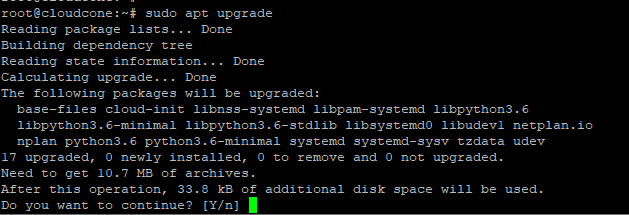
Next, upgrade the packages by running:
$ sudo apt upgrade
Step 2: Install Ansible
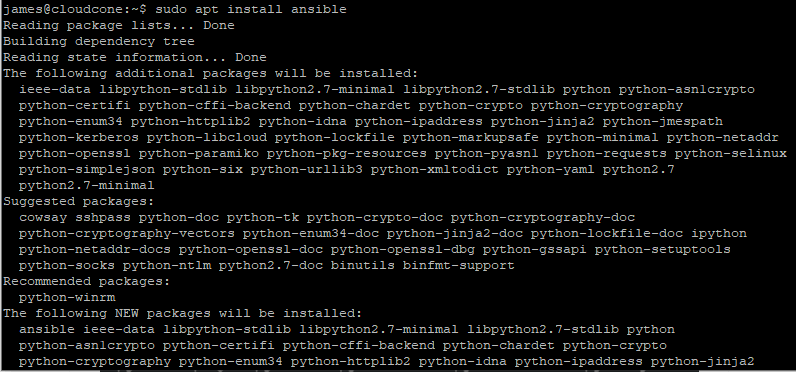
After successfully updating your system, install Ansible using the command:
# sudo apt install ansible
To confirm the installation, run the command:
# ansible --version

From the output above, we can see that we have successfully installed Ansible version 2.5.1 with the default configuration file at /etc/ansible/ansible.cfg
Step 3: Configure Ansible to communicate with a remote node
Having successfuly installed Ansible, let’s configure our Ansible control node to manage the remote node. The first step will be to configure a Passwordless SSH login to our remote node (CentOS 7) system.
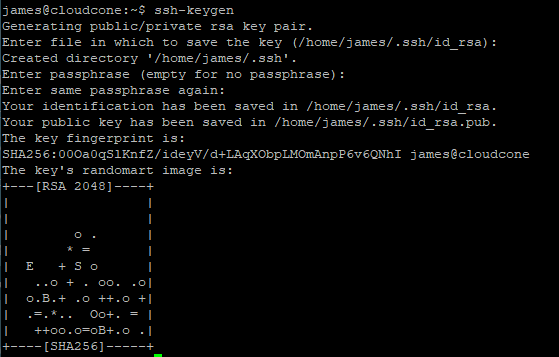
First, generate SSH keys using the command below
# ssh-keygen
Next, copy the public key to the remote CentOS 7 host using the ssh-copy-id command as shown
# ssh-copy-id root@173.82.115.165
Type the remote host’s password and hit ENTER to add the public key.
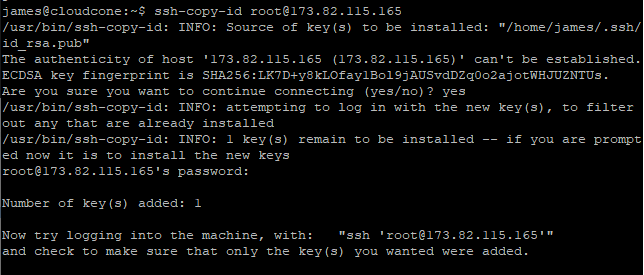
At this point, you can SSH to the remote host without being requested for a password.

Next, create a host file in /etc/ansible and define your remote host.
# vim /etc/ansible/hosts

In the configuration above, we have placed the host 173.82.115.165 under a group name called webserver.
On the Ansible control node, we are using the user James. If we try to connect to our remote host, this won’t work and we will end up getting an error if the same user is not on the system as well. Also, the SSH key is designed for the root user on the remote system and Ansible will try by default to connect as your current user.
Therefore, we will create a file that instructs all the servers in the ‘servers group to connect as the root user. To achieve this, we shall create a directory in the Ansible configuration structure called group_vars. Then within this folder, we will create a YAML file called servers.
sudo mkdir /etc/ansible/group_vars
sudo nano /etc/ansible/group_vars/servers
Add the following content:
---
ansible_user: root
Save and exit.
Step 4: Testing connectivity to the servers
With the remote host set up, now you can ping the remote server by running
$ ansible -m ping all

In the command above, all implies all hosts. To ping a specific host or group of hosts, issue the command:
$ ansible -m ping webserver

To check the version of the remote system, run the command:
# ansible -u james -i /etc/ansible/hosts -m raw -a 'uname -a' webserver

Conclusion
There you go. We have successfully managed to install and configure Ansible on Ubuntu 18.04 and tested connectivity and managed to retrieve information about our remote host.

