Elasticsearch is a distributed, open-source search and analytics engine based on the Lucene library. It enables you to store, search, and analyze enormous volumes of data quickly, with results arriving in milliseconds. Elasticsearch uses its extensive REST APIs to search, store and retrieve the data. In simpler terms, Elasticsearch acts as a server that can respond to JSON requests and provide JSON data. In this guide, we examine how you can install Elasticsearch on Rocky Linux.
The following commands have been tried out on Rocky Linux
Step 1: Install OpenJDK on Rocky Linux 8 / 9
Elasticsearch search engine is written in Java and Apache Lucene. As such, you need to install Java which is provided by OpenJDK. To install OpenJDK 11, first, update the system packages.
$ sudo dnf update -y
Next, install OpenJDK 11 as follows.
$ sudo dnf install java-11-openjdk

Confirm java is installed successfully with the command:
$ java --version

From the output, we have installed OpenJDK 11.
Step 2: Import ElasticSearch GPG key
Elasticsearch rpm packages are not available in the default Rocky Linux repository. Therefore, you need to import its GPG key, and to do so, run the following command.
$ sudo rpm --import https://artifacts.elastic.co/GPG-KEY-elasticsearch

Step 3: Add Elasticsearch Repository
Next, we are going to add the Elasticsearch 8.x repository in the /etc/yum.repos.d/ directory. To do this, create the following repository file.
$ sudo vim /etc/yum.repos.d/elasticsearch.repo
Paste the following lines:
[elasticsearch]
name=Elasticsearch repository for 8.x packages
baseurl=https://artifacts.elastic.co/packages/8.x/yum
gpgcheck=1
gpgkey=https://artifacts.elastic.co/GPG-KEY-elasticsearch
enabled=1
autorefresh=1
type=rpm-md
Save and close the file.
Step 4: Install Elasticsearch 8.x on Rocky Linux 8
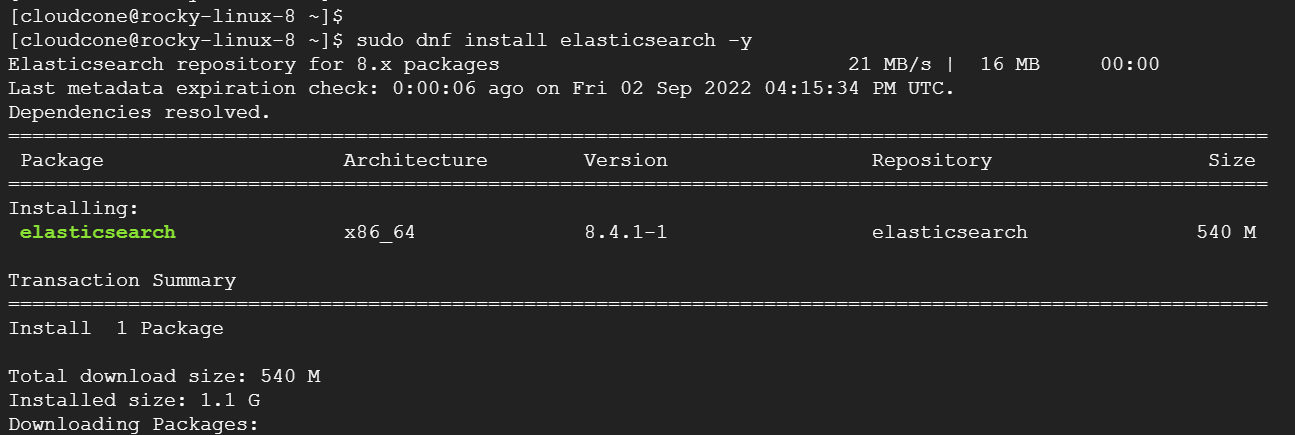
With the Elasticsearch GPG key and repository in place, install Elasticsearch 8.x as follows.
$ sudo dnf install elasticsearch -y

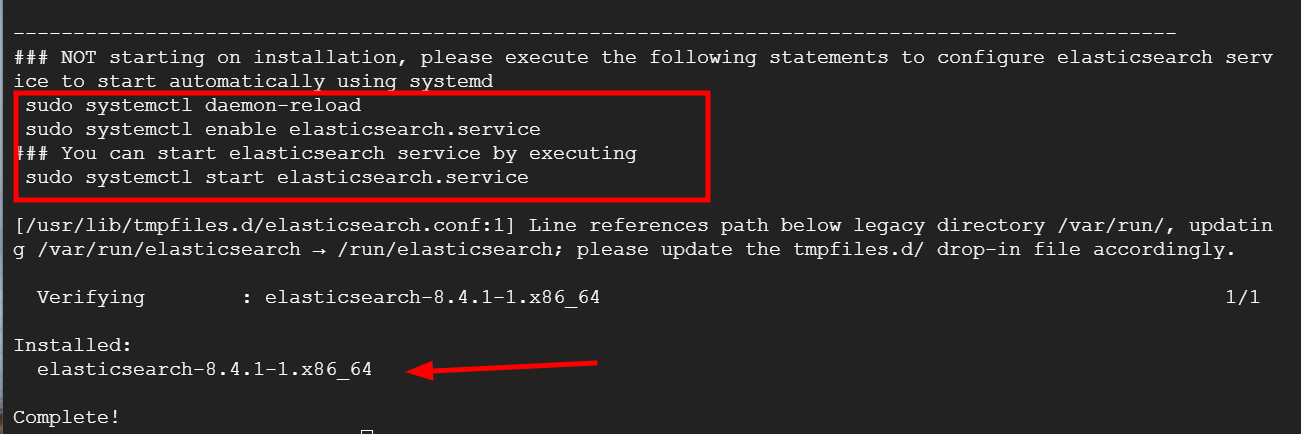
The following output confirms that Elasticsearch 8.4.1 is installed. Towards the end, some post-installation instructions are displayed on what to do next after installing ElasticSearch.

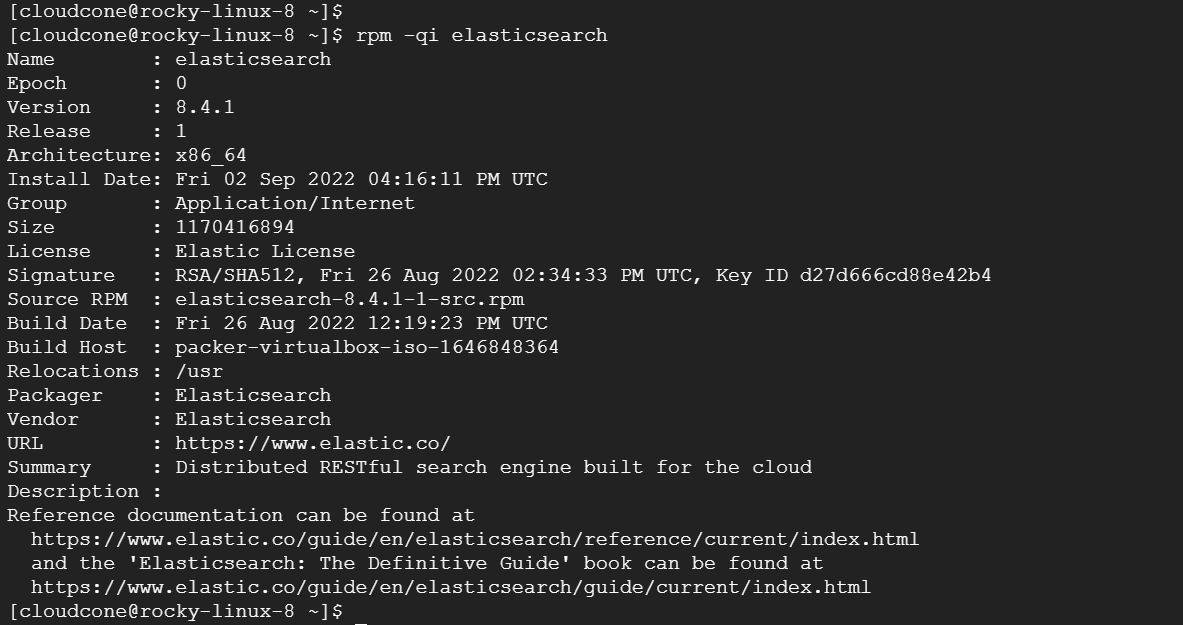
To confirm that Elasticsearch was successfully installed, run the following command:
$ rpm -qi elasticsearch

After the installation is done, enable Elasticsearch to start automatically using systemd as follows:
$ sudo systemctl daemon-reload
$ sudo systemctl enable elasticsearch.service
Next, start the Elasticsearch service as shown:
$ sudo systemctl start elasticsearch.service

To confirm that Elasticsearch is running, run the following command:
$ sudo systemctl status elasticsearch.service

By default, the Elasticsearch service listens to port 9200. You can confirm this using the command:
$ ss -pnltu | grep 9200

Step 5: Configuring ElasticSearch
By default, Elasticsearch only listens to connections on localhost, To enable remote connections, you must modify the configuration file and set up a cluster.
So, edit the default configuration file.
$ sudo vim /etc/elasticsearch/elasticsearch.yml
Configure ElasticSearch to be accessed from anywhere by setting the network.host directive as follows
network.host: 0.0.0.0
Also, uncomment the cluster.name attribute and specify your own cluster name.
cluster.name: my-application
Next, uncomment node.name: and specify the name of your node.
node.name: node-1
Finally, set the xpack.security.enabled security setting to false.
xpack.security.enabled: false
Save the changes and exit.
Next, restart the Easticsearch service for the changes to take effect,
$ sudo systemctl restart elasticsearch
Step 6: Testing ElasticSearch
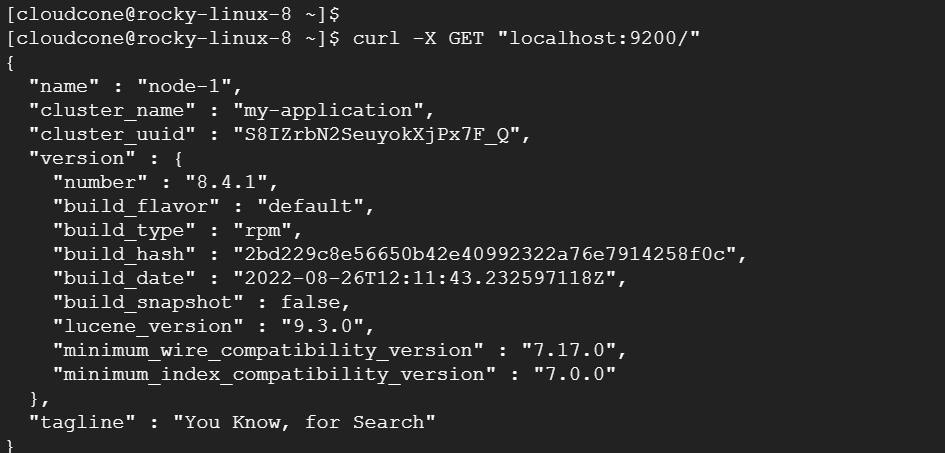
To test ElasticSearch run the following curl command which will provide you with the details of your cluster.
curl -X GET "localhost:9200/"

Conclusion
And that is how you install Elasticsearch on Rocky Linux 8. Your feedback on this guide is welcome.

