
Wireshark is a free and open-source network protocol analyzer used mostly by network engineers and cybersecurity experts to analyze packets of data. In this topic, we examine how you can install Wireshark on Ubuntu 18.04 LTS. Without much further ado, let’s dive in.
Install WireShark on Ubuntu 18.04 LTS
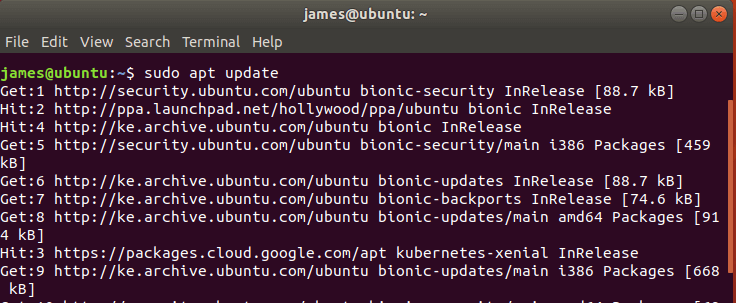
To install the network protocol analyzer, it’s always a good idea to first update the system. This can be achieved by running the command:
$ sudo apt update
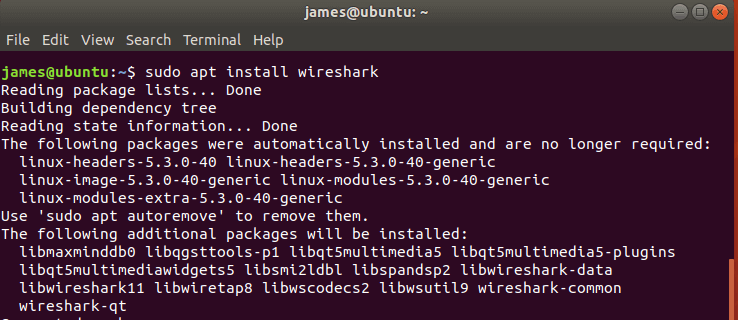
After the system packages have been updated, install Wireshark on Ubuntu 18.04 LTS by running the command:
$ sudo apt install wireshark
This will install Wireshark alongside other dependencies.
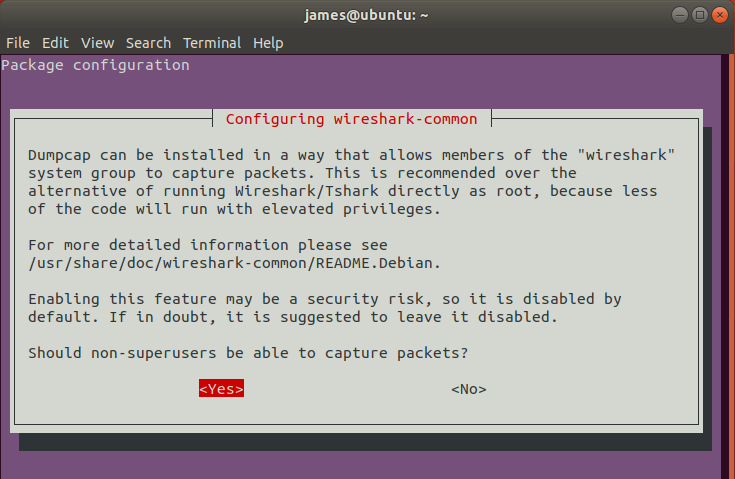
Thereafter, a pop-up screen will be displayed as shown. By default, Wireshark is set to be run by the root user. However, you can include a regular user to have the ability to run and capture packets of data using Wireshark. In the pop-up, select ‘Yes‘ and hit ENTER.
Thereafter, the Wireshark installation will be completed.
If you selected the ‘Yes’ option in the pop-up screen, you need to add the regular non-root user to the WireShark group. To do so, run the command:
$ sudo usermod -aG wireshark $(whoami)

Finally, reboot the system.
Starting WireShark
You can launch Wireshark from the terminal by running the command:
$ wireshark
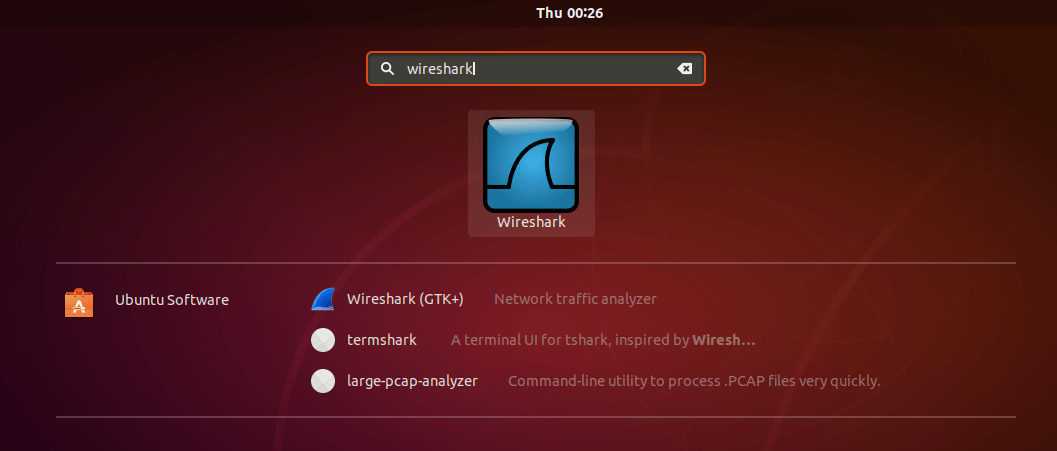
Also, you can launch Wireshark from using the Application manager as shown
How to capture packets using WireShark
After launching Wireshark, all the interfaces that will be used for capturing packets will be listed as shown:
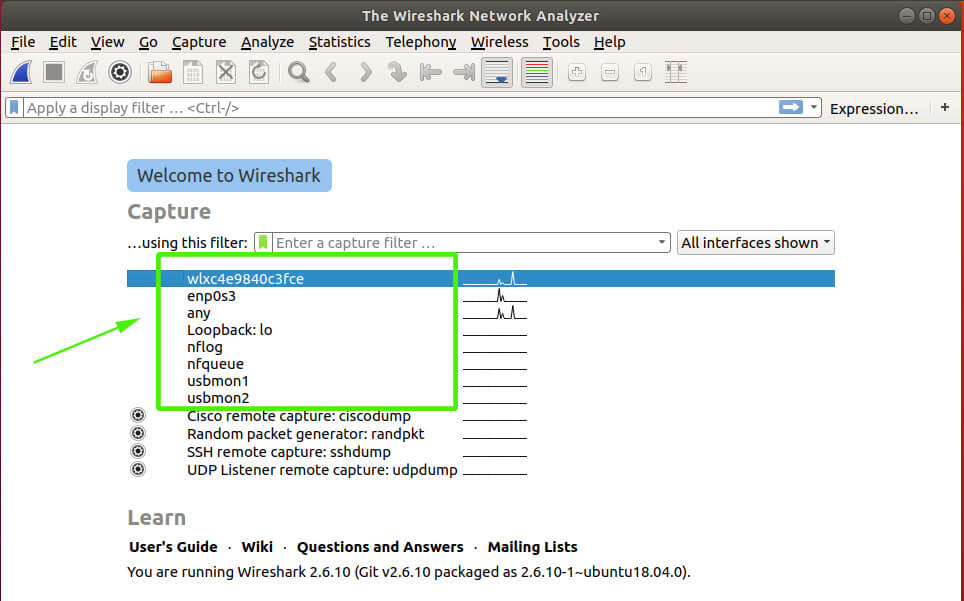
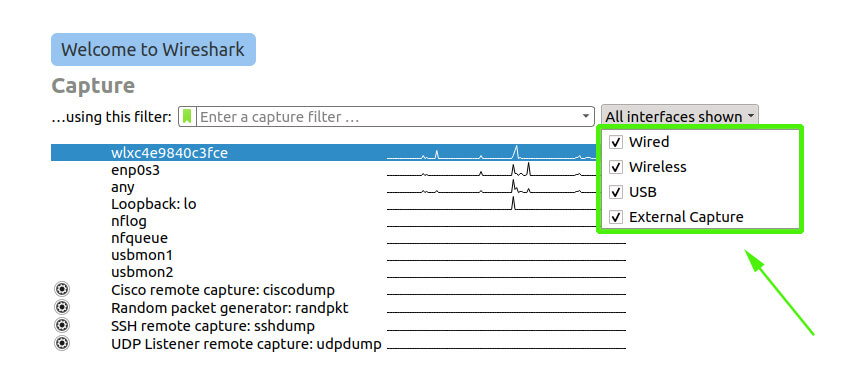
There are various types of interfaces that can be used for capturing data packets namely:
- Wired
- Wireless
- USB
- External Capture
To view them, click on the ‘All interfaces’ button a shown
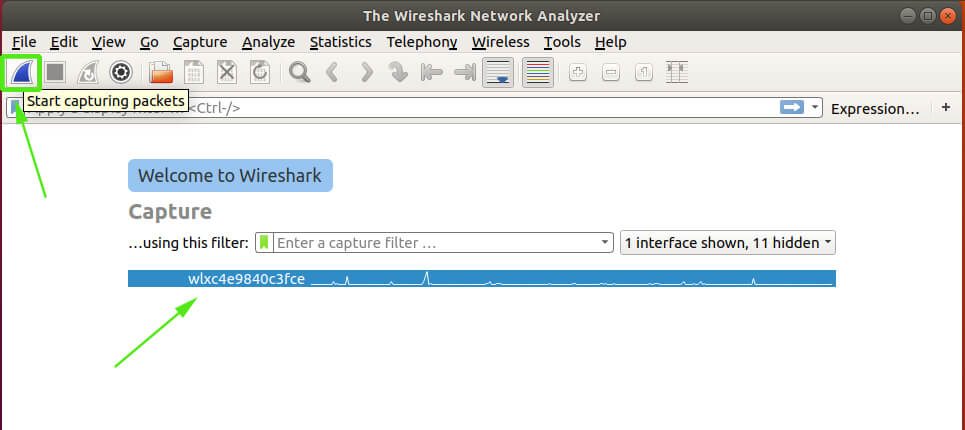
In this guide, I’m going to use the wireless interface wlxc4e9840c3fce. So I will uncheck all the other interfaces and leave the wireless option intact. To start capturing packets, click the WireShark icon on the top left corner as shown:
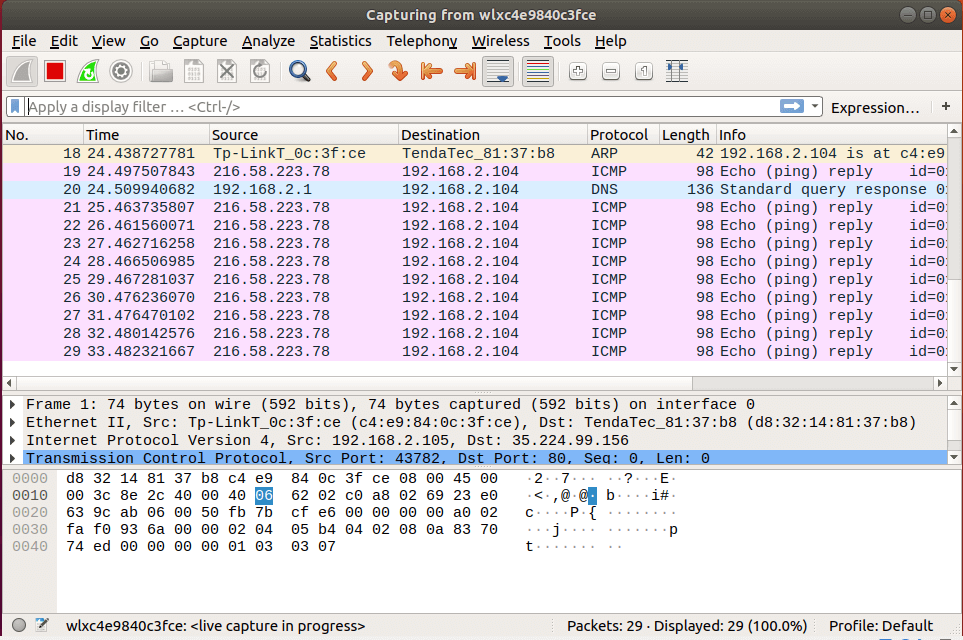
For simulation, you can open your browser and start browsing a few websites. Wireshark will begin capturing packets sent to and from your PC.
And this concludes our topic on how you can install WireShark on Ubuntu 18.04 LTS. Your feedback is most welcome.