
Splunk is a powerful log analyzer that can be deployed in your IT infrastructure to gain insights into your IT assets. Splunk searches, monitors, analyzes and visualizes data derived from database applications, web servers cloud-network and many more devices. In this article, we’ll take you through How to install Splunk on Ubuntu 18.04 and CentOS 7.
Splunk comprises 3 main components
- Splunk Forwarder: It is used for collecting the logs.
- Splunk Indexer: It is used for Parsing and Indexing the data.
- Splunk Search Head: Provides a web interface for searching, analyzing and reporting.
How to install Splunk
First, we are going to download the Splunk binary using the wget command as shown
wget https://download.splunk.com/products/splunk/releases/7.1.1/linux/splunk-7.1.1-8f0ead9ec3db-linux-2.6-amd64.deb
Navigate to the folder where you have downloaded the Debian file and install Splunk using the dpkg command
dpkg -i splunk-7.1.1-8f0ead9ec3db-linux-2.6-amd64.deb
Output
Selecting previously unselected package splunk.
(Reading database ... 369774 files and directories currently installed.)
Preparing to unpack splunk-7.1.1-8f0ead9ec3db-linux-2.6-amd64.deb ...
Unpacking splunk (7.1.1) ...
Setting up splunk (7.1.1) ...
complete
Next, We shall enable Splunk to always start when the server starts
sudo /opt/splunk/bin/splunk enable boot-start
This command will generate the Output as seen below
SPLUNK SOFTWARE LICENSE AGREEMENT

THIS SPLUNK SOFTWARE LICENSE AGREEMENT ("AGREEMENT") GOVERNS THE LICENSING,
INSTALLATION AND USE OF SPLUNK SOFTWARE. BY DOWNLOADING AND/OR INSTALLING SPLUNK
SOFTWARE: (A) YOU ARE INDICATING THAT YOU HAVE READ AND UNDERSTAND THIS
AGREEMENT, AND AGREE TO BE LEGALLY BOUND BY IT ON BEHALF OF THE COMPANY,
GOVERNMENT, OR OTHER ENTITY FOR WHICH YOU ARE ACTING (FOR EXAMPLE, AS AN
EMPLOYEE OR GOVERNMENT OFFICIAL) OR, IF THERE IS NO COMPANY, GOVERNMENT OR OTHER
ENTITY FOR WHICH YOU ARE ACTING, ON BEHALF OF YOURSELF AS AN INDIVIDUAL; AND (B)
YOU REPRESENT AND WARRANT THAT YOU HAVE THE AUTHORITY TO ACT ON BEHALF OF AND
BIND SUCH COMPANY, GOVERNMENT OR OTHER ENTITY (IF ANY). WITHOUT LIMITING THE
FOREGOING, YOU (AND YOUR ENTITY, IF ANY) ACKNOWLEDGE THAT BY SUBMITTING AN ORDER
FOR THE SPLUNK SOFTWARE, YOU (AND YOUR ENTITY (IF ANY)) HAVE AGREED TO BE BOUND
BY THIS AGREEMENT. As used in this Agreement, "Splunk," refers to Splunk Inc., a
Delaware corporation, with its principal place of business at 270 Brannan
Street, San Francisco, California 94107, U.S.A.; and "Customer" refers to the
company, government, or other entity on whose behalf you have entered into this
Agreement or, if there is no such entity, you as an individual.
.
.
.
.
.
4. FORCE MAJEURE. Splunk will not be responsible for any failure or delay i
n
its performance under these Terms and Conditions due to causes beyond its
reasonable control, including, but not limited to, labor disputes, strikes,
lockouts, shortages of or inability to obtain labor, energy, raw materials or
supplies, war, acts of terror, riot, acts of God or governmental action.

Splunk Software License Agreement 04.24.2018
Accept the Software license by typing Y
Do you agree with this license? [y/n]: Y
Output
This appears to be your first time running this version of Splunk.

An Admin password must be set before installation proceeds.
Password must contain at least:
* 8 total printable ASCII character(s).
Please enter a new password:
Please confirm new password:
Copying '/opt/splunk/etc/openldap/ldap.conf.default' to '/opt/splunk/etc/openldap/ldap.conf'.
Generating RSA private key, 2048 bit long modulus
.................+++
.....+++
e is 65537 (0x10001)
writing RSA key

Generating RSA private key, 2048 bit long modulus
................................................................+++
......................................................................................................+++
e is 65537 (0x10001)
writing RSA key

Moving '/opt/splunk/share/splunk/search_mrsparkle/modules.new' to '/opt/splunk/share/splunk/search_mrsparkle/modules'.
Init script installed at /etc/init.d/splunk.
Init script is configured to run at boot.
Now we are going to Start Splunk
systemctl start spunk
To verify that Splunk is indeed rrunning,run
systemctl status splunk
● splunk.service - LSB: Start splunk
Loaded: loaded (/etc/init.d/splunk; generated)
Active: active (running) since Mon 2018-09-17 23:39:47 EAT; 33s ago
Docs: man:systemd-sysv-generator(8)
Process: 2514 ExecStart=/etc/init.d/splunk start (code=exited, status=0/SUCCESS)
Tasks: 164 (limit: 4574)
Memory: 750.5M
CGroup: /system.slice/splunk.service
├─2577 splunkd -p 8089 start
├─2578 [splunkd pid=2577] splunkd -p 8089 start [process-runner]
├─2589 mongod --dbpath=/opt/splunk/var/lib/splunk/kvstore/mongo --storageEngine=mmapv1 --port=8191 --timeStampFormat=iso8601-utc --smallfil
├─2663 /opt/splunk/bin/splunkd instrument-resource-usage -p 8089 --with-kvstore
├─2673 /opt/splunk/bin/python -O /opt/splunk/lib/python2.7/site-packages/splunk/appserver/mrsparkle/root.py --proxied=127.0.0.1,8065,8000
├─3038 [splunkd pid=2577] [search-launcher]
└─3039 [splunkd pid=2577] [search-launcher] [process-runner]

Sep 17 23:39:14 kali splunk[2514]: All installed files intact.
Sep 17 23:39:14 kali splunk[2514]: Done
Sep 17 23:39:14 kali splunk[2514]: All preliminary checks passed.
Sep 17 23:39:14 kali splunk[2514]: Starting splunk server daemon (splunkd)...
Sep 17 23:39:14 kali splunk[2514]: Done
Sep 17 23:39:47 kali splunk[2514]: Waiting for web server at http://127.0.0.1:8000 to be available.............................. Done
Sep 17 23:39:47 kali splunk[2514]: If you get stuck, we're here to help.
Sep 17 23:39:47 kali splunk[2514]: Look for answers here: http://docs.splunk.com
Sep 17 23:39:47 kali splunk[2514]: The Splunk web interface is at http://kali:8000
Sep 17 23:39:47 kali systemd[1]: Started LSB: Start splunk.
Open your web browser and type the Url
http://ip-address/8000
Enter the root login credentials and hit “Sign In”

Hurray! We have successfully installed Splunk on our Ubuntu 18.04 System.
Let’s now monitor log file /var/log/messages. To achieve that, follow the steps below
Step1 :
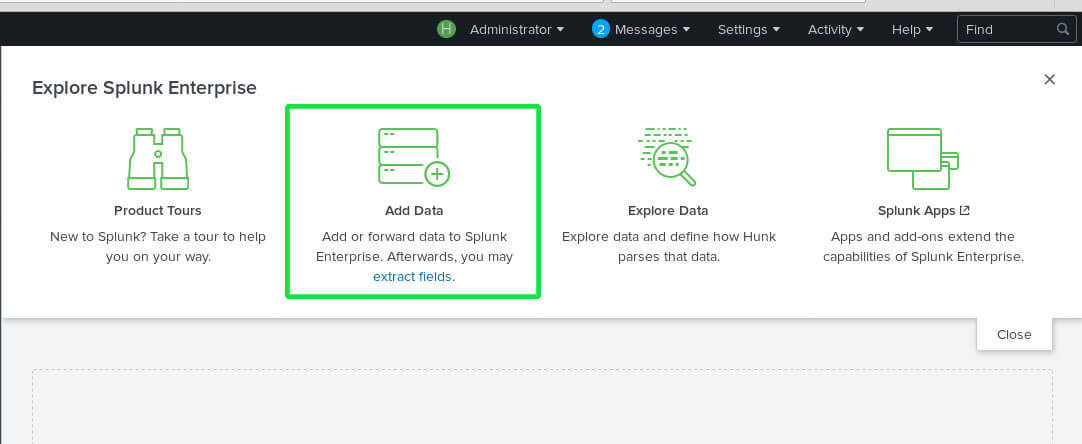
After signing in, head out and click on the ‘Add Data‘ option.
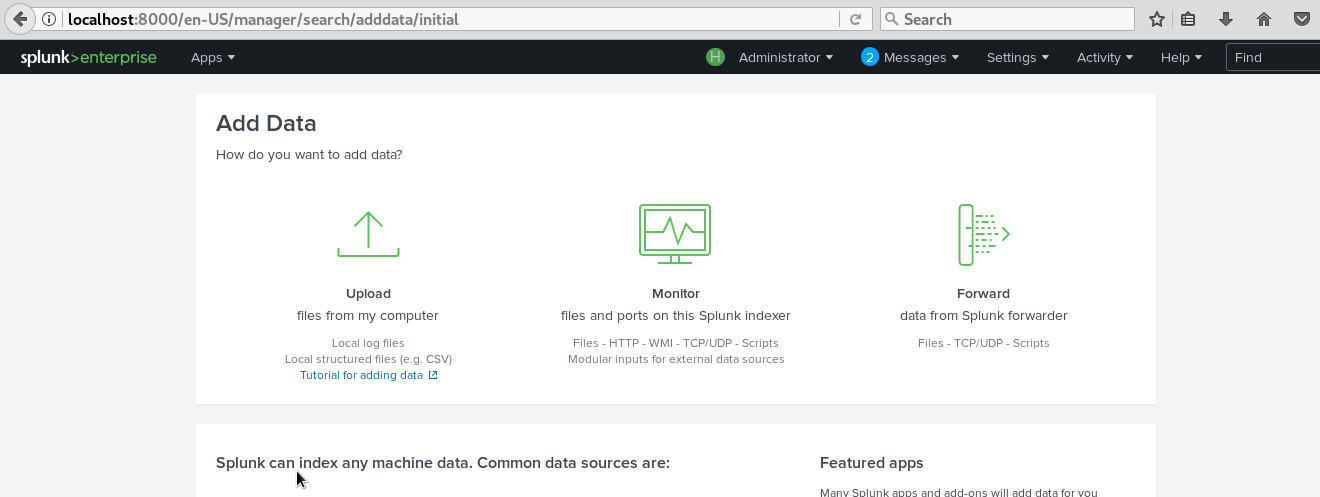
Step 2 :
3 options will be presented to you : Upload, Monitor, and Forward. Each option is self-explanatory with a short description of the purpose. in our case , our task is to monitor logs from /var/log/messages folder so we go ahead and select the ‘Monitor’ option.
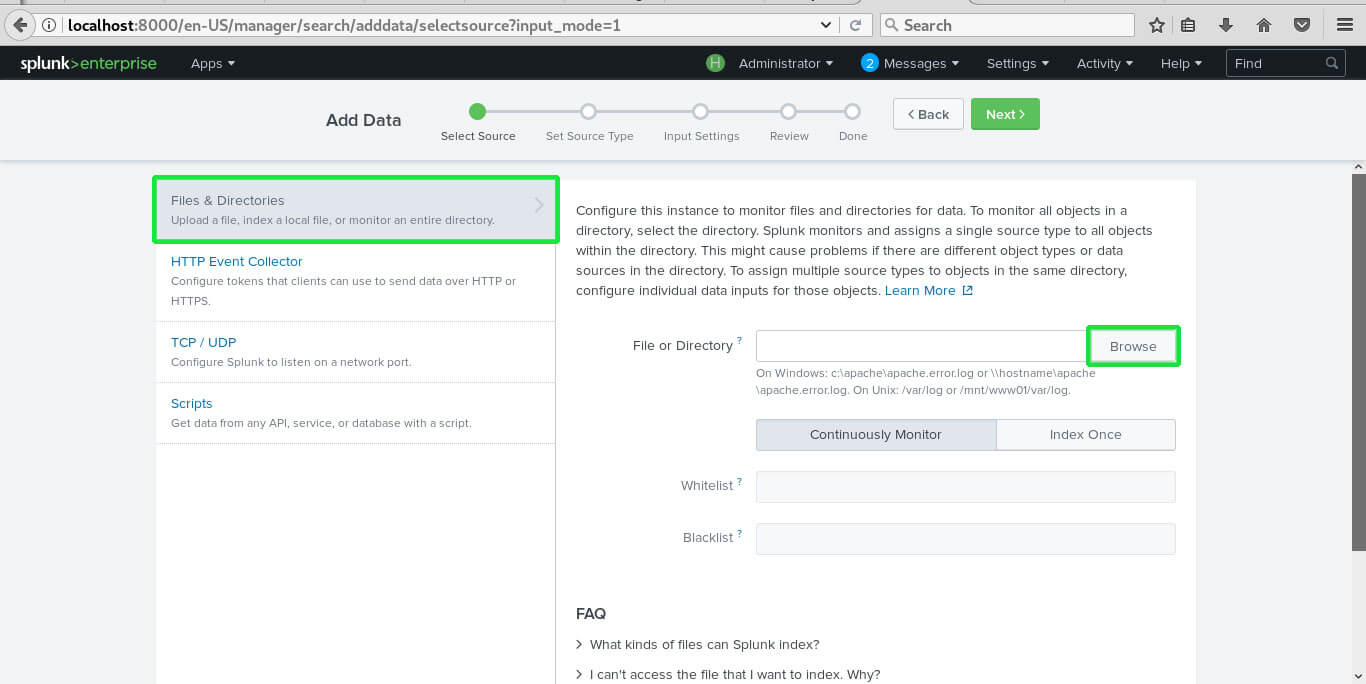
Step 3:
Here , you’l be presented with more options. in this case , click on ‘Files and Directories‘ since our log file is contained in a directory structure

Step 4:
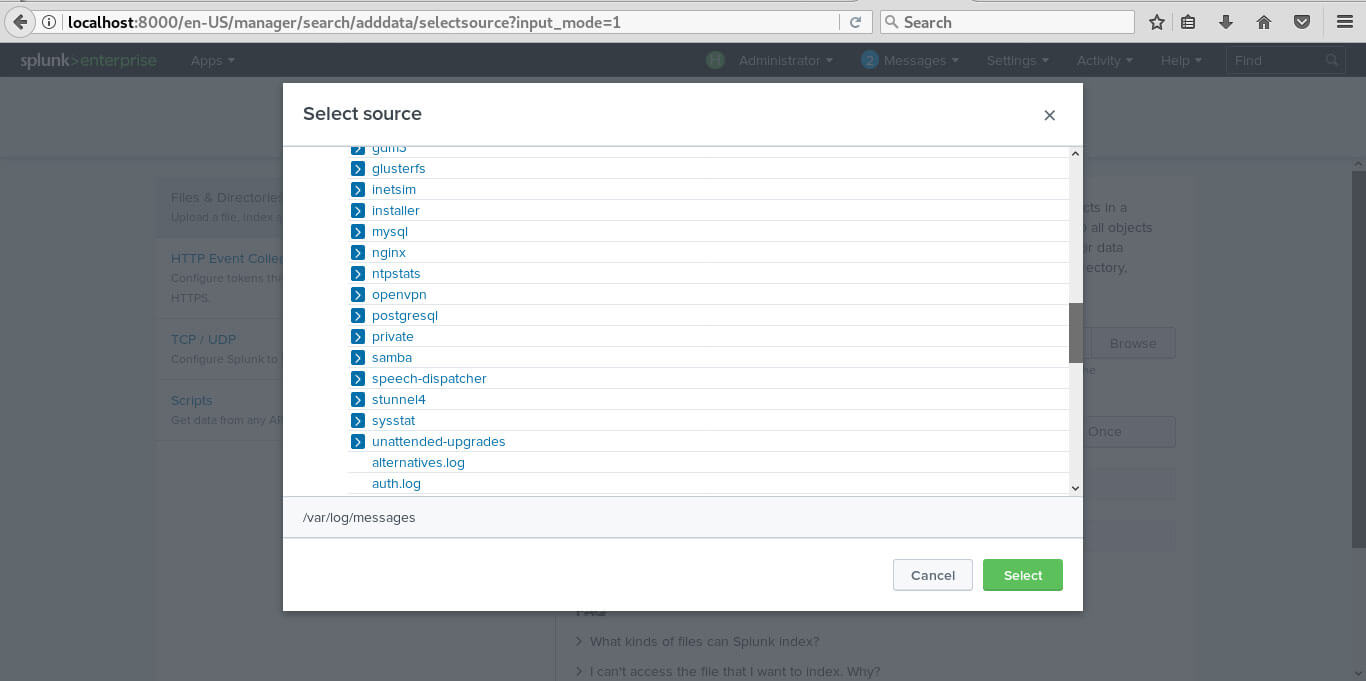
Browse to the target folder you with to gather statistics from
In our case , browse till you get to the /var/log/messages file path
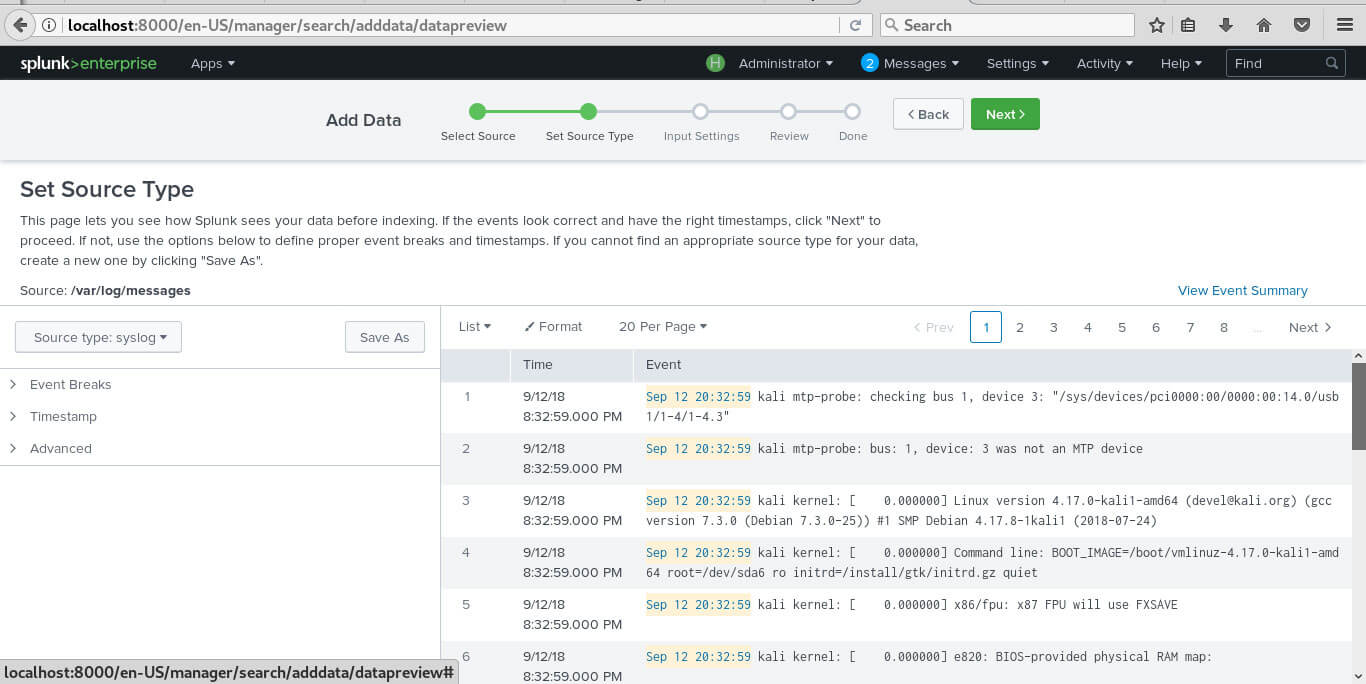
Step 5:
In the next page , you’ll see how Splunk will display your data before indexing it. If you are satisfied with all the
settings , click ‘Next’
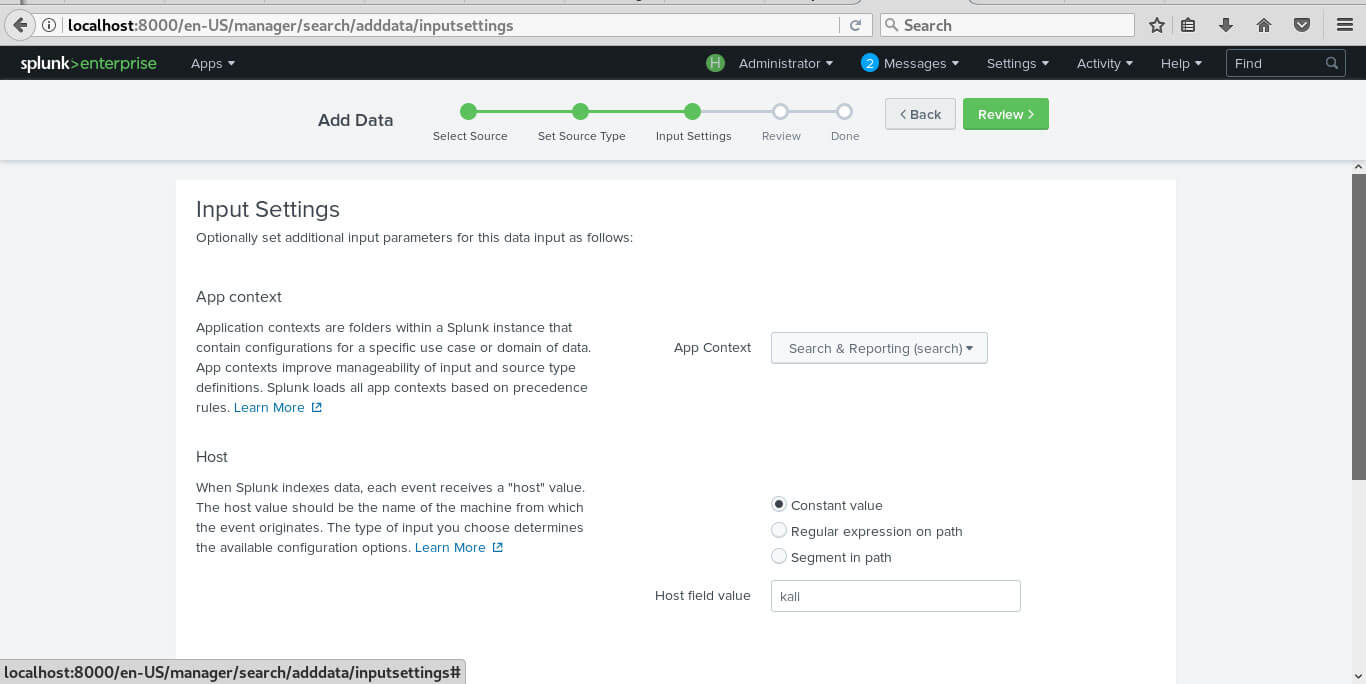
Step 6:
The next page is the ‘Input settings‘ Click ‘Review‘ to have a glimpse of your settings before you start indexing
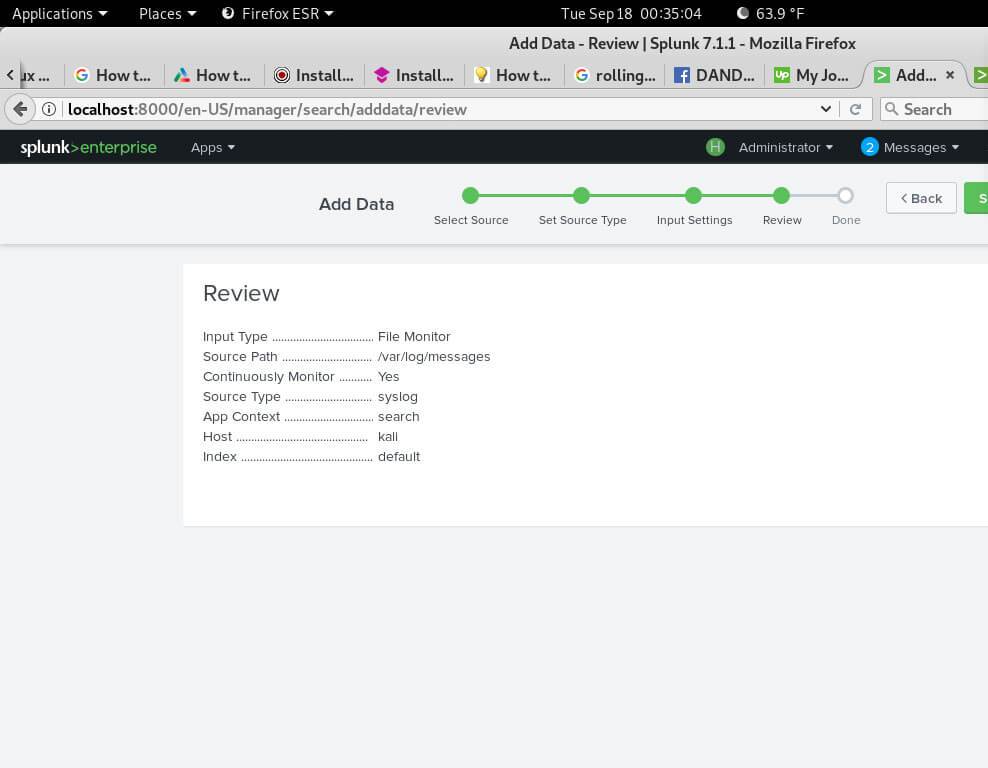
Step 7:
The ‘review’ page will give you a brief summary of the main settings that you have selected. Click ‘Submit’
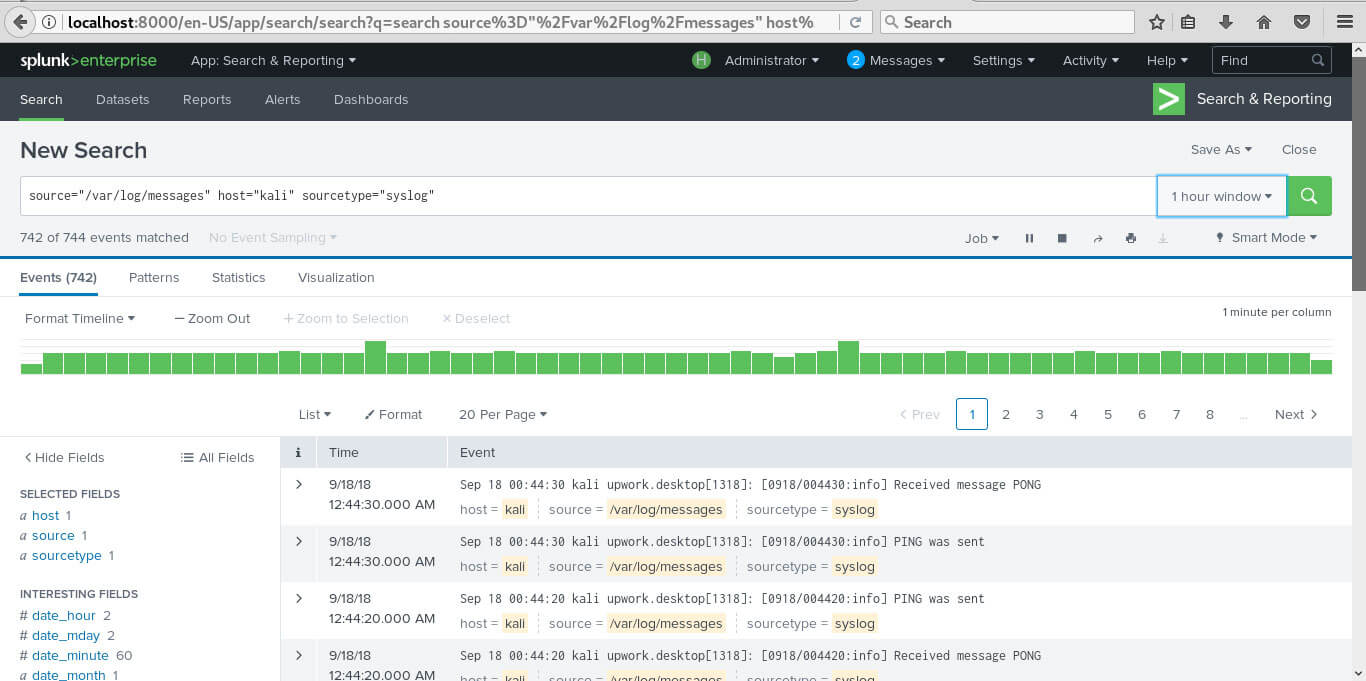
Statistics based on the parameters you chose will start being displayed
In this article, we took you through how to install Splunk . Thank you for your time. Keep it locked for more informative topics like this.