
PostgreSQL, commonly referred to as Postgres, is a free and open source general purpose and relational database system that is commonly used on Production servers. It has more or lee the same features as its counterpart MySQL. Due to its stability, it requires minimal maintenance and is ideal for application development as compared to other databases Management Systems. In this guide, we will show you how to install PostgreSQL 11 on Ubuntu 18.04.
PostgreSQL features
PostgreSQL comes packed with several advanced features which include
- Asynchronous replication
- Table inheritance
- Multi-version concurrency control (MVCC)
- Foreign Key referential integrity
- Views, subquery, and rules
- Nested transactions – Savepoints
Recent versions support features such as
- Tablespaces
- Point-in-time recovery
- MS Windows Server version
Let’s now dive in and install PostgreSQL 11 on Ubuntu 18.04
1.) Enabling PostgreSQL Apt repository
To start off, we are going to add PostgreSQL repository to our system’s sources list. To do so, we are going to start with importing the GPG key for PostgreSQL software packages. To achieve this log in as root user and run the commands below
# sudo apt install wget ca-certificates
# wget --quiet -O - https://www.postgresql.org/media/keys/ACCC4CF8.asc | sudo apt-key add -

Next, we are going to add the repository to our system with the following command
# sudo sh -c 'echo "deb http://apt.postgresql.org/pub/repos/apt/ `lsb_release -cs`-pgdg main" >> /etc/apt/sources.list.d/pgdg.list'
2.) Install PostgreSQL 11 on Ubuntu 18.04
Now that we have successfully added the repository to our System, it’s time now to install PostgreSQL. Before that, let’s first update our repository list.
# sudo apt update
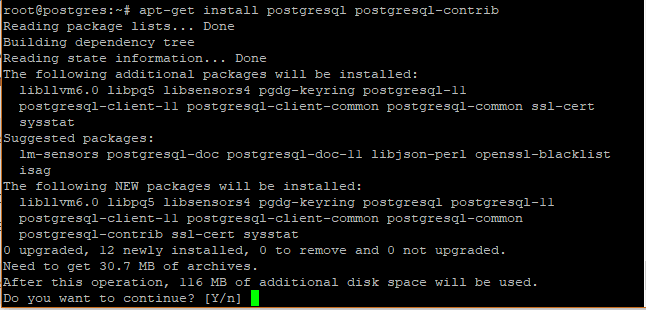
Next, let’s install PostgreSQL using the command below. This will install other dependencies that Postgres requires to work as expected.
# sudo apt-get install postgresql postgresql-contrib
Sample Output
3.) Connecting to PostgreSQL
Great! Now that we have successfully installed PostgreSQL 11, let’s now connect to it. By default, PostgreSQL database Server creates a user called postgres with the role ‘postgres’. In addition, it creates a system account with the same name.
To connect to Postgres server, log in to the System as postgres user
# sudo su -postgres
![]()
As seen above, we drop to the user postgres.
Next, run the command below to connect to the database server
# psql
Now that you have connected to the database you can run the following command to get the log in information.
postgres-# \conninfo
Output

To exit the database, simply run the command below an hit enter
postgres-# \q
Wonderful! We have successfully installed and tested our PostgreSQL server.
See also How to install Pgadmin4 on Ubuntu 18.04
We hope that you found this guide helpful. Feel free to share in your social networks and leave feedback on the same.