In this article, We are going to show you how to install pgAdmin4 on Ubuntu 18.04. pgAdmin4 is a feature that allows you to manage PostgreSQL database instances via a web browser in Unix, Linux, and Windows environments.
Prerequisites
Installation of PostgreSQL on your Ubuntu 18.04 System.
Install pgAdmin4 on Ubuntu 18.04
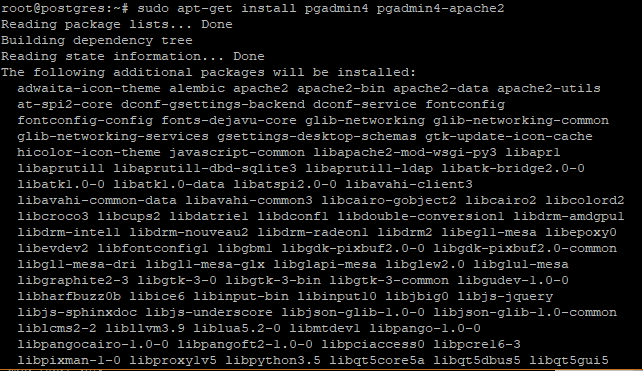
With PostgreSQL installed, run the command below to install pgAdmin4. This is going to install a host of other additional software packages and dependencies.
# sudo apt-get install pgadmin4 pgadmin4-apache2
The pgadmin4-apache2package will integrate pgAdmin4 with Apache2 web server.
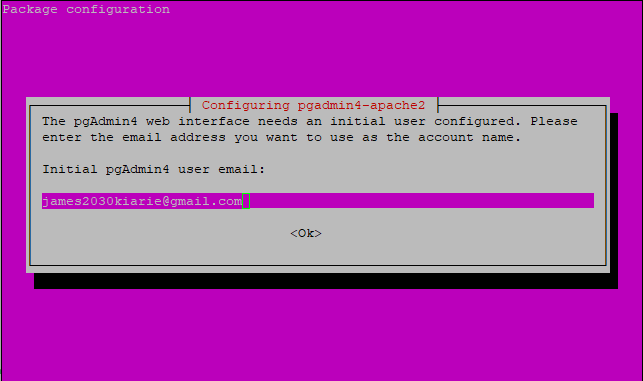
During the setup, you will be prompted for an email address as the admin login id for the pgAdmin4 web interface.
Feel free to use your preferred email address and hit OK.
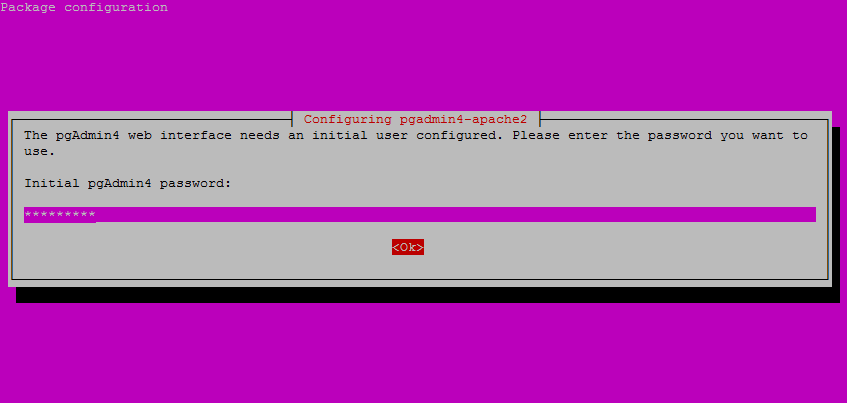
Next, you will be prompted for the administrator’s Password
Great! At this point, you have successfully installed pgAdmin4 on your System.
Connecting to PostgreSQL via pgAdmin4
After successful installation of pgAdmin4 on your System, you can connect to PostgreSQL by opening your browser and typing your server’s IP address or domain name followed by /pgAdmin4 as a subdirectory. In my case my server’s URL is
http://216.200.116.243/pgadmin4/
You will be presented with a login page as shown below
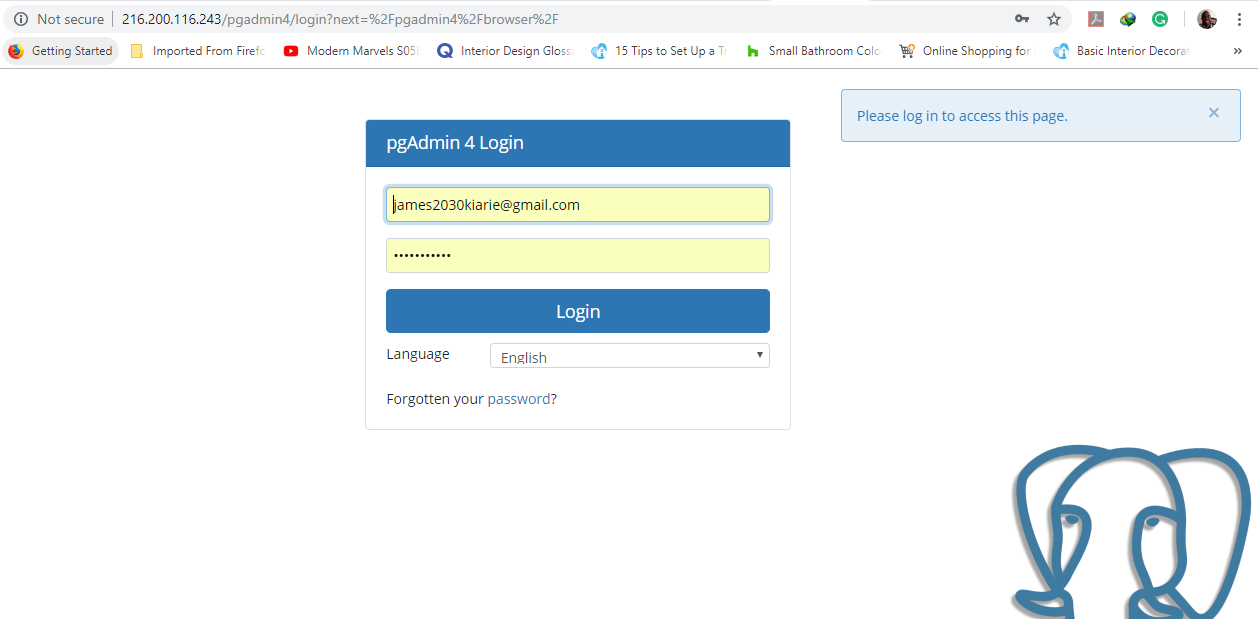
Provide the email address and the password you had defined earlier during the installation process and Click on ‘Login’ button.
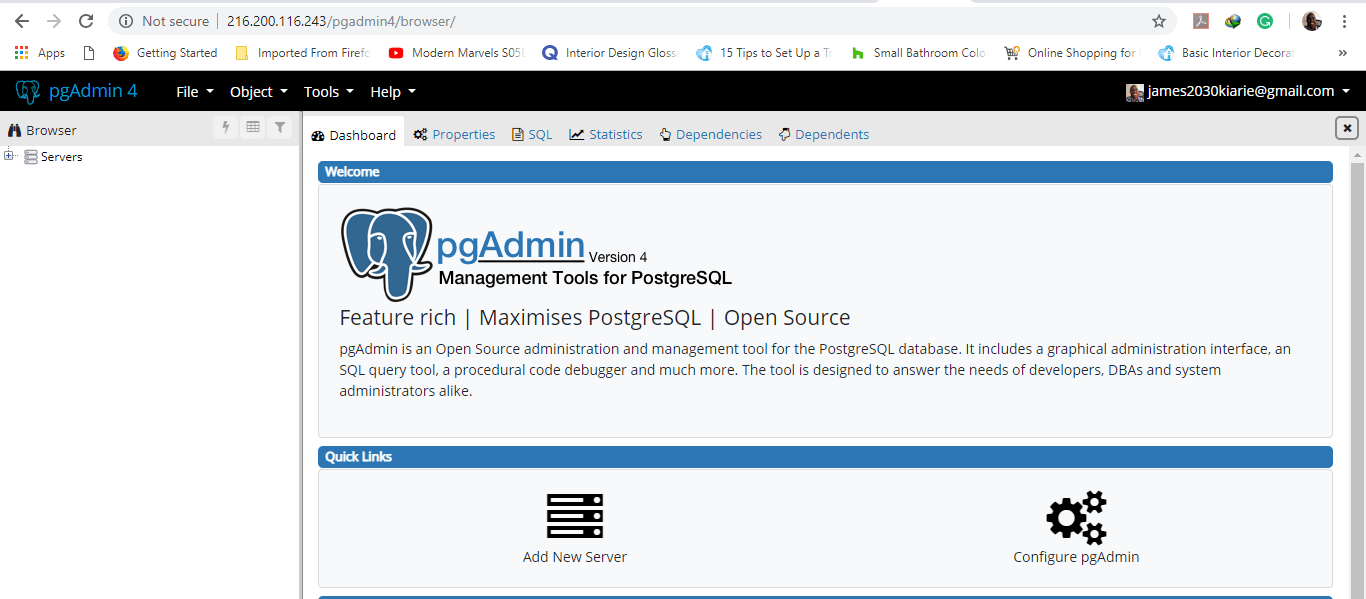
This will usher you to PgAdmin4’s dashboard as seen below.