LAMP, short for Linux, Apache, MariaDB, and PHP is one of the most popular web servers with a large market share in the world on web hosting. In this article, we are going to show you how to install LAMP on Ubuntu 18.04 which is the newly released Ubuntu distribution. In case one happens to be an open source purist or one who just don’t care for Oracle as a company (a lot of Linux users don’t), choosing to install a LAMP server on Ubuntu using MariaDB instead of the traditional MySQL is advised. MariaDB is known as an open-source drop-in replacement that was forked from MySQL several years back. It’s a good solution for LAMP setups where one would want to avoid Oracle’s open source database.
Requirements
- Ubuntu 18.04 Server with root access/privileges
- A good internet connection
Steps to install LAMP on Ubuntu 18.04
To install the whole LAMP stack in one line in a terminal run the command below
apt install lamp-server^
This will install all the requisite packages and their dependencies.
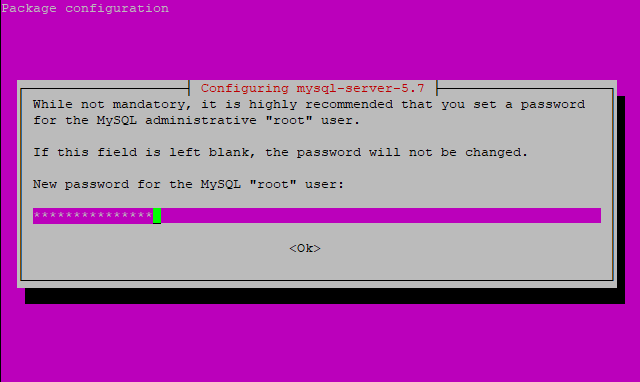
While installing, one will be prompted to create a root user for the database. Select a strong password which is also easy to remember.
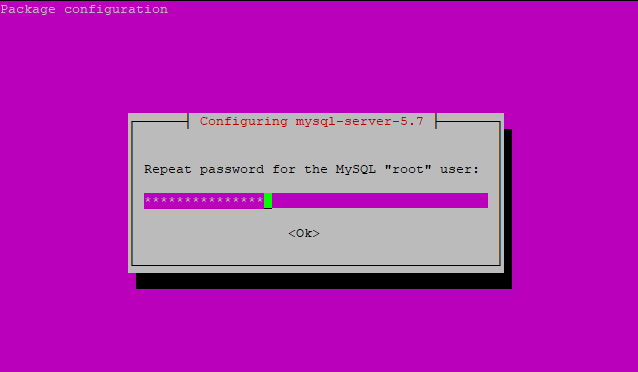
Confirm the password
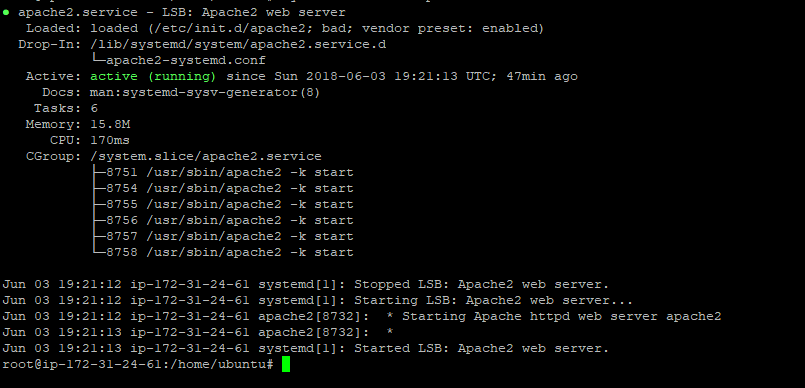
To verify whether Apache web server is running, run
systemctl status apache2
If it’s running, you’ll get the output below
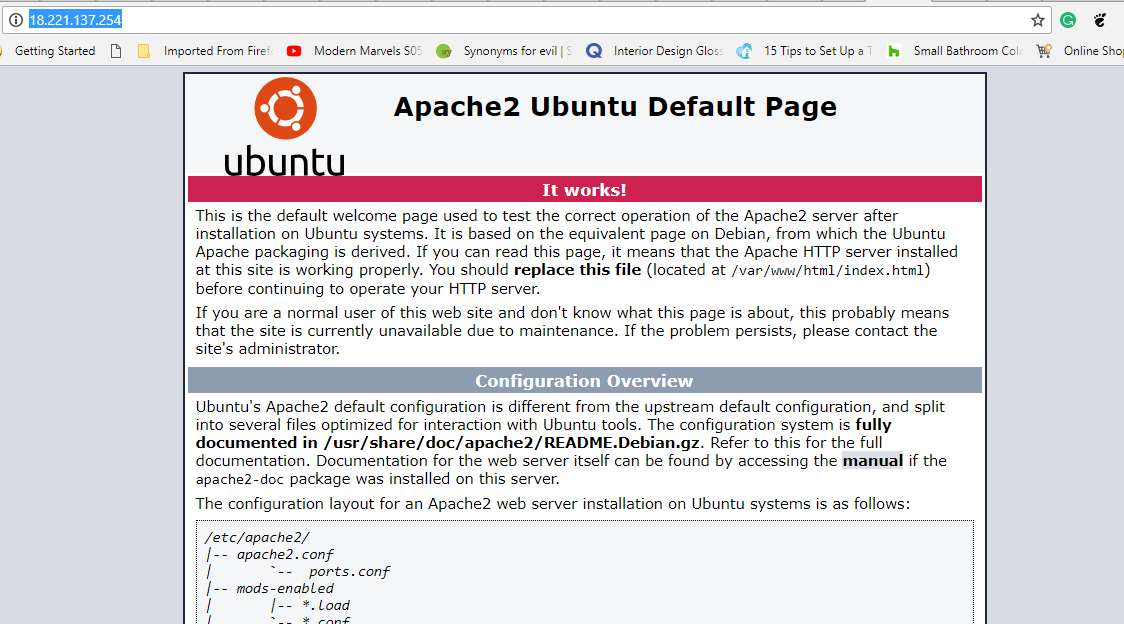
If you open your web browser and go to your local address you should see the default Apache web server page
Setting up MariaDB database
To configure the database, log in as root
mysql -u root -p
Type the password that was set up during the installation. This takes you to a MySQL console.
Next, create a Database to be used.
CREATE DATABASE `lamp_18.04`;

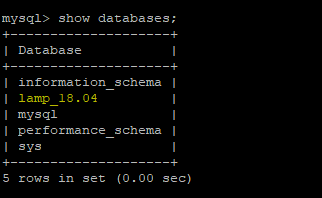
To confirm that the database was created, run
SHOW DATABASES;
Next, create a user to run the database
CREATE USER `admin`@`localhost` IDENTIFIED BY 'your_password';
Grant the new user permissions to the newly created database
GRANT ALL ON lamp_18.04 TO 'admin@localhost';
Then flush privileges and exit
FLUSH PRIVILEGES
quit
Restart mysql service
systemctl restart mysql.service
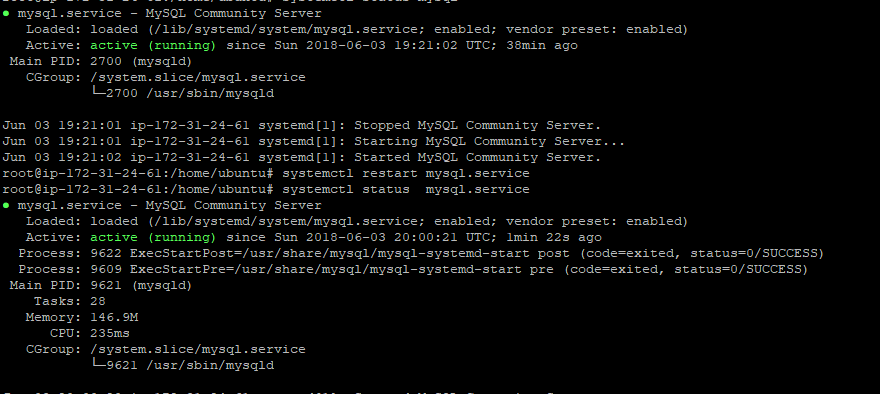
To confirm mysql instance is running run
systemctl status mysql.service
Sample Output
Testing PHP
To test whether PHP is running as expected, create a phpinfo.php file in /var/www/html/ path
/var/www/html/phpinfo.php
Edit the phpinfo.php with the following content
To confirm all went well Open your browser and head to
ip-address/phpinfo.php

Closing thoughts
We have pretty much set up LAMP stack on our Ubuntu machine. Feel free to configure phpmydmin for administering the database server with a GUI and webmin for administering the entire server also on a GUI.

