Vesta Control Panel is a free, and open source web hosting control panel replete with powerful and easy to use features. It comes with the GNU GPL License Version 3.
It supports the following operating systems:
- CentOs and RHEL 5,6,7
- Debian 6,7,8
- Ubuntu 12.04 – 16.04
It comes bundled with rich with features such as :
- Nginx front-end web server
- Apache Application database server
- Exim mail server
- Vsftpd server
- Dovecot IMAP and POP3 server
- Bind DNS server
- Server monitoring
- Automatic updates
- Monitoring and logging
To mention just but a few.
Installing Vesta CP is an easy and straightforward process.
Prerequisites
Before getting started with the installation of Vesta CP, ensure that you have an instance of Ubuntu 160.4 and CentOS 7. You can readily deploy these Cloud servers at CloudCone for starting at only $3.71 .
Installation of Vesta CP on Centos & RHEL 5,6,7
First, update your system
Yum update -y
Install curl utility for downloading the Vesta Cp script
Yum install curl -y
On Debian 5,6,7, and Ubuntu 12.04 – 16.04
apt-get update
apt-get install curl
Now, we’ll download the bash script for installation of Vesta CP.
Download Vesta’s installation script by running
curl -O http://vestacp.com/pub/vst-install.sh
After downloading the script, make it executable by running
chmod a+x vst-install.sh
Thereafter, run the script with the command below
bash vst-install.sh
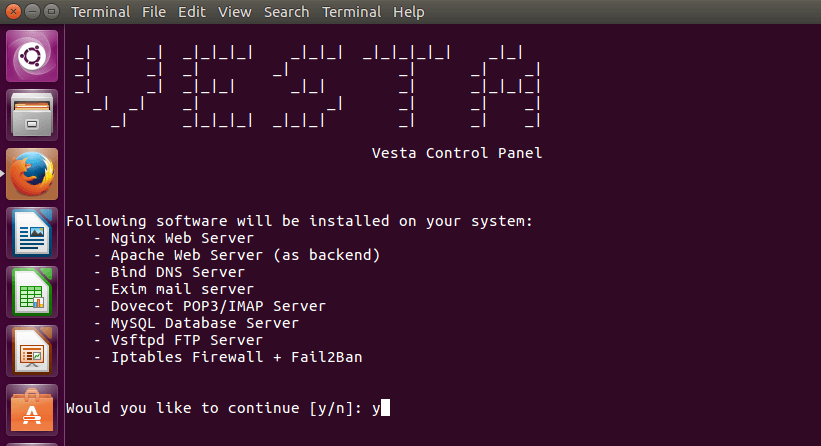
On the command prompt, type yes to continue with the installation of Vesta.

Provide your Admin email address and FQDN. The installation will take about 15 minutes.
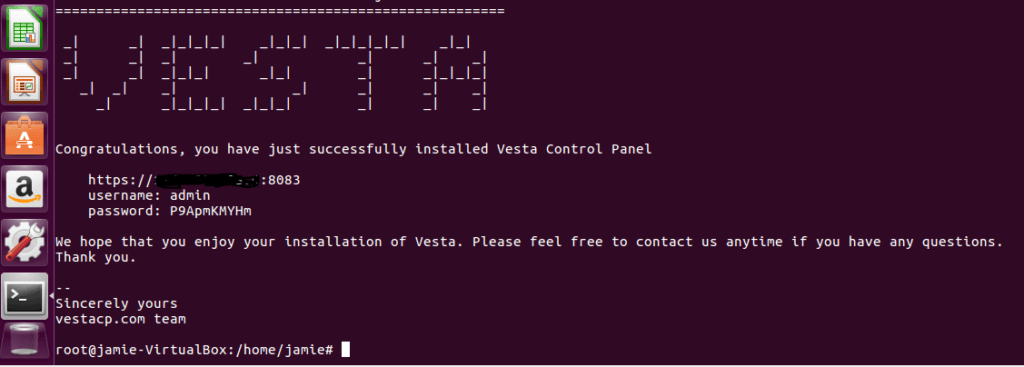
At the end of the installation, url and login details will be displayed.

After the installation is successfully done, open your browser and type the url i.e. https://your-ip-address:8083
Click on ‘Proceed’ option since we do not have a trusted SSL certificate yet.
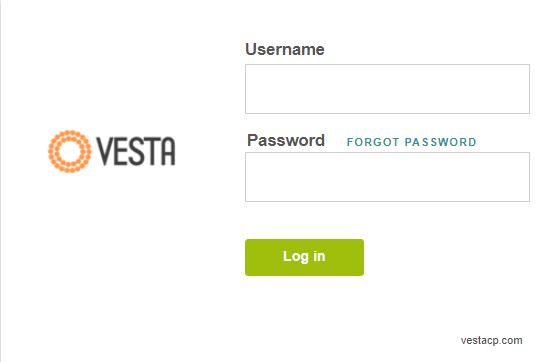
You’ll be presented with a login page.

Provide the login credentials and click ‘Login’
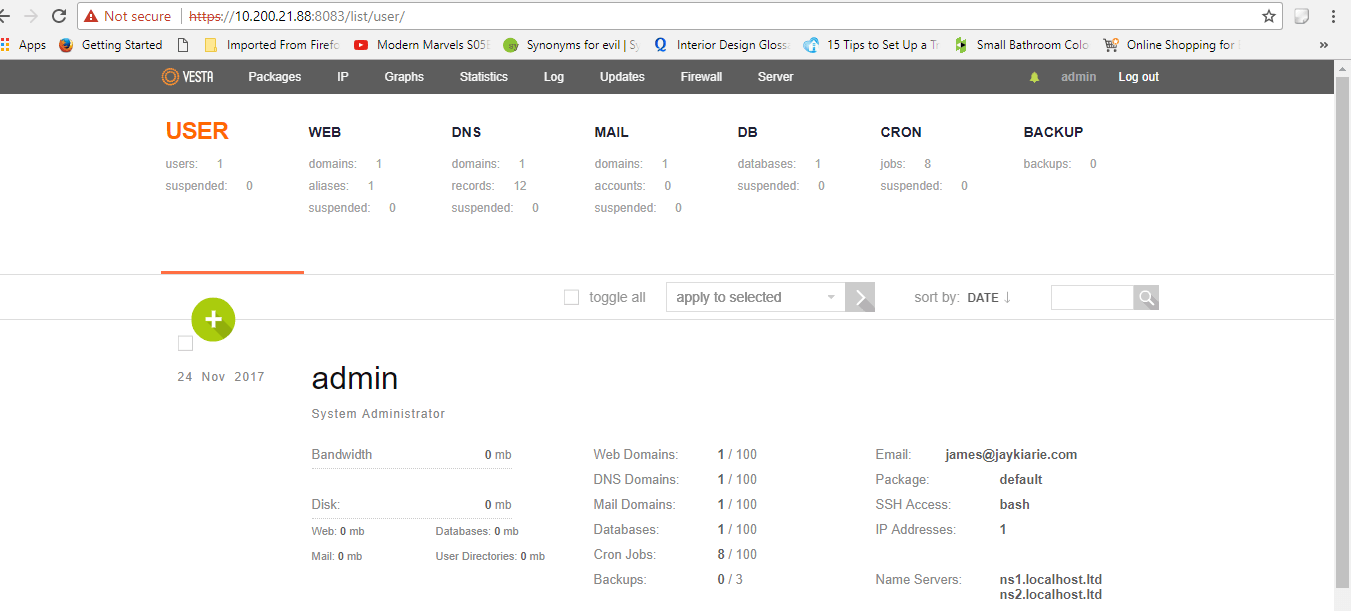
Voila ! there goes your Vesta Control Panel with a wide array of packages and services you can choose to install and configure.

NOTE: In case you forget your password, head out to the terminal and change the password for user admin.
# passwd admin
Enter new UNIX password
Retype new Unix password
Passwd: passwd updated successfully

