
Zabbix is a free and opensource monitoring application used for monitoring servers, client machines, and network devices as well. It allows monitoring for TCP/IP protocols such as SNMP and ICMP. in this tutorial, we will see how you can install Zabbix on Ubuntu 18.04 LTS server.
Prerequisites
Before you get started out, you will require an instance on Ubuntu 18.04 LTS. If you don’t have one already, you can create an account with Cloudcone and deploy a fully-managed VPS or cloud server for only $3.71. Also, ensure that you can access the VPS via SSH.
Step 1: Update the system
To start with, log into your system via SSH and update the system repositories using the commands below
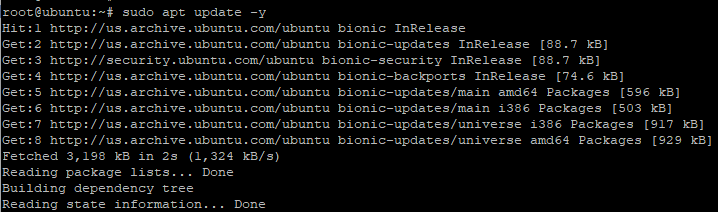
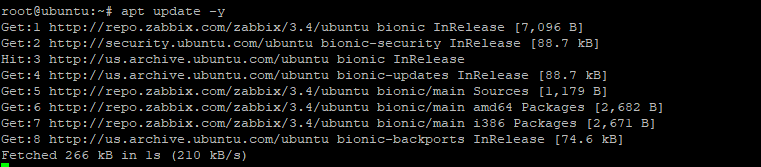
# sudo apt update -y
Sample Output
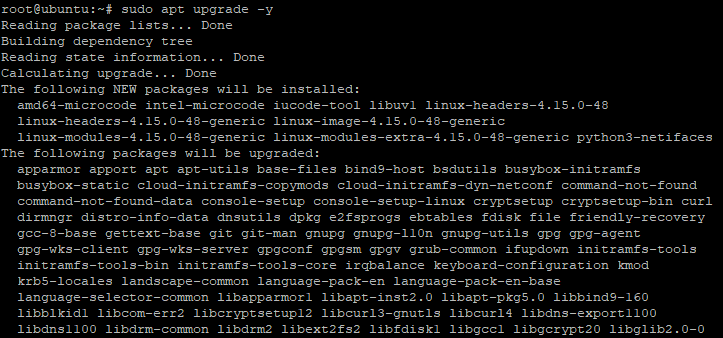
# sudo apt upgrade -y
Sample Output
Step 2: Install LAMP server
Since Zabbix is a graphical monitoring tool and will display statistics on a web browser, then we need to install a web server along with a database and other modules. For this, we need to install a LAMP server. Execute the commands below
# sudo apt install apache2 libapache2-mod-php mysql-server mysql-client -y

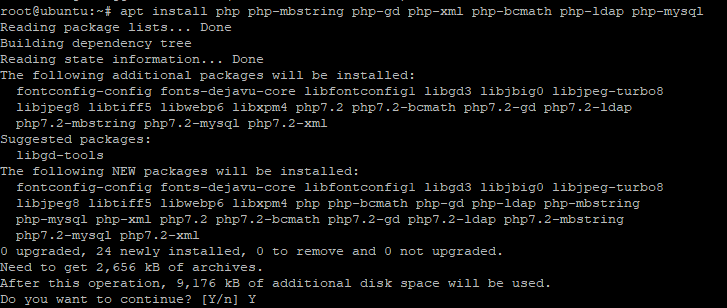
Next, install php and php modules
# sudo apt install php php-mbstring php-gd php-xml php-bcmath php-ldap php-mysql
Next, you need to update the time zone in the PHP configuration in /etc/php/PHP_VERSION/apache2/php.ini

Save and Quit.
Step 3: Adding the Zabbix repository in your system
Before installing Zabbix, we need to install the Zabbix repository in our system.
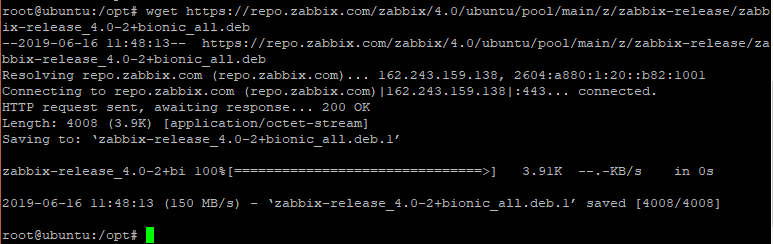
First, download the Zabbix deb file as shown below
# cd /opt
# wget https://repo.zabbix.com/zabbix/4.0/ubuntu/pool/main/z/zabbix-release/zabbix-release_4.0-2+bionic_all.deb
Next run
# sudo dpkg -i zabbix-release_3.4-1+bionic_all.deb

Step 4: Install Zabbix Server
After enabling the Zabbix apt repository, its time now to install the Zabbix server. First, update your system
# sudo apt update -y
Next, install the Zabbix server using the command
# sudo apt install zabbix-server-mysql zabbix-frontend-php
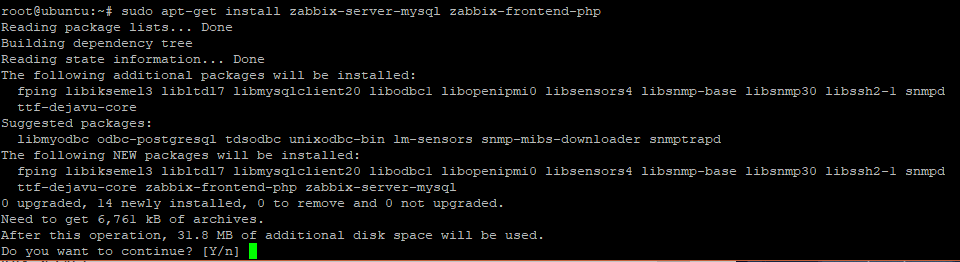
The zabbix-server-mysql comes with Zabbix server alongside MySQL support
The zabbix-frontend-php module provides the front-end web interface in PHP for management of Zabbix server.
Step 5: Create and define the database schema
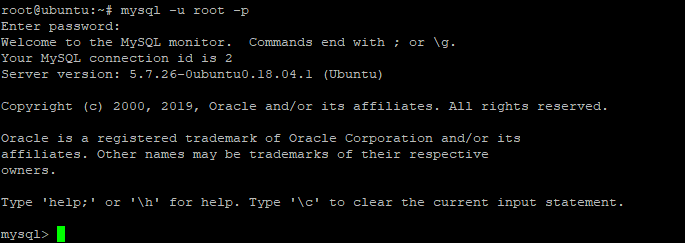
We need to create a database for our Zabbix server. To do this, we are going to log into our MySQL server using root privileges
# mysql -u root -p
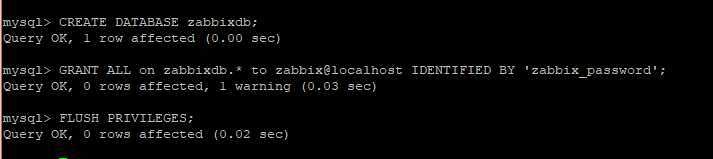
Create the database and user for Zabbix
mysql> CREATE DATABASE zabbixdb;
mysql> GRANT ALL on zabbixdb.* to zabbix@localhost IDENTIFIED BY 'zabbix_password';
mysql> FLUSH PRIVILEGES;
Next, load the Zabbix database schema
# cd /usr/share/doc/zabbix-server-mysql
# zcat create.sql.gz | mysql -u root -p zabbixdb

Step 6. Edit Zabbix configuration file
Using your favorite text editor , open the <code>/etc/zabbix/zabbix_server.conf</code> file and uodate the database configurations as shown below:
  DBHost=localhost
  DBName=zabbixdb
  DBUser=zabbix
  DBPassword=zabbix_password
Step 7. Restart Apache web server and Zabbix server
Once we are done with all the modifications in different configuration files, we need to restart Apache web server and Zabbix server for the changes to take effect.
To restart Apache run:
# systemctl restart apache2
To restart Zabbix server run
# systemctl restart zabbix
Step 8. Set up Zabbix server using the installer wizard
To access Zabbix installer, open your favorite browser and go to your server’s URL and append /zabbix as shown
http://server-ip/zabbix
In our case, the URL is http://66.152.163.19/zabbix
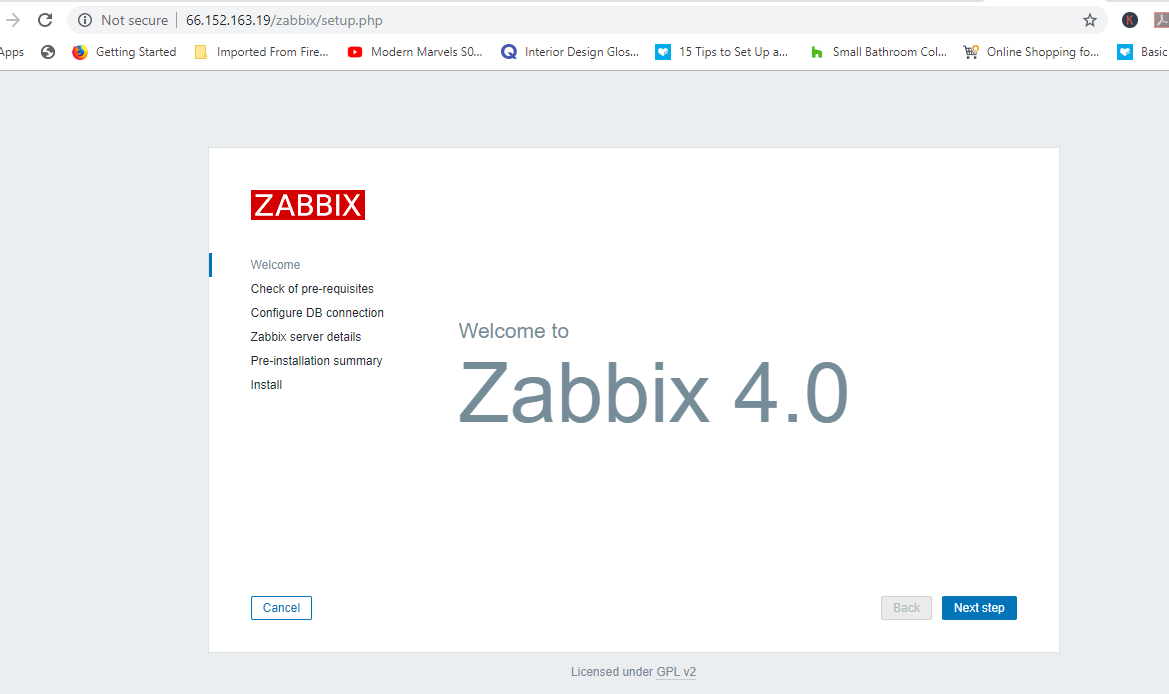
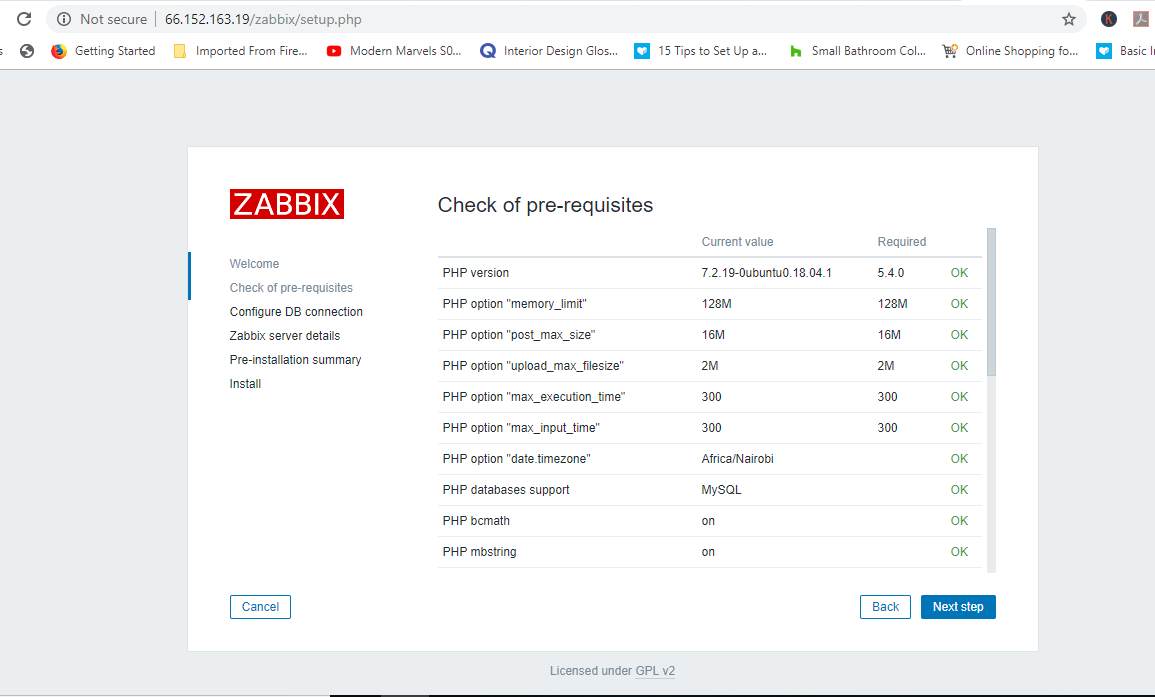
Click Next to proceed to the next screen. Check that all prerequisites are installed and hit Next step
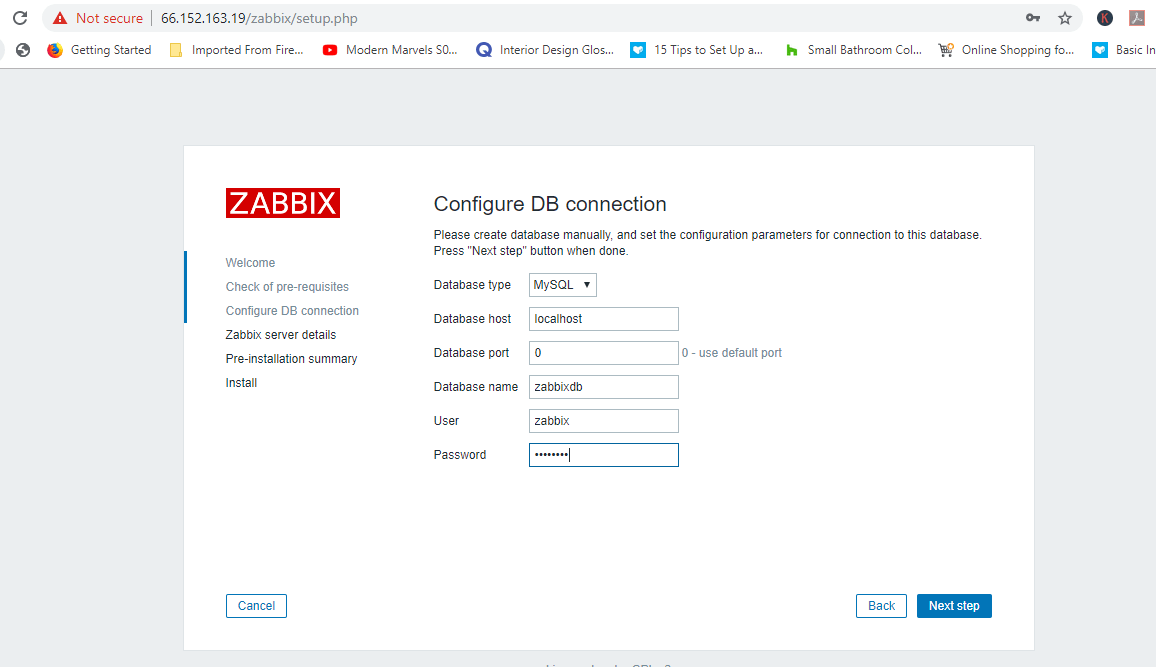
In the next page, enter the database details and hit Next step
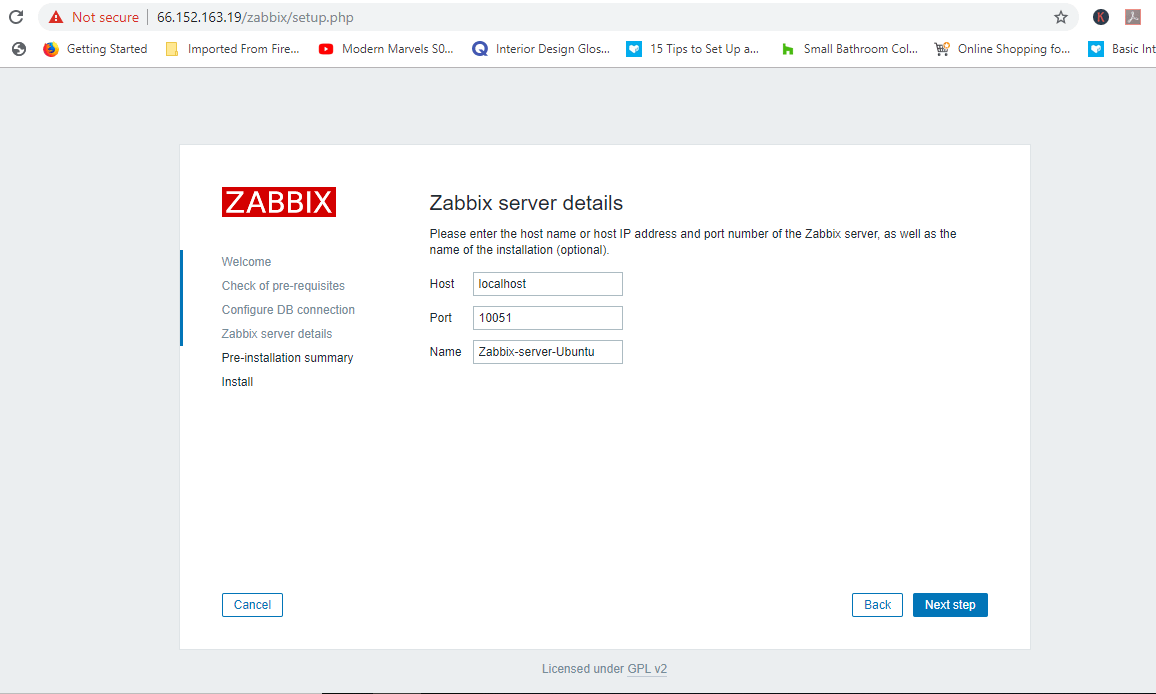
In this step, enter your server’s hostname or IP address. Hit Next step
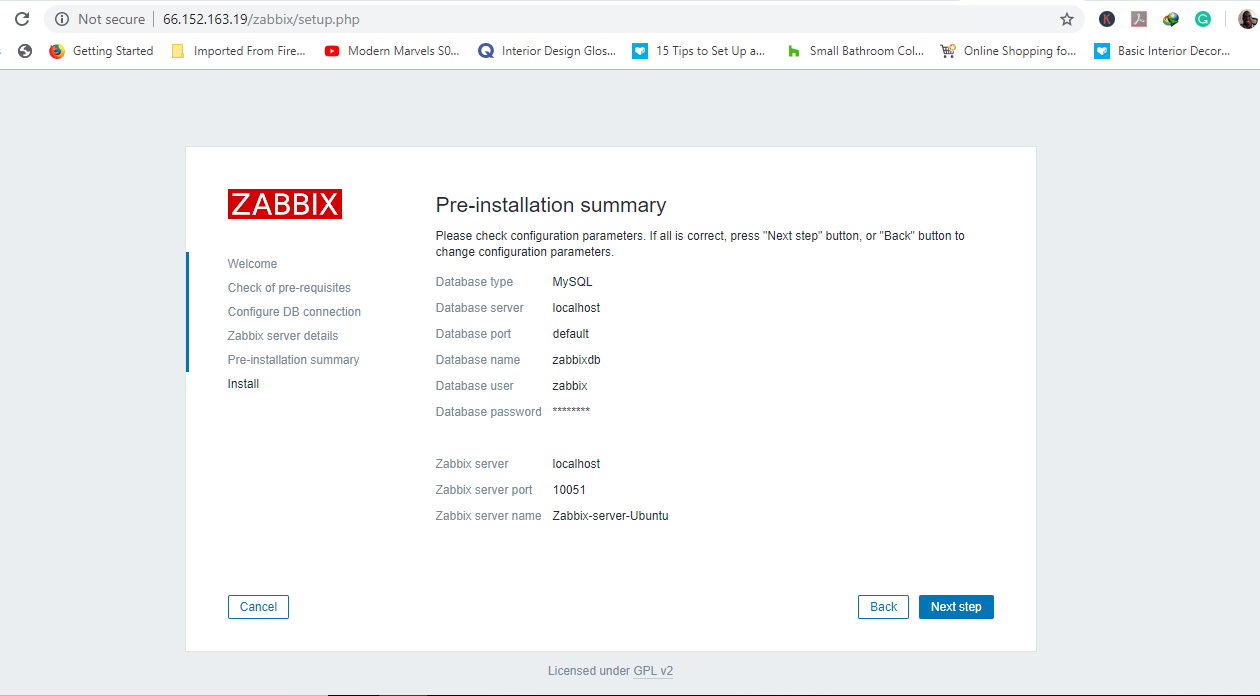
This page gives you an overview of all the details that you’ve entered. If you want to make some edits, hit Back. If all is good to go, hit Next Step.
You will get a “Congratulations! You have successfully installed Zabbix frontend message” This shows that Zabbix has been set up with the correct configurations
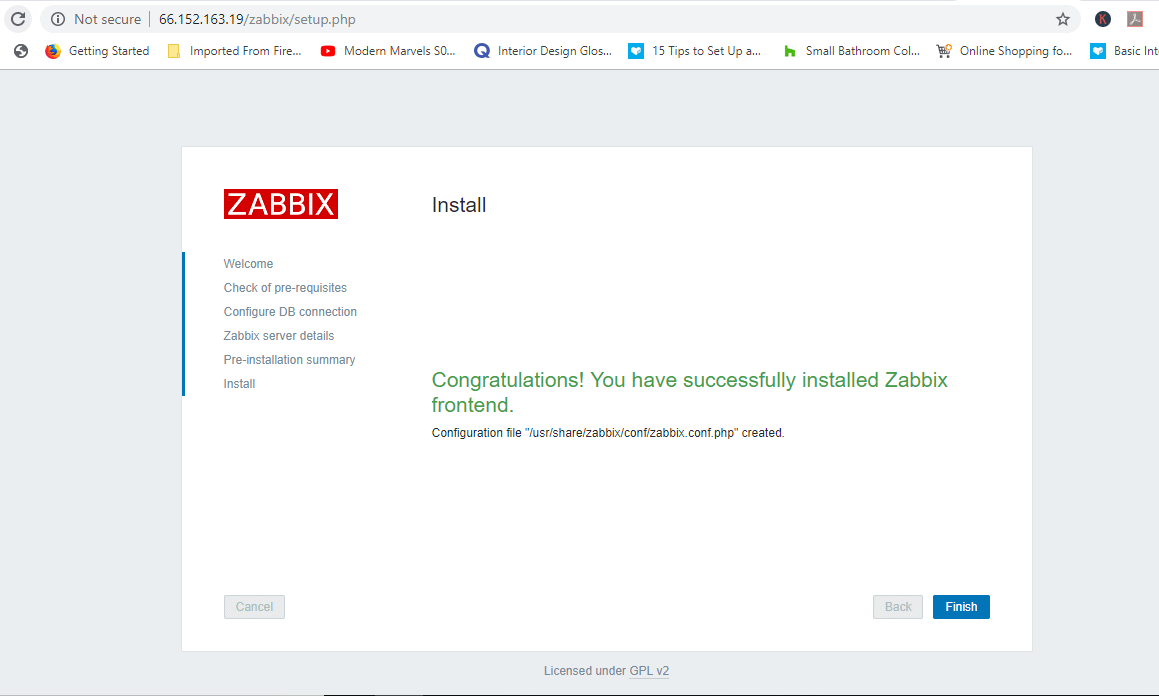
Hit Finish to complete the setup
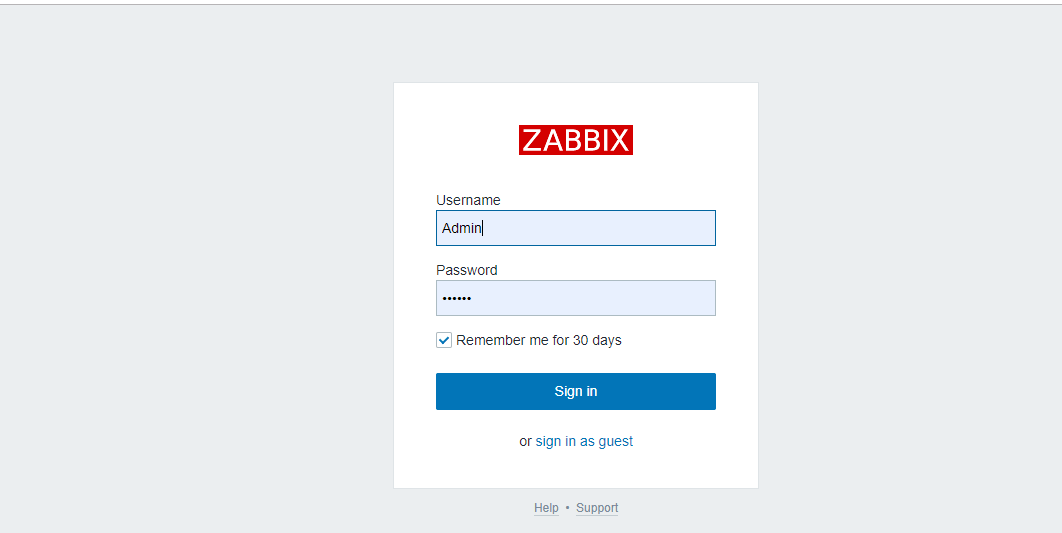
The log in screen will appear. Use the following credentials to log in
username: Admin
Password: zabbix
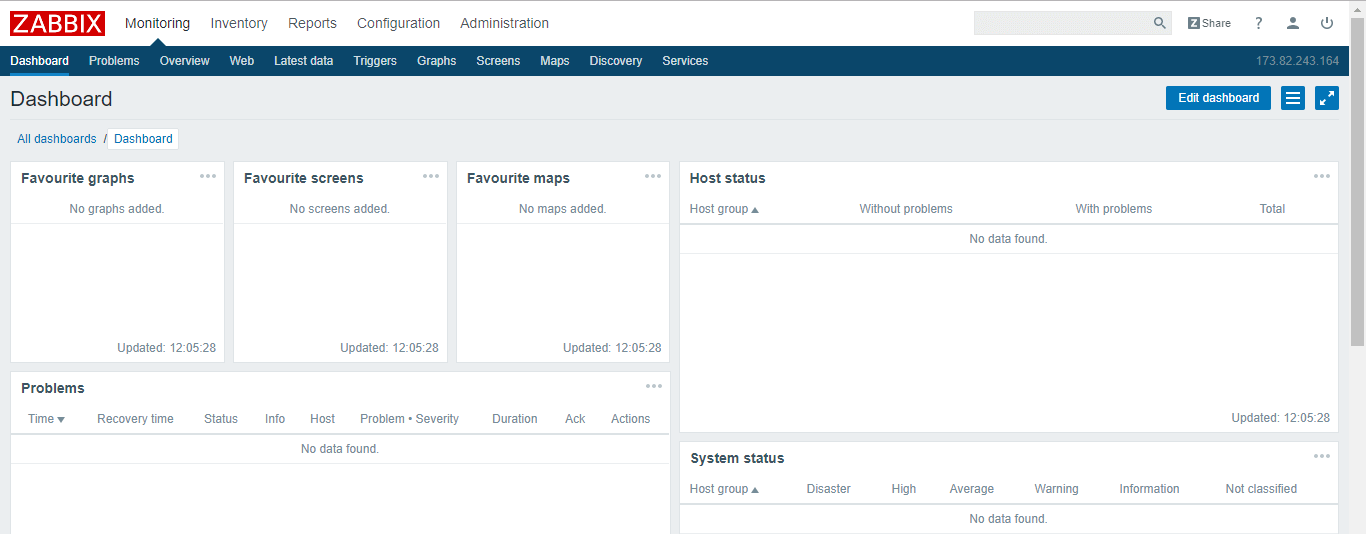
After logging in, you will be presented with a dashboard as shown below
At this point, you’ve successfully installed Zabbix Server 4.0. Check out our next topic on how to install Zabbix agent on CentOS 7 and Ubuntu 18.04