
In our previous post, we covered the installation of Zabbix on Ubuntu server 18.04. In this guide, we will go a step further and install the Zabbix agent on both CentOS 7 and Ubuntu 18.04. Zabbix agent collects metric data such as CPU utilization, CPU load, memory and disk utilization, and ships it to the Zabbix server for visualization. We will tackle the installation of the Zabbix agent in each of the Linux distributions.
Prerequisites
To get started, ensure that you have instances of Ubuntu 18.04 and CentOS 7 with SSH access. You can readily deploy Managed VPS Cloud servers from CloudCone at just $3.71 for this exercise.
Install Zabbix agent on Ubuntu 18.04
To install Zabbix agent on Bionic beaver, (Ubuntu 18.04) follow the steps below
Step 1: Add Zabbix repository
Zabbix-agent is not present in Ubuntu 18.04’s base repository by default. To add it, first download the Zabbix Debian file using wget command:
wget https://repo.zabbix.com/zabbix/4.0/ubuntu/pool/main/z/zabbix-release/zabbix-release_4.0-2+bionic_all.deb

Append the repository using the dpkg command
dpkg -i zabbix-release_4.0-2+bionic_all.deb

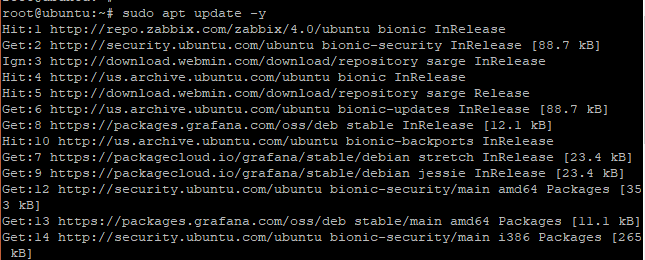
Next, update the system for the changes to take effect.
sudo apt update
Step 2: Install Zabbix agent
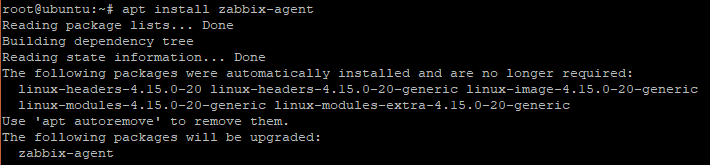
Upon successful installation of Zabbix repository, install Zabbix on Ubuntu 18.04 using the command
# sudo apt install zabbix-agent
Step 3: Configure Zabbix
Once Zabbix agent is successfully installed, make a few modifications in Zabbix’s configuration file as shown
vim /etc/zabbix/zabbix_agentd.conf
Make the following modification to these attributes
Server=IP address of Zabbix Server

Hostname=Hostname of client PC
Once done, save the changes and exit the text editor.
Step 4: Restart and Enable Zabbix agent
To effect the changes made, restart Zabbix agent an enable it upon boot-up
systemctl restart zabbix-agent

systemctl enable zabbix-agent

Finally, verify is the zabbix-agent service is running as expected
systemctl status zabbix-agent

Install Zabbix agent on CentOS 7 / RHEL 7
Let’s now see how we can install Zabbix agent on CentOS 7
Step 1: Add Zabbix repository
To add Zabbix repository run
rpm -ivh https://repo.zabbix.com/zabbix/4.0/rhel/7/x86_64/zabbix-release-4.0-1.el7.noarch.rpm

Step 2: Install Zabbix agent
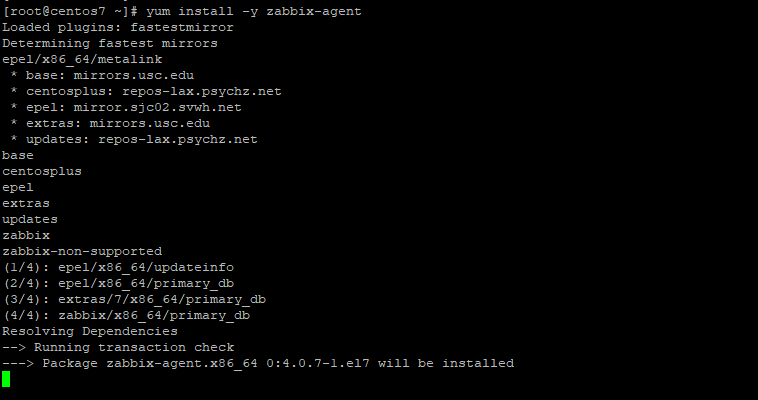
With the successful installation of Zabbix repository, now install Zabbix-agent
yum install -y zabbix-agent
Step 3: Configure Zabbix
Once again, as in Ubuntu 18.04, make the changes to Server and Hostname attributes in Zabbix’s configuration file as shown
vim /etc/zabbix/zabbix_agentd.conf
Make the following modification to these attributes
Server=IP address of Zabbix Server

Hostname=Hostname of client PC
Once done, save the changes and exit the text editor.
Step 4: Restart and Enable Zabbix agent
Finally, To effect the changes made to the configuration files, restart Zabbix agent an enable it upon boot-up
systemctl restart zabbix-agent

systemctl enable zabbix-agent

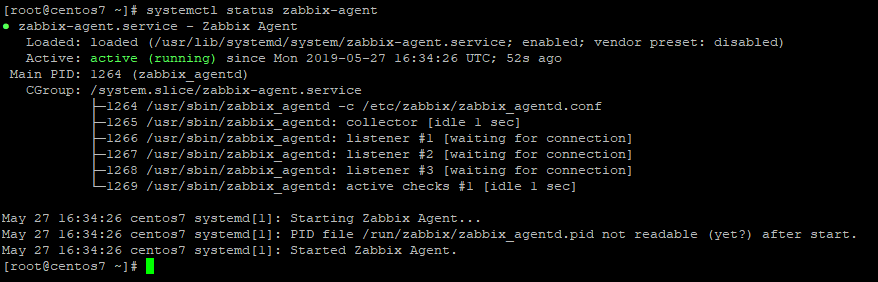
To verify that Zabbix agent is runnig=ng as expected, execute the command
systemctl status zabbix-agent
Wonderful! We have successfully installed Zabbix agent to both Ubuntu 18.04 and CentOS 7 and verified that the Zabbix agent is running just fine. In our next tutorial, we shall head out to the Zabbix dashboard and add the two Linux systems for data visualization and analysis.