
Written in Python, Django is a high-level, free, and opensource Python web framework that is used for the rapid development of dynamic and secure websites and web applications. It’s a framework that is used by many companies such as Instagram, Pinterest, and Mozilla to mention just but a few. In this guide, you will learn how to install Django with Apache on CentOS 7.
Some of the benefits of using Django include
- Rapid creation of web applications
- A simple, lightweight server that is used for testing purposes
- A Sites framework feature that enables you to run multiple websites
- Presence of built-in mitigation to help protect against attacks such as SQL injection, Cross-site scripting, and password cracking.
In this tutorial, we will focus on how you can install Django with Apache on CentOS 7.
Requirements
For this exercise, the following is required
- A CentOS 7 server with a regular non-root user with sudo privileges. You can readily deploy a fully-managed cloud server from CloudCone at only $3.71.
- A static IP address for your server. In this tutorial, the server’s IP is 38.76.11.46
Step 1: Install EPEL
To start off, install the EPEL repository on the server by running the following command
sudo yum install epel-release -y
Once the installation is complete, install Apache and other necessary packages
sudo yum install python2-pip httpd mod_wsgi -y
Step 2: Install Django and Apache
Before we install Django, we first need to create a Python virtual environment. To do this, will need to install virtualenv first.
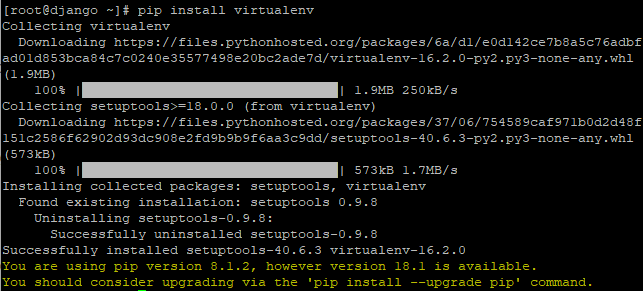
Use the pip package manager to install it as shown below
sudo pip install virtualenv
Output
With virtualenv installed, let’s create a project directory for Django:
sudo mkdir /opt/djangoproject
We will navigate to that directory
cd /opt/djangoproject
Next, we shall create a Python virtual environment with the following commands:
sudo virtualenv djangoprojectenv
Output

We will enable the virtual environment to install packages into an isolated environment:
sudo source djangoprojectenv/bin/activate
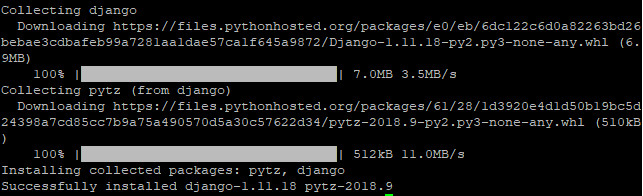
we will then install Django using pip command in the djangoprojectenv shell. Note the change in the terminal prompt to (djangoprojectenv) signifying that we are operating in a virtual environment.:
(djangoprojectenv) [root@django djangoproject]# pip install django
Output
Upon successful installation, we will verify the Django version with the following command:
django-admin --version
At the time of penning down this tutorial, the latest version is 1.11.18 as shown
![]()
Step 3: Creating your first Django project
Now that we have successfully installed Django in our directory , let us now create the first project by executing the command below
(djangoprojectenv) [root@django djangoproject]#django-admin.py startproject myfirstproject .
Next, we are going to modify settings.py file as shown
(djangoprojectenv) [root@django djangoproject]#vim myfirstproject/settings.py
Append the following line of code at the end of the file:
STATIC_ROOT = os.path.join(BASE_DIR, "static/")
Once done, save the file and exit the text editor.
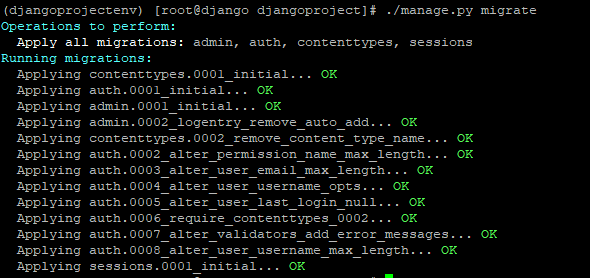
Next, we are going to transfer the database of the project we created to the SQLite database by running the following command
(djangoprojectenv) [root@django djangoproject]#./manage.py migrate
Output
After migrating the database of our project, we are now going to create a superuser for Django:
(djangoprojectenv) [root@django djangoproject]#./manage.py createsuperuser
You will be prompted to answer an array of questions starting with the username, Email address and password
Username (leave blank to use 'root'): jamie
Email address: jamie@domain.tld
Password:
Password (again):
Superuser created successfully.
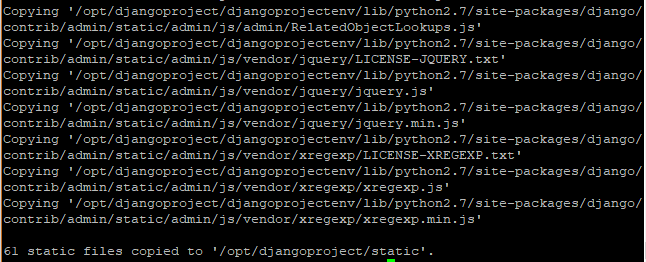
Lets’ collect all of the static content into the directory location we configured earlier by executing
(djangoprojectenv) [root@django djangoproject]#./manage.py collectstatic
Sample Output
Let us answer our server’s IP address to request.py file, if you want to access Django from remote machine.
(djangoprojectenv) [root@django djangoproject]#vim djangoprojectenv/lib64/python2.7/site-packages/django/http/request.py
Add your server IP address as shown below:

Save and close the file when you are finished.
Temporarily allow access to port 8989 using the firewall. This is the port which we are going to access our application from.
firewall-cmd --zone=public --add-port=8989/tcp

Now it’s time to test our Django project by running the following command:
(djangoprojectenv) [root@django djangoproject]#./manage.py runserver 0.0.0.0:8989
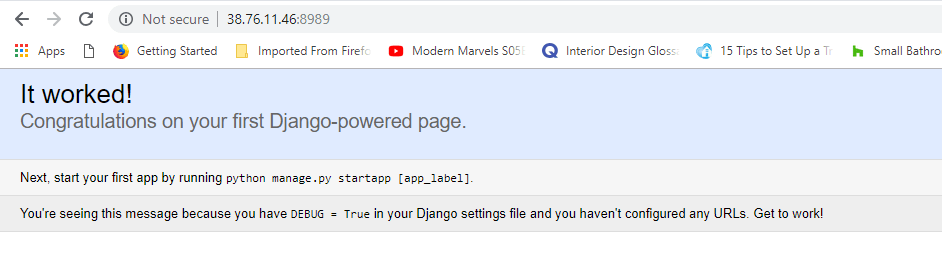
Open your web browser and type the URL http://your-ip-address:8989, you should see your first Django page:
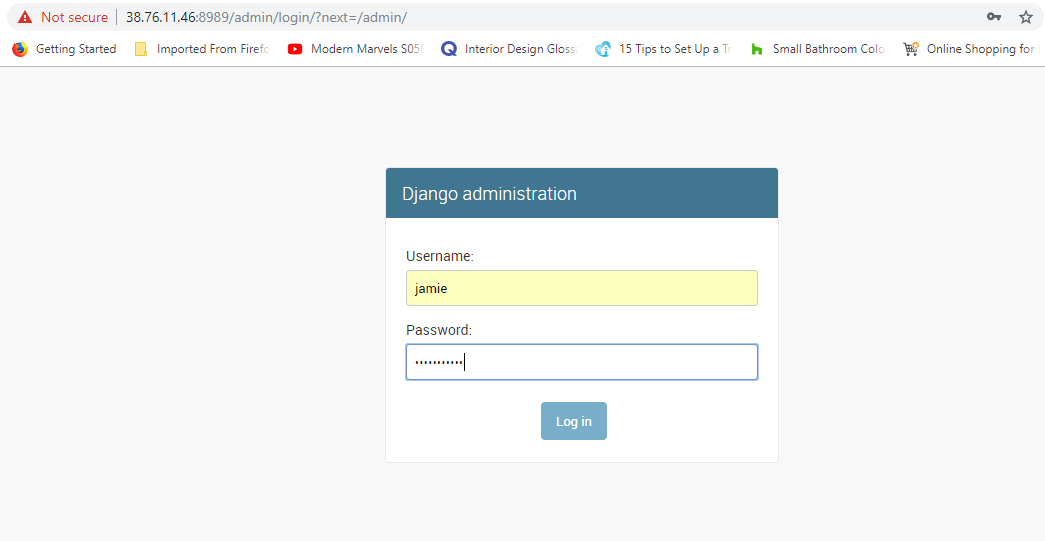
To access the login page append the /admin to the URL . Proffer the correct credentials and hit ‘Login’
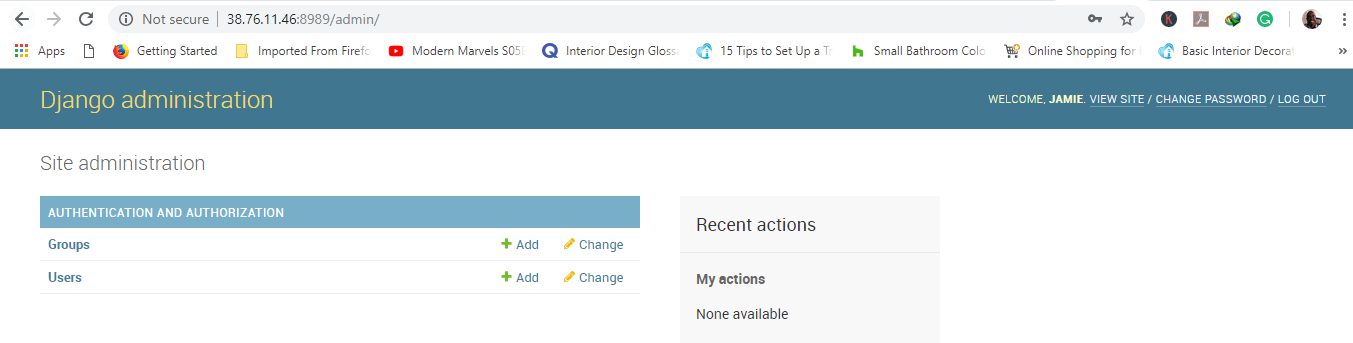
You will be presented with the Admin console as shown
Step 4: Configure Apache Web server for Django
Our last step is to configure Django to use the Apache webserver. The reason we are doing this is so that we can access our Django application without having to start it manually on the command line.
Let’s first create a new configuration file
sudo vim /etc/httpd/conf.d/django.conf
Add the following code
Alias /static /opt/djangoproject/static

 Require all granted


       Require all granted


WSGIDaemonProcess myfirstproject python-path=/opt/djangoproject:/opt/djangoproject/djangoprojectenv/lib/python2.7/site-packages
WSGIProcessGroup myfirstproject
WSGIScriptAlias / /opt/djangoproject/myfirstproject/wsgi.py
Save and exit the editor
Let’s now restart the Apache web server and enable it to start automatically on boot
sudo systemctl restart httpd
sudo systemctl enable httpd
Allow access to port 80 using firewalld
firewall-cmd --zone=public --permanent --add-port=80/tcp
Configure the required ownership so httpd has permission to use the Django project directory:
sudo chown -R apache:apache /opt/djangoproject
Now You can access your Django site without starting any service on a command line or opening any port
Wrapping up
Congratulations! If you have come this far, you have managed to install Django with Apache. You may now proceed to create your own web applications using Django.
NOTE!
Ensure that the Django server is be secured properly (using TLS) before bringing it into production. This is to prevent hackers from intercepting data exchanged with the web application.
Thank you for your time. In this article, you learned how to install Django with Apache webserver.